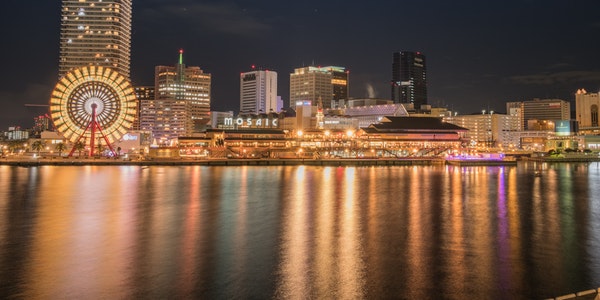
“Long exposures” have become easier since digital photography. This technique is different from normal shooting because it opens another door – a world invisible to the naked eye! Today, in this article, I will share with you the different shooting methods and techniques of long exposure. I hope it can help friends who are engaged in photography!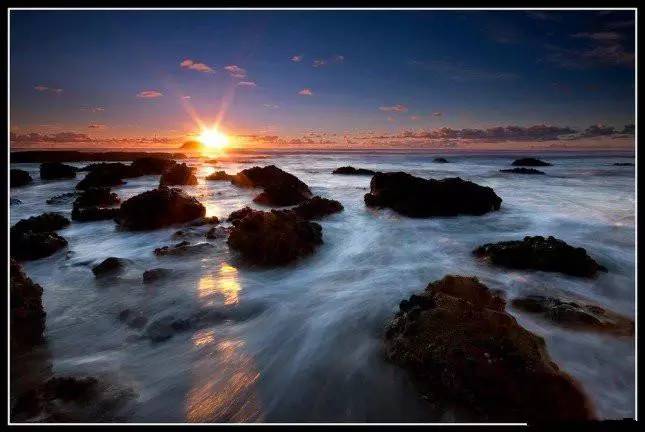
Table of Contents
Why Use Long Exposure?
Long exposure is to open the shutter for a long period of time, which can be from tens of seconds to several hours. So what kind of photos can you take with long exposure? Roughly these uses:
When shooting night scenes, it can reduce the need to increase the ISO due to insufficient light, and reduce the generation of noise. You can also close the aperture to make the depth of field deeper and prevent the scene from blurring due to the depth of field.
Absorbs more light that the human eye can’t see, making photos more interesting.
Smoothes flowing water.
Create dynamic photos, such as moving clouds and people.
Shoot light trails, such as light and shadow graffiti, car tracks, star trails, etc.
Long exposure makes water flow like mist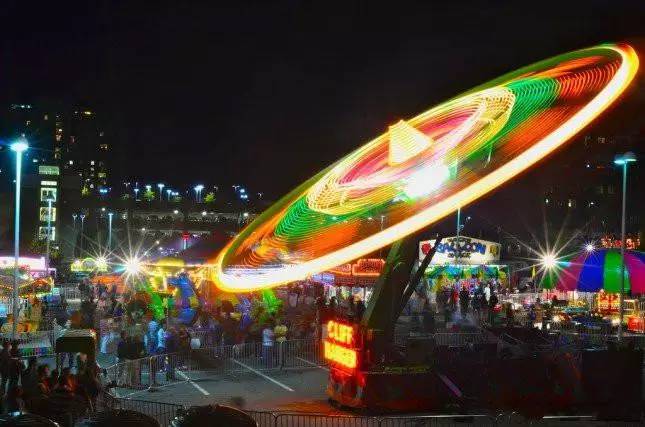
Let the light leave a trail
Camera Dettings for Long Exposure
Shooting Mode
Long exposure Because we want to control the shutter speed, we usually use shutter priority (S-mode/Tv-mode) or manual mode (M-mode). The former is convenient, but it is highly recommended to use manual mode to take pictures. This is because night camera metering is often wrong, and aperture, ISO, etc. need to be adjusted accordingly. For beginners, you can use the aperture f/8-11, ISO100/200 to experiment, and then adjust the brightness of the photos taken.
example:
Of course, if you find that the photo is too dark, you can slow down the shutter, but it will extend the exposure time.
Increasing the aperture will make the depth of field shallow, and the subject will easily become blurred.
Raising the ISO will increase the noise.
So, how should we choose? It depends on which element is important – if you’re shooting a night scene, most of the scene needs to be clear, so we want to make sure the aperture is small enough. Therefore, I will choose to slow down the shutter and consider increasing the ISO if it is not enough. If you are shooting moving things, the shutter should not be too slow, otherwise the subject will be blurred. At this time, we will choose to keep the shutter speed and increase the aperture and ISO. Other situations are similar.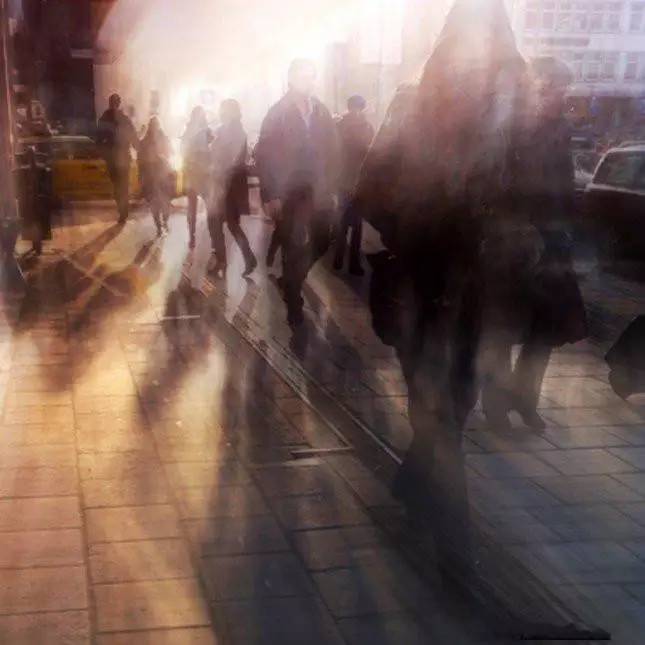
Long exposure adds motion
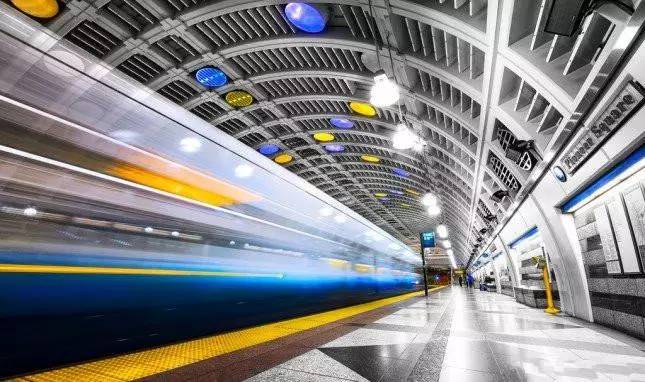
Long exposure records the trajectory, making the picture “interesting”
Take more photos — turn off noise reduction
Generally speaking, for long exposures, our camera’s Noise Reduction will take the same amount of time to work. For example, after taking a long exposure photo for 1 minute, the camera will use an extra minute for noise reduction, which will take a lot of time. We recommend turning off the built-in Noise Reduction, and then reducing the noise on the computer if necessary, the effect will be better.
Failed to focus at night
In dark ring mirrors, the camera’s focusing system usually fails. At this time, we can use the lighting to illuminate the subject, and then shoot after focusing. Or use manual focus directly, especially when shooting very far scenes, just set the focus to infinity!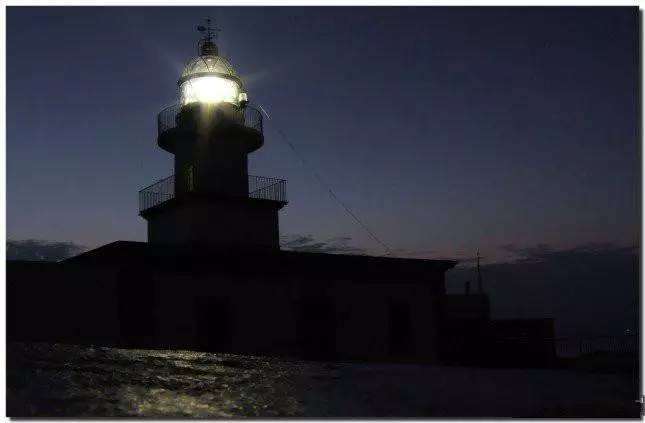
Autofocus may fail in the dark, switch to manual focus
How to Prevent Blurry Photos
To keep the camera steady, we pay attention to the following points:
Stable tripod and head
One of the very important equipment for long exposure photos is a tripod. A sturdy tripod and gimbal will keep your photos sharp even in strong winds. If you like to shoot in the mountains or at the beach, a tripod is even more important! Of course, it would be better to add weights to the center of the tripod.
Use the shutter release
The cable release not only allows you to avoid moving the camera when pressing the shutter, but also allows you to use the Bulb shutter to expose the camera for more than 30 seconds.
Use Mirror-up function
Some cameras have a mirror-up function, which can further reduce the vibration caused by the movement of the mirror.
Turn off anti-shake function
Some cameras with anti-shake function turned on may cause blurred photos due to lens assembly movement even when placed on a tripod. Try turning off the anti-shake function!
