Table of Contents
Basic Features of Backlit Portrait Photography
We all know that the essence of photography is light. Light is the lifeblood and soul of photography.
Backlight photography is a means of photographing light. Backlighting in a broad sense should include full backlighting and side backlighting. Its basic characteristics are: from the perspective of light position, full backlight is the light that is facing the camera and illuminated from the back of the subject.
Side backlighting is the light that strikes the subject from the rear side at a 135° angle to the left and right of the camera. The light-receiving surface of the subject accounts for 1/3, and the backlight surface accounts for 2/3. From the perspective of light ratio, the subject and the background are in a dark place, or 2/3 of the area is in a dark place. Therefore, the ratio of bright and dark light is large, and the contrast is strong.
From the perspective of lighting effects, backlighting produces rim light on opaque objects. Transmits light to transparent or translucent objects. Creates a scintillating light on liquids or water surfaces.
If we can use the means of backlight photography properly, it will undoubtedly be of great value to enhance the artistic effect of photography creation.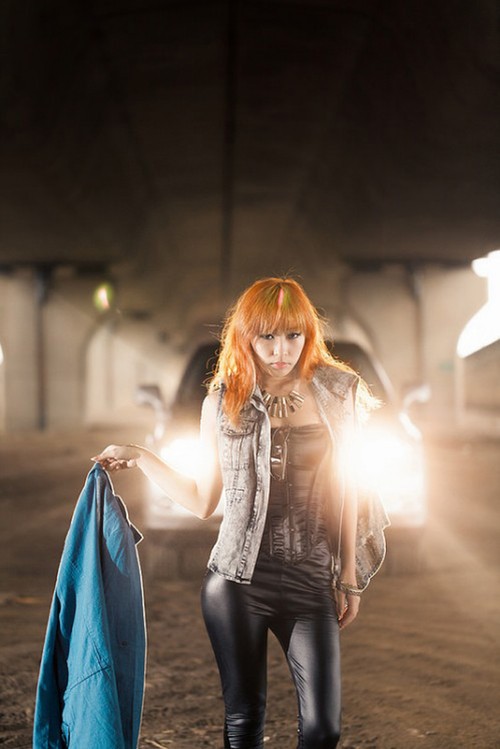
The Main Artistic Effect of Backlit Portrait Photography
Backlight is a kind of lighting with artistic charm and strong expressiveness, which can make the picture produce an artistic effect that is completely different from the actual light we see on the scene with the naked eye. Its artistic expression mainly has the following aspects:
1. Can enhance the texture of the subject
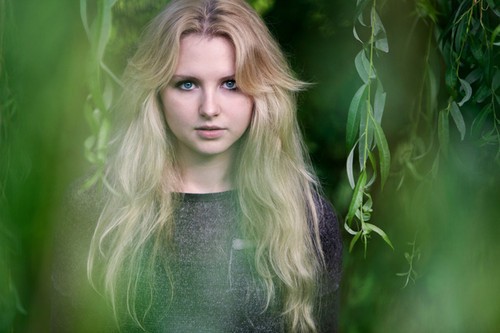
Especially when shooting transparent or translucent objects, such as flowers, plant branches and leaves, backlighting is the best light. Because, on the one hand, backlight illumination can improve the color brightness and saturation of light-transmitting objects, so that plain and tasteless transparent or translucent objects under forward light illumination present a beautiful luster and a better sense of transparency. This adds to the effect of transmission enhancement. On the other hand, the brightness difference between the light-transmitting objects and the opaque objects in the same picture is obviously enlarged. The contrast between light and dark greatly enhances the artistic effect of the picture.
2. Can enhance the rendering of the atmosphere
Especially in the morning and evening in landscape photography, low-angle, large backlighting means of light and shadow modeling are used, and the retroreflected light will outline the red clouds like dyeing, the sea of clouds transpiring, mountains, villages, and forests like ink. If mist, light boat, and flying birds are added to set off each other, it will trigger a deep resonance in vision and soul, making the work deeper in connotation, higher in artistic conception, and stronger in charm.
3. Can enhance the visual impact.
In backlight shooting, due to the increased proportion of dark parts, a considerable part of the details are covered by shadows, and the subject stands out in the picture with simple lines or a small light-receiving area. This large light ratio and high contrast give people a strong visual impact, resulting in a strong artistic modeling effect.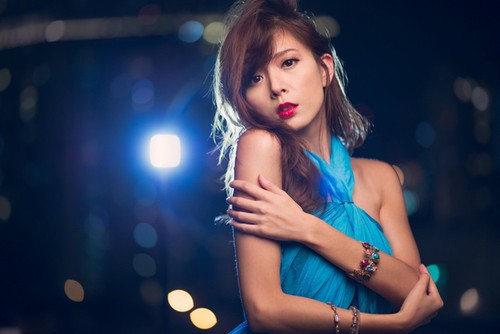
Specifically, first of all, it can make the background under the backlight, underexposure, and poor color reproduction, so that the background is purified, so as to obtain the effect of highlighting the subject.
Secondly, it can vividly outline the clear outline of the subject and separate the subject from the background. Emphasizes the undulations and lines of the subject’s shape and enhances the subject’s sense of subjectivity.
Thirdly, it can deeply portray characters. Due to the small light-receiving area of the whole picture, most of the face and body are in shadow, forming a heavy and low-key picture dominated by dark colors, which is helpful to express the character’s deep, subtle, solemn or melancholy character.
At the same time, due to the large contrast and contrast of the shades and the strong layout of light and dark light, some defects on the face of the characters can be diluted by strong light, and the dark shadow of the backlight can be used to hide them, so as to achieve the effect of promoting strengths and avoiding weaknesses.
4. Can enhance the depth of the picture
Especially in the morning or evening shooting under the backlight, due to the different conditions of the medium in the air, the color composition has undergone different changes in the distance, the foreground is dark, and the background is bright. The foreground color saturation is high, and the background color saturation is low. As a result, the whole picture moves from far to near, and the colors change from light to dark, from light to dark, forming a subtle sense of spatial depth.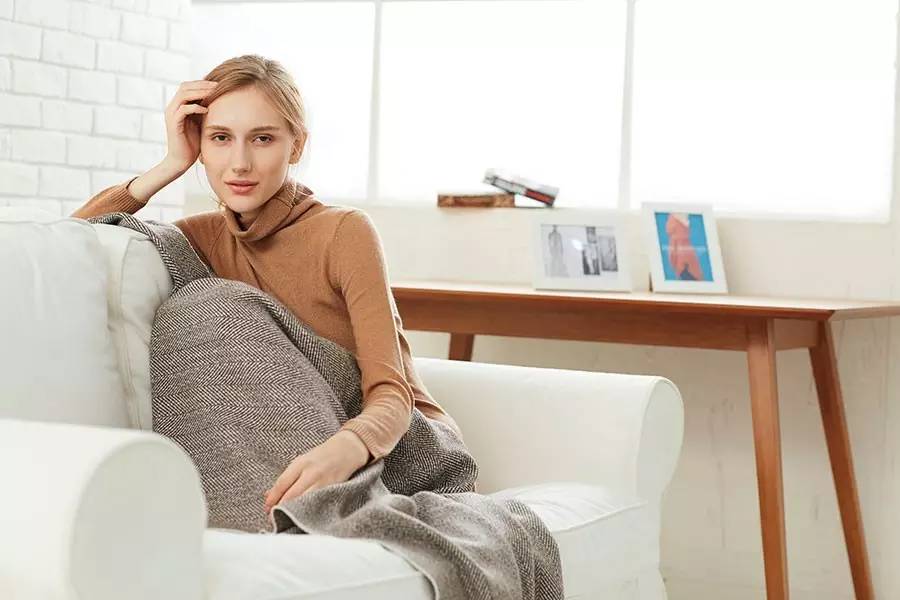
Backlight Portrait Photography Shooting Skills
1. Use light and fill light
Safer is the front side light. If the shadow is more obvious, you need to use a reflector to fill in the light on the side with the shadow. Pay attention to adjusting the distance and direction of the reflector to minimize the shadow caused by the main light. But also be careful not to overwhelm the guest, remember this is just a fill light. If you want no shadow at all, you might as well just shoot on a cloudy day.
Backlighting or side lighting is easier light to get good photos with, but it is also harder to master. Backlighting can illuminate the edges of the hair and hook it into shape. Because of the backlight, it is impossible for the light to directly hit the beautiful face, so the reflector comes in handy again. Another important role of the reflector is to “create” the catch light. In this way, the whole picture comes alive, with the finishing touch.
2. Shooting angle
The most common shooting angle should be head-up. Generally, a wide angle should be used to shoot upside down, which has a similar effect of peeping. This method of shooting is relatively easy to achieve with an LCD screen or a camera with a rotatable lens. A down shot is also a common angle. In the same scene, several shooting angles can be changed to determine the best shooting angle. A variety of different styles of photos are also available.
3. Composition
Portrait photos can usually be divided into full body, half body and close-up. As long as this mode is set, it is generally not a problem. As for the specific composition, the placement of the subject is not only in the middle, but also in the golden section. Some people like the vertical style of the main body that looks formal, and some people like the slanted or even diagonal composition, highlighting the dynamic, and so on. As long as you feel good, you might as well give it a try, anyway, don’t waste film.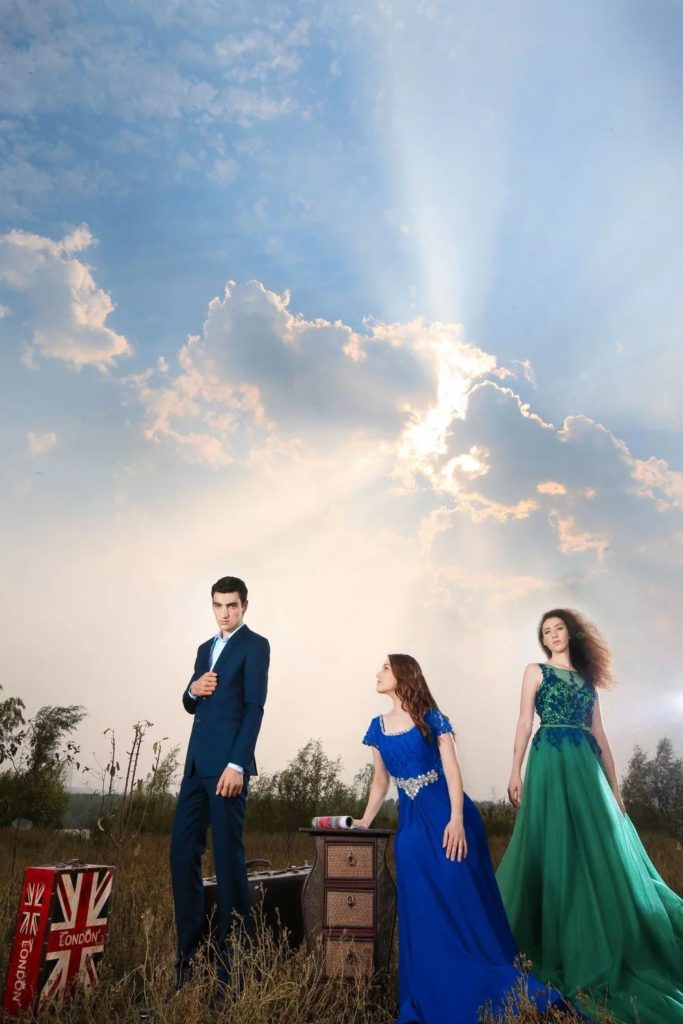
4. Exposure Modes and Combinations
Choose Aperture Priority, and set the aperture to maximum. This is the more commonly used exposure mode. In addition, the “spot metering” function is also used more. If the digital camera in hand does not have a spot metering function, it is not a problem. Because the digital camera is ready to shoot, the exposure inaccuracy can be found immediately, and there is still time to make up. If you are not sure, there is also exposure bracketing that can be used.
5. Model’s body movement design
Professional models are generally subject to professional physical training. Even if no one is instructing, they can pose in a variety of poses, take the initiative to express their beauty, and change their expressions and postures at certain intervals.
This makes it easier to shoot, and a little pointing is good. But for an amateur model, you need to pay more attention to pointing her. When she doesn’t understand your intentions, you even have to pose and let her follow along. If the model has no concept of poses, then buy a few fashion magazines, “practice” behind closed doors, or watch more print ads at ordinary times, it will also benefit a lot.
Several Issues That Should be Paid Attention to When Shooting with Backlight
How to avoid the contrast caused by backlight
Backlight shooting has a strong artistic effect. However, it is difficult to photograph the scene under the backlight. The main reason is that it has large contrast and many changes, and most of the main parts are located in thousands of shadows. Therefore, you should pay attention to:
- Don’t be fooled by the light from a large dark background in the frame when exposing, but base your exposure on the subject’s brightness reading. The rest are not counted. If shooting the sunrise or sunset, the brightness of the sun should be used as the main basis for metering. When shooting low-key portraits, you should use the highlights of the person as the basis for metering.
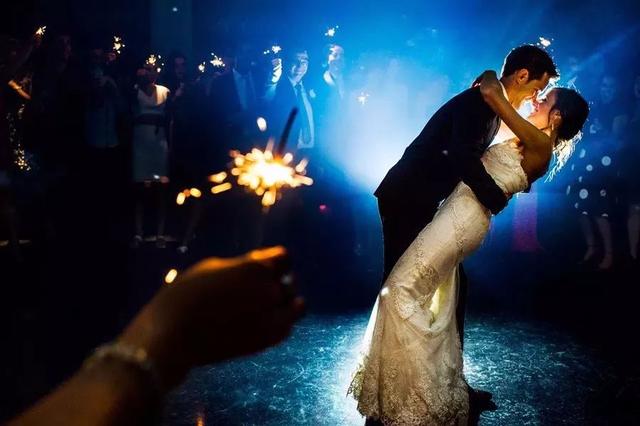
- While shooting against the light, close-up shots, especially when shooting portraits, you should choose an appropriate auxiliary light (fill light with flash or reflector).
- When shooting silhouettes, a bright background should be used as the basis for exposure.
- If shooting flowers in backlight, you should choose a darker background to contrast, so as to create a strong light ratio contrast, strengthen the backlight effect, achieve clear outlines, and highlight the artistic effect of the subject.
- Since the camera is still facing a strong light source, pay attention to the disturbance of glare. There should be shielding measures (use a suitable hood as long as possible, or cover the shield in front of the lens with hands, hats, cardboard, etc.), or slightly shift to the side, adjust the shooting angle, etc., to prevent the sun or light from directly hitting the lens. . Press the shutter again after the glare disappears.
Understand the properties of light
Photography is the art of light. The characteristics of light are divided into many aspects such as luminosity, light quality, light position, and light type. For the average amateur, natural light may be the most encountered in daily shooting.
There are pros and cons to shooting with daylight. Strong illumination can ensure sufficient color performance. But if you need a specific light color and light position, you need to choose the correct time to shoot. In particular, friends who like to shoot landscapes will definitely understand that the waiting time is often more than the shooting time.
Suitable shooting time
When shooting portraits, try to avoid direct sunlight at noon. And it is best to use the golden hour to shoot night scenes. These are my experiences after countless shoots. If you miss the best shooting time, the color temperature and angle of sunlight will be very different. And the probability of getting wonderful photos will be relatively difficult. But nothing is absolute. Sometimes just when you feel that the sun is quite unsuitable for shooting and you are about to put away the camera, you can get some unexpected effects.
Light ratio
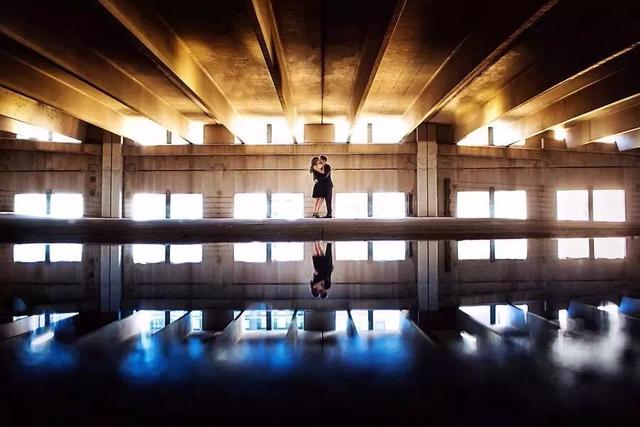
Backlighting, especially low-angle backlighting at sunset, tends to bring about strong shadow contrast on the subject. That will result in a large difference in light ratio. There are always a lot of details that cannot be taken into account in the light-receiving and backlighting parts, not to mention the backlight shooting.
Even those high-end lenses worth tens of thousands of dollars have good anti-backlight performance. And it is inevitable that glare and autofocus obstacles will occur in the case of complete backlighting. For ordinary lenses, it will be more serious.
However, nothing is absolute, as long as it is used properly and combined with a good composition, you can also get beautiful results in backlight shooting. When shooting wide-angle landscapes, macros and even portraits, you can use the light position of the backlight to get different effects.
(To Be Continued)
