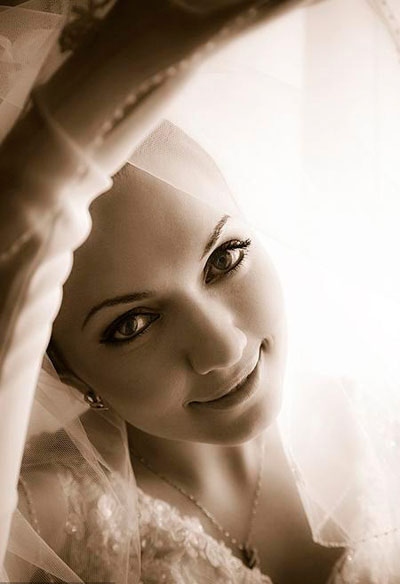
When it comes to lighting for portrait photography, this is a problem that confuses most beginners in photography. In fact, the key to all this is to identify a person’s personality and facial features, and propose a lighting scheme synchronized with it. However, many photographers have developed a bad habit of applying a fixed pattern to all works, regardless of the subject. But some photographers can do this well because he has a complete shooting system and can create and use varying lighting sequences.
Portrait Lighting System That is Difficult to Form
Of course, many photographers have realized the importance of this problem, but it is difficult to make corresponding improvements, because most photographers have not been exposed to a complete and systematic knowledge system of basic lighting technology. Indeed, mastering good light is a lot like understanding the relationship between aperture and shutter speed. You will not be confused until the moment of “click”, and then every photo becomes a variant of this idea.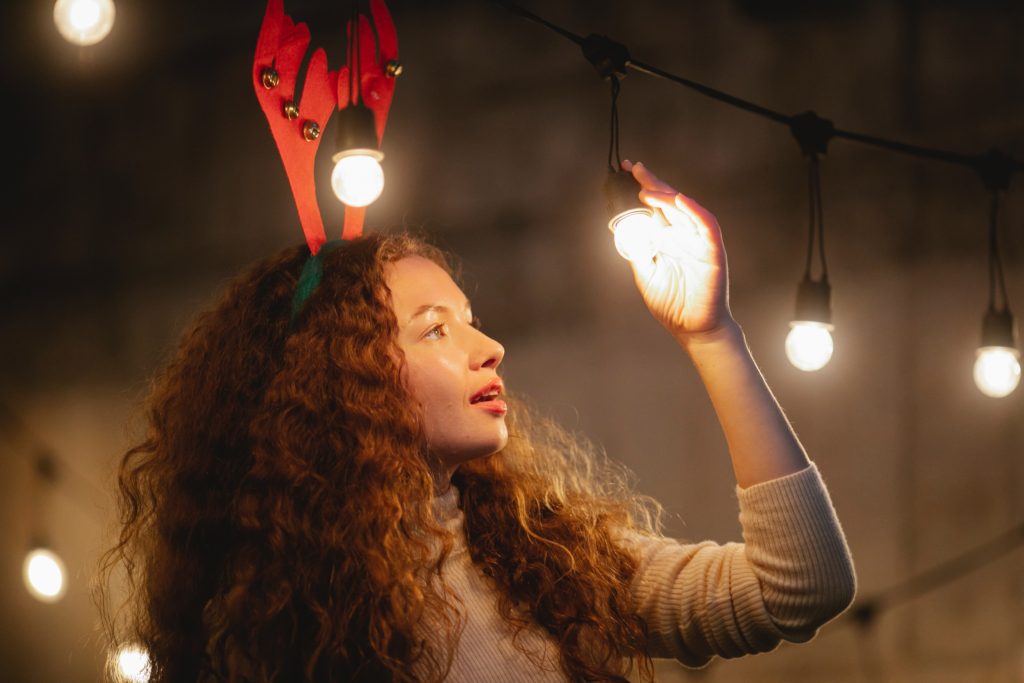
In this article we will discuss the most basic portrait lighting system. These foundations are the most important technology and the foundation of all other lighting. After understanding the basic knowledge of these photographic lighting, you can easily illuminate any scene.
What is the Key Light?
The main light source of the subject lighting is usually called the “primary light source” or “key light”. Although additional lights can be added to enhance portraits, key lights are usually performed independently. This is very important for learning portrait lighting, because it means that a person can use only one light at a time. If you decide to add additional lights, all the knowledge learned here still applies.
We will control the light on the surface of the subject and understand it as the distribution of light. However, for a specific light source, the distribution of light can be understood as two characteristics that are easier to manage:
Light size: Control the appearance (hard and soft) of these shadows and highlights.
Light direction: Control the position of the shadows and highlights on the subject (the sense of depth).
Although these features seem simple and controllable, their combination can create a range of different effects. If you don’t understand every kind of light development first, then light can easily become unpredictable.
Light Size: Hard Light and Soft Light
We will start with the size analysis, because this is probably the most common problem that leads to poor portrait lighting. When photographers use the term “hard or soft” to describe light, or the term “quality of light”, they actually refer to the size of the light source. Here we first ask for the difference between “soft and hard” light.
Hard light:
Hard light casts strong shadows. In other words, the resulting shadows will have “harder” edges, with fewer transitions between lighting and shadows. If you want to create a moody, irritable, or contrasting scene, then bright lights may be what you want.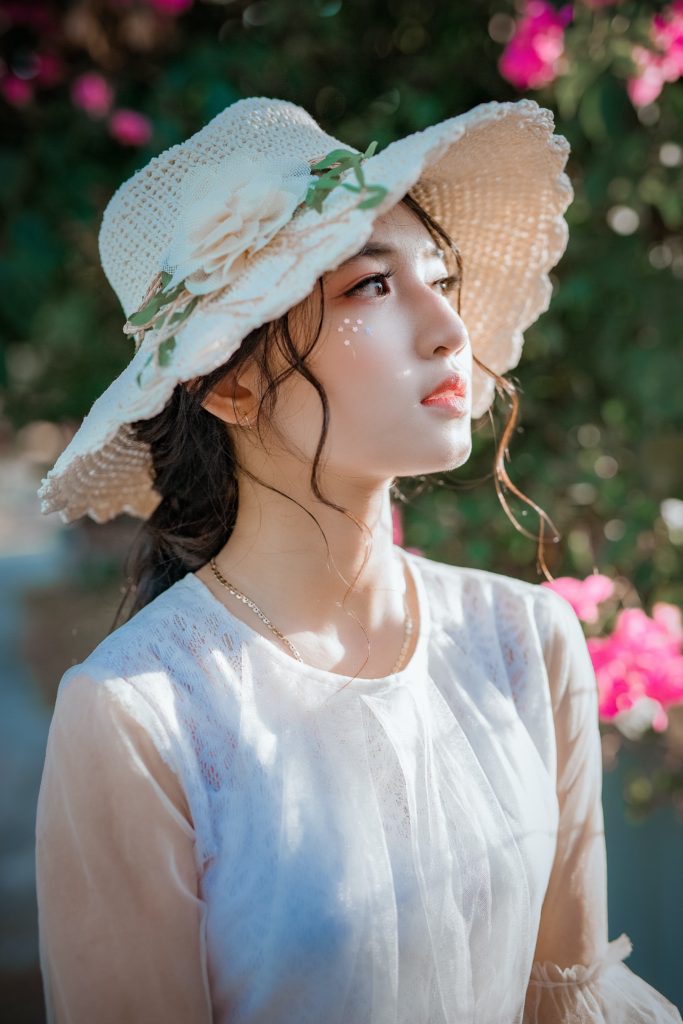
Soft light:
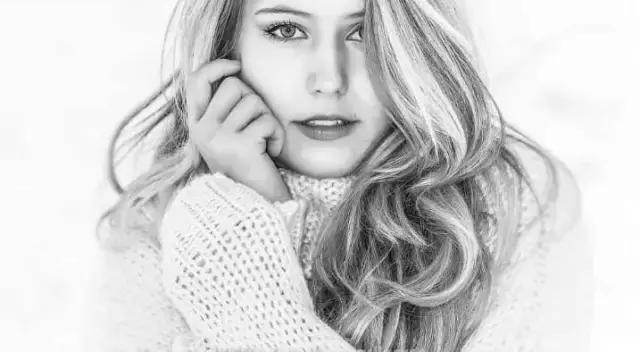
Soft light is what we usually call “soft light”. The light tends to “surround” the subject, casting diffuse shadows with soft edges. Soft light is the most flattering type of light in portrait photography. Hard light will highlight the blemishes and textures of the skin, and soft light can help smooth the problematic skin in the photo.
The “soft and hard” of the light will have an essential change in the shooting effect of portraits, and portraits usually benefit from soft light. In order to understand the relationship between them more clearly, we will use Nikola Dechev for 3D simulation to see how they affect the appearance of portraits.
Light Size Change Effect
Note that light sources that are “larger” and “smaller” relative to the subject will produce “soft light” and “hard light”, respectively, because they have different edge effects for rendering shadows and highlights.
A light source larger than the subject can directly hit the subject with more angles of light. Therefore, any specific area can receive a certain amount of direct light, resulting in softer shadows.
Compared to the light source with a smaller subject, a specific area can usually receive all or no direct light, resulting in deeper shadows and stronger contrast.
Distance and Light Size
At this point, we may be slightly misled. The size we have been mentioning in the article before is not the physical size of the light source, but its size relative to the subject.
In the case of the same light source, the closer the light source is to the subject, the softer the light will become. Because this is equivalent to the relative size, we have magnified the light source and changed the distance so that the light illuminates the subject from a wider angle. Similarly, the situation is just the opposite. Although the sun is physically huge, direct sunlight is still hard. Because the sun is too far away, it is still a small light source relative to the subject.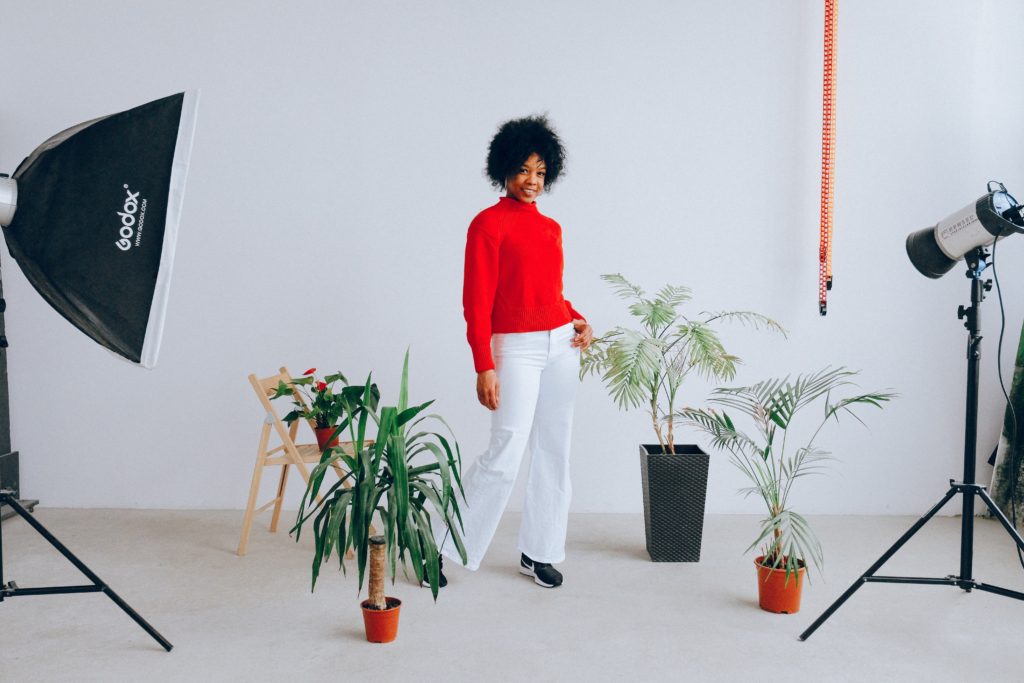
The “Soft and Hard Light” in Portraits
As we mentioned before, the light size not only controls the changes in shadows, it also determines the visibility of fine-scale textures. Pores, blemishes, wrinkles and other facial details will become more visible due to bright light.
In actual shooting, zoom in the light source to obtain soft light techniques:
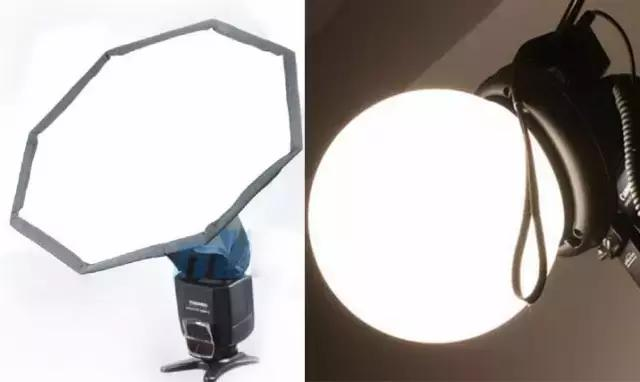
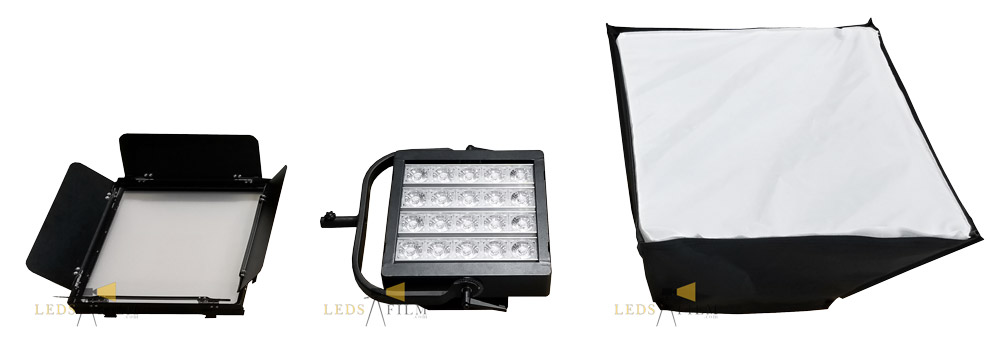
Diffuser: Place a larger translucent object between the main body and the light source. It can be a diffuser or a white curtain on an open window, which can directly receive light and transform it into a larger light source.
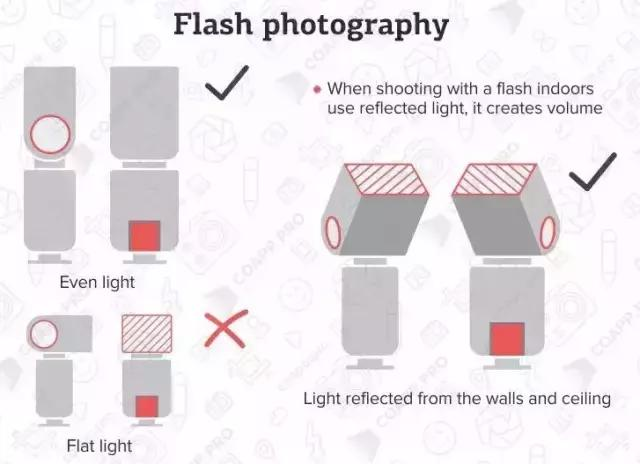
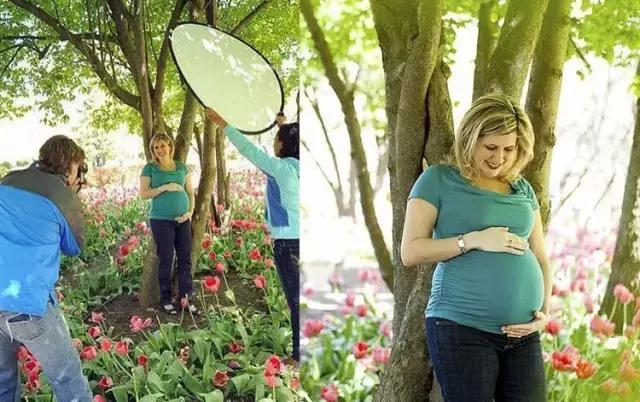
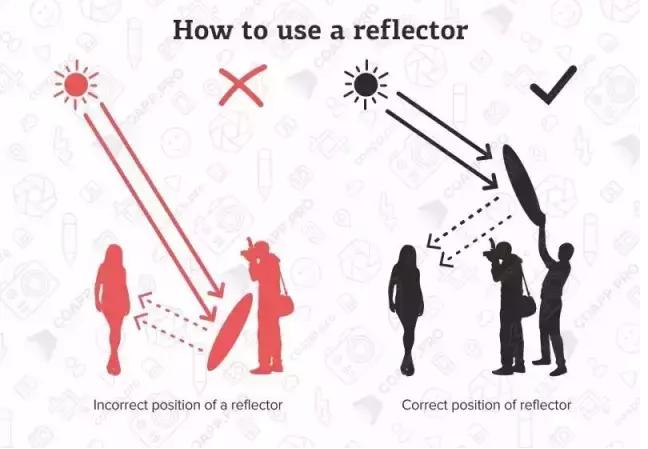
Reflector: By placing different positions, the subject can only receive the reflected light from the reflector, which is equivalent to transforming the reflector into a variable key light. The size and distance of the reflector will determine the quality of light. It is the same principle to aim the flash at a nearby wall or ceiling to live a soft light.
In either case, be careful, because you will end up with much less light.
The direction of light: depth and characteristic expression
Choosing the correct light source direction requires the photographer to strike a balance between several potential competing factors. Usually, this includes depicting a sense of depth and depicting facial features.
Direction and depth:
Creating a sense of depth is a key requirement for portrait photography. However, unless the light illuminates our subject from the correct direction, it is difficult for us to have the correct perception of depth. For example, when we look at a sphere that is similar to the shape of the head, it will only show a three-dimensional effect when light is emitted from the top. Because only a wide range of lighting angles can be used to achieve the above-mentioned sense of depth.
 The performance of facial features:
In addition to the head as a whole, it produces the desired sense of depth. Each facial feature also has its own shadows and highlights, and all these features also deserve special consideration. This may require us to avoid casting long shadows to make the nose look bigger, or to draw shadows under the eyes, causing the subject to appear tired. If it is not carefully positioned, our lighting may cause more adverse effects. In order to better understand the depth of light and the expression of facial features, we will learn about several common lighting modes below.
Portrait lighting setting 1: Butterfly light
Butterfly light (also called Paramount Illumination) is named after the butterfly-shaped shadow formed under the nose. Place the key light behind the camera and point it slightly at the subject.
The butterfly light creates shadows around the chin, nose, and cheeks. It can create more eye-catching shadows under the cheekbones. The higher you place the key light behind you or above the subject, the longer the shadow will be projected under the nose and chin. This is very pleasing to most people.
Portrait lighting setting 2: Ring light
By placing the light on a 45º axis slightly above the eye level of the subject. This will move the shadow of the nose to the side of the face. You will get a small ring instead of a butterfly-shaped shadow.
The ring light has a prolonged effect on the face, making the face look thinner, and is often used for head shots. The ring light can be set on either side, and the shadow appears on the opposite side of the light source. The size of the shadow depends on the position of the light and the degree to which the nose blocks the light.
 Portrait lighting setting 3: Rembrandt light
Rembrandt light is very similar to ring light. However, the shadow of the nose in Rembrandt is long enough to connect with the shadow on the cheeks to form a triangular highlight on the cheeks.
The lighting is basically the same as the ring light, but you need to continue to position the light to the side until the nose shadow and the cheek shadow touch. This light style looks more dramatic, avant-garde and artistic.
Portrait lighting setting 4: split (or side) light
With split light (also called side lighting), half of the subject’s face is illuminated while the other half is left in shadow. Place the key light on the side of the model at a 90º angle. You can leave the far side completely in the shadows, or use reflective reflectors or fill lights to show more details.
This kind of lighting will highlight the texture of the subject’s face, creating a unique and dramatic effect that is not as common as its lighting method.
Portrait lighting setting 5: wide light
Broad light is a technology that can usually be combined with the above-mentioned lighting modes to solve specific problems.
Adjust the position of the subject so that the part of their face that receives the most light is also the part closest to the camera. This means that your subject needs to maintain a certain angle with you. This is very suitable for people who wear glasses, because wide light is the fastest way to keep the glasses outside the angle of reflection and illuminate the subject. For this reason, school portrait photos and company ID photos usually use wide light illumination. However, it will make the face look wider than usual.
Portrait lighting setting 6: narrow light
Narrow light is the opposite of wide light, and the illuminated face is also the farthest part from the camera. Your subject is still at an angle to the camera, but the light is now on the far side of the face.
Depending on the angle of use, narrow light can perceive facial features well. Narrow light will make the face look thinner, which is in line with most people’s aesthetics.
Understand the second light source: fill light
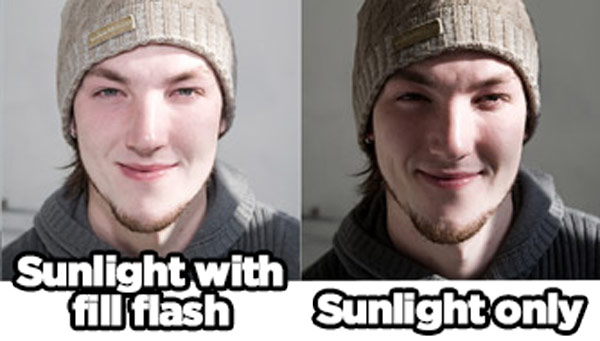
The second light source is usually our fill light. It can greatly improve portrait lighting, reduce the depth of shadows, and soften facial features. Most importantly, fill light is easy to create, usually a simple fill light or reflector is sufficient. But we need to know how to control the position and intensity of the fill light to produce the desired portrait appearance.
For a single light source, the most important considerations are its orientation and apparent size. Although these have the same effect as the second light source, they usually do not change independently of the main light source. On the contrary, what is usually adjusted is the relative brightness of the fill light to the main light. This controls the intensity of the secondary light source “filling in” the shadow from the main light, which is why the secondary light is often referred to as the filling light.
Fill light ratio:
The term “fill ratio” describes the relative amount of light from the primary and secondary light sources, and effectively determines the overall contrast. For example, a value of 1:4 means that the fill light is a quarter of the intensity of the main light, and a larger ratio produces weaker shadows.
When the ratio is close to 1:2, the effect is usually better. This is enough to produce subtle shadows, but not too strong, and will not completely eliminate shadows (so as to eliminate facial features of the subject).
However, people should always be wary of the seemingly strict rules in photography. Less fill light is usually used for dark “low-key” style portraits with well-defined shadows. More fill light to present a brighter “high-key” style, or just to provide a softer look (such as shooting with a baby). Usually the ratio of 1:2 is an intermediate point.
Position of fill light:
Unlike the main light source, the easiest place for the fill light is to be close to the top of the camera’s axis, but not too close to avoid appearing in the image. Any shadows cast by the fill light on the axis are not visible, so it doesn’t matter if they look difficult (due to the small source).
However, off-axis filling also has its own shortcomings, the worst may be the appearance of fill light shadows. If these shadows are not soft enough, it will result in double shadows that look unrealistic. To counteract this effect, the farther the fill light is from the camera’s line of sight, the larger the light source needs to be.
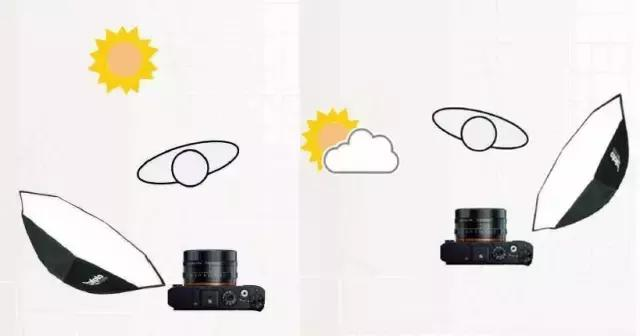
We focus more on scenes where natural light is the main light source, and fill lights or reflectors are used as secondary light sources. However, it can be easily reversed under certain circumstances. Because natural light is sometimes soft light, such as from a cloudy day or a subject in shadow. What people usually need is a main light source in order to produce the best results.
