Some Key Lighting factors
When creating any type of photo, lighting is the most important factor. And lighting is also one of the most difficult aspects to obtain high-quality photos.
In some cases, the lighting is too bright and harsh. On other occasions, it is too dim and dark. So, let’s start to learn more about lighting facts.
Light is colored
All light has a color, or more specifically, a color temperature. Our eyes are very good at detecting these color changes seamlessly and adjusting our vision, so they are usually not noticed.
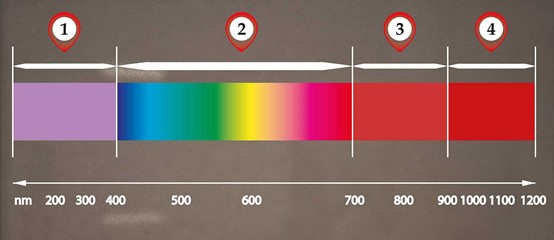
Unfortunately, this is not the case with the sensor in the camera. Your camera’s sensor will record the color of the light it sees unless you specify otherwise.
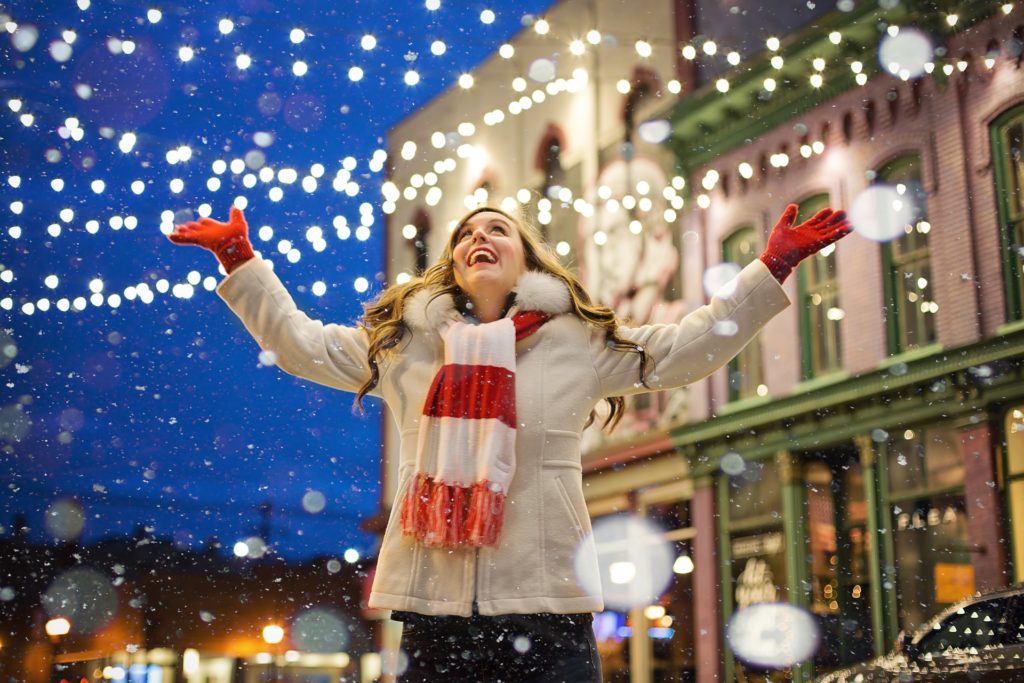
For example, in the image above, the light is very “warm”, and golden tones are common after sunrise and before sunset during golden hours. On the contrary, the light in the middle of the day has a cooler tone, and the appearance is almost blue.
Distance dims your lights
It sounds simple, but it’s still worth mentioning. The further away your subject is from the light source, the darker the lighting will be.
In fact, when the light moves away, it will drop at a very fast rate. If the light source moves twice as far away, you only get a quarter of the original light.
If you find that the light is too dim to meet your needs, move the light closer to the subject or move the subject closer to the light. Or, you can use dim lighting as a creative way.
The fading of light helps define the background
The distance to the light source not only affects the brightness, it also affects the background. For example, if your light source is very close to the subject, they will be brighter, but the background will be more shaded.
Conversely, if you move the light source away from the subject, the light on the subject will be darker, but the background will be brighter. Therefore, if you want to create an image in which the background is invisible, keep the light close to the subject. However, if you want to show the relationship between the subject and the background, keep the light source away from the subject.
If the light is too hard, please enlarge the light source
Suppose you are shooting a portrait and you find that there are harsh shadows on the subject’s face. This may be caused by the subject being too close to the light source.
A simple solution is to choose a wider range of light sources. When a wider range of light sources are used, the light illuminates the object from more directions. This helps to fill in the shadows and provide more uniform lighting to the subject.
Headlights minimize shadows
If your goal is to minimize shadows, then headlights are your best choice.
Not only does the headlight minimize shadows, it also minimizes texture, which is often advantageous when creating portraits of older people who may wish to reduce the appearance of wrinkles.
As you can see in the picture above, there is no shadow on the man’s face due to the use of bright, uniform headlights. On the downside, the headlights are very flat, and because there are no shadows, they are small in size.
Side light increases dramatic
When light enters the scene from the side, it adds long shadows, giving the image the depth and size that the headlight lacks.
This is a popular landscape lighting because it makes the image more three-dimensional. It can also be effectively used for portraits with more artistic talent, as shown in the picture above.
If you are looking for lighting that can bring a lot of visual impact to your images, try side lighting.
The backlight reduces details, but can still be dramatic
When a portrait is backlit, the light source is behind the subject. In the portrait world, this usually produces the outline shown above.
Note how the backlight minimizes the details of the subject, but there is still enough detail to make sure that the subject is the person sitting on the bench.
You can also change the effect of the contour. For darker silhouettes, brighter parts of the sky are exposed. You can even use Photoshop to provide backlighting for your portraits!
Use shadows to create image effects
As mentioned above, sidelights and backlights usually produce more vivid images due to the inclusion of shadows. This is because shadows create volume in the scene, which gives it a more three-dimensional appearance.
This means that if you want to add impact to your photos, try illuminating them from the side, from behind, or from above or below. The shadows created by these lighting schemes are very pleasing.
The use of lighting in the studio-the main light
The main light, as the name implies, is the light source that forms the main tone when we lay out the light. It can also be said that it is the light source that determines the atmosphere of the subject. The main light must be the upper light source acting on the subject, so the light source acting on the environment is definitely not the main light.
Some photographers say that the main light is a “hard” light source, which may not be absolute. The main light determines the tone of the subject, whether the light on the model (or specifically the face) is flat or three-dimensional, and the atmosphere created by the angle of the light is brought by the main light.
Generally, when we are lighting, the first thing to do is to adjust the angle of the main light. I believe everyone has seen many lighting methods on the Internet (may be called not exactly the same), such as Rembrandt, Loop, butterfly light or Paramount light (Paramount), side light, etc.
Investigating the root cause is actually the position of the lights at different angles.
Rembrandt light is a famous painter from the Netherlands, it is a kind of light that is very popular in portrait painting, and it can express the facial structure of characters very well. Generally, it will be a top-down light with a 45-degree angle slightly higher than the model’s line of sight.
Butterfly light is a lighting method used by early Hollywood film factories to shoot actresses. Directly in front of the character, generally at a 45-degree angle from top to bottom, the character’s face forms a shadow like a butterfly.
The ring light is at a 30-degree angle on the front of the model, forming a soft ring on the side of the nose.
The side light, as the name suggests, is the 90-degree light from the side, which is easy to form a yin and yang face, but it can also bring a deep and mysterious feeling.
Because the facial bones of Asians are not as three-dimensional as Westerners, butterfly light and ring light are more suitable. On the contrary, Western models are more suitable for Rembrandt light and side light. Women are not as tough as men, so flat light is more suitable. On the contrary, when shooting men, you can raise the height of the light.
The typical butterfly light uses a white radome (beauty dish) without soft light cloth. It is placed less than 1 meter in front of the human face, and the lower edge is parallel to the person’s line of sight. But I didn’t put the lamp head down, but parallel to the front, so that the light from the edge of the radome would shine on the rest of the model’s body more evenly, and the face would also stick out.
In fact, many times, we love to point the light directly at the model, because there are different light shaping accessories, we think it will produce very different lighting effects. In fact, it is not absolute. We can often use the light from the edge according to our needs, and the light will become soft and natural.
