Table of Contents
How to Properly Grasp the Light Ratio
The effect of light ratio
The ratio of brightness between the bright side and the dark side of the photographed person, object, and scene due to the different degrees of light reception is called the light ratio. Assuming that the light ratio is 2:1 or 3:1, that is, the brightness ratio of the bright side to the dark side is equivalent to the different illumination levels of 200W:100w, or 300W:100w lights.
In terms of exposure, the difference between the former’s light and shade is 1 stop (1 stop), and the latter is 1.5 stops (1.5 stop). The contrast effect of light, dark and light between the two is obviously different, and the contrast of black and white contrast (or shade contrast) is also different.
The part of the subject that receives light directly or receives more light is the bright side, and the part that receives indirect light or receives less light or does not receive light is the dark side. The amount of light received by the bright side and the dark side is similar, the brightness is similar, the light ratio is small, and the contrast of the tone performance is also small. It seems to feel soft (if not used properly, it will feel flat). The difference between the brightness of the light and dark sides is large, the light ratio is large, and the contrast of shades is also large, which makes it appear strong (if use it improperly, it will feel stiff).
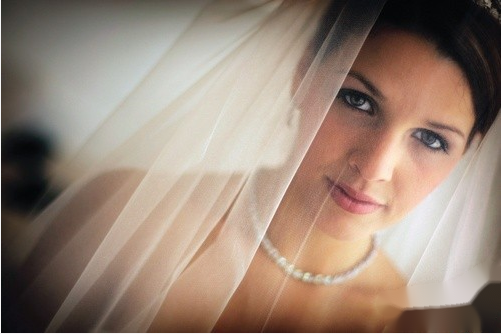
The light ratio is large, the tone is dominated by black and white, and the grayscale in the middle is very small, which is a high contrast effect. The light ratio is very small, the tone is mainly gray, and the necessary black and white contrast is lacking, so it is a bad tone with serious gray cast.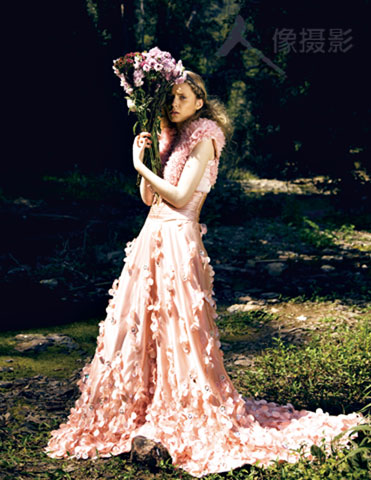
How to correctly grasp the light ratio
The mastery of light ratio is an important means of light modeling for photography. The good tone contrast effect produced by the appropriate light ratio will help greatly enhance the artistic expression of the picture. Therefore, the light ratio should be properly mastered in photography practice.
For example, when shooting portraits under direct sunlight, the dark side of the face will appear darker even though it receives a certain amount of illumination from the sky scattered light. The face light ratio can be moderately improved by adding a reflector or flash for auxiliary lighting. In addition, for lighting photography, in addition to relying on the main light for lighting, a sub-light is also used.
Measures such as multiple flashes or bounce flashes implemented in flash photography all have the effect of forming an appropriate light ratio.
What is the proper use of the light ratio?
- In order to express the softness of the skin of children and girls, or to take high-key photos with white and light gray as the keynote, the light ratio should be 2:3 to 3:1.
- For photos with a slightly soft tone, or normal color photography, the light ratio should be 2:1~3:1.
- For general photography of people, objects and scenery, the usual photos with moderate tonal contrast should have a light ratio of 3:1 to 4:1.
- Take a slightly hard photo, or take photos with backlight or side backlight, and the light ratio should be 4:1~5:1.
- Express the rough image and resolute temperament of young adults, or take low-key photos with black and dark gray as the keynote, and the light ratio should be 5:1 ~ 6:1.
- For photography of backlit portraits or backlit still lifes with bright outlines, the light ratio can reach 6:1 to 7:1.
How to Use the Interior Lighting for Photography
Indoor light source
For indoor lighting photography, you can use the original chandeliers, table lamps, wall lamps and other conditions. In order to increase the brightness, you can remove the lampshade, replace the milky white bulbs, and use 150w-200W bulbs for lighting.
When shooting larger scenes indoors, the lighting positions should be properly spaced. If it is equipped with scattered light from doors and windows, the brightness will be larger. If you use a light-type color roll to shoot, you should close the doors and windows, and only use the light as the light source to avoid mixed light sources that cause color casts in the color film.
Indoor lighting photography, due to the small area and many subjects, if the light is moved too close to the subject, the subject will be bright, and the background will be dim, resulting in uneven light. Therefore, when shooting more objects in indoor lighting photography, pay attention to arranging the lights not too close to the human body, so that each subject can receive light evenly. It is best to choose a photosensitive film with a medium speed or above to ensure that the exposure time is not too long.
Lighting method for indoor lighting photography
The following is a brief introduction to the lighting method of indoor lighting photography.
Key light:
The key light is the main light that illuminates the scene, and plays a leading role in the shape, outline and texture of the object. As the main light of the photographic lamps, there must be enough brightness, so that the photosensitive film can have sufficient light sensitivity. The arrangement of the main light should be higher than the subject to ensure the realism of the photo and achieve the effect of light and dark contrast.
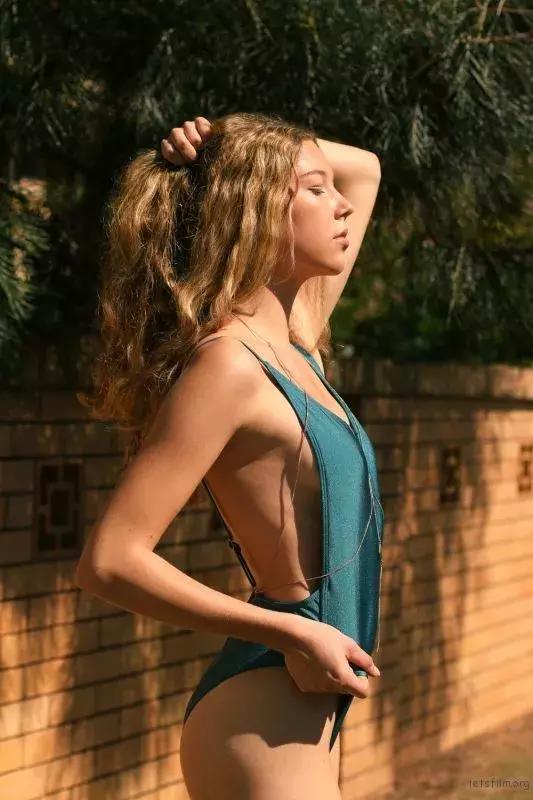
In the absence of other light sources, a main light can also be used for photography. But the contrast is large. Adding a reflector to coordinate some shadowy parts with insufficient light, the effect will be better.
Auxiliary light:
The function of auxiliary light is to assist the main light to illuminate the dark side of the subject. So that the dark side also shows brightness and texture, ease the projection caused by the main light. And it obtain a soft and delicate effect.
Lighting fixtures used as auxiliary light should have lower light intensity than the main light. If the brightness is too strong, another projection will be formed on the subject. The height of the auxiliary light can be the same as the main light. Or it can be slightly lower than the main light. The position of the auxiliary light should not be too close to the subject. It can shine directly at an object. Or it can shine on a white wall and reflect it back to soften the light.
After the position of the main light is determined, move the auxiliary light. Observe the subject and wait until the projection of the key light is diluted and the contrast is coordinated.
The main light and the auxiliary light, used at the same time, are conducive to photographic modeling and ease the contrast. The position of the auxiliary lights should change with the position of the main lights.
Contour light:
Contour light is the light used to outline the outline of the scene. It can form a bright edge on the object, resulting in a clear outline separated from the scene. It can increase the three-dimensional effect of the scene.
Most of the rim lights are backlit and placed behind the subject. The brightness of the contour light is generally higher than that of the main light. Otherwise the contour will not be displayed.

Background light:
The main function of background light is to set off the subject and render the atmosphere of the environment. In portrait photography, in order to eliminate the projection on the background. Or make the portrait and the background not confused, often another astigmatic light is used to directly illuminate the background. In this way, the background and the portrait can form a strong contrast of light and dark. That enhances the sense of space in the photo.
Foot light:
Light shining upward from the lower part of the subject is called foot light. With foot light alone, the lower part of the object is bright and the upper part is dark. It gives people a strange and weird feeling. Foot light can be used as a light distribution in indoor photography.
How to Use Outdoor Natural Light Photography
Direct light and scattered light
Outdoor natural light photography, the lighting source used is mainly sunlight. There are two types of natural light: direct light and scattered light. Direct light is the light that the sun shines directly on an object. This kind of light is strong, the contrast between light and dark is large, and there is a strong projection. Scattered light is the light that the sun shines on objects through clouds and fog. Relatively soft, without significant shading and shadowing.
Outdoor photography, the lighting of natural light is changeable. Changes in weather, different shooting directions, and the angle formed by the sun and the horizon directly affect the lighting effect of natural light.
Generally, the natural light of a day is divided into four lighting times:
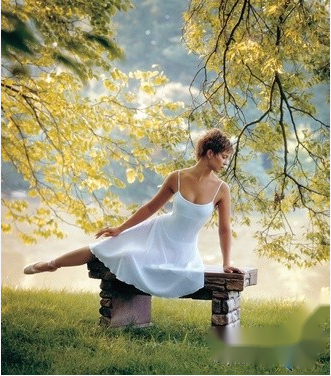
Morning and evening:
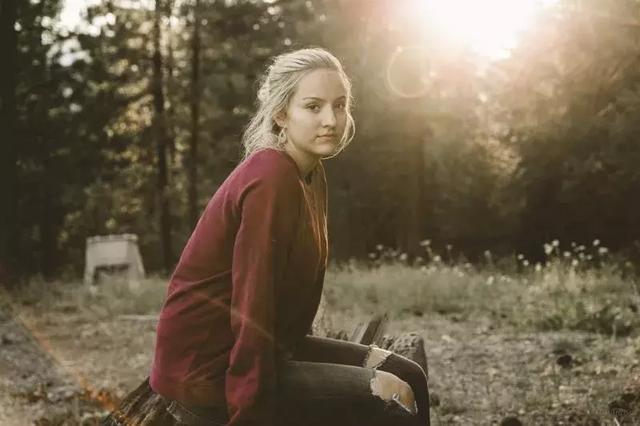
When the sun is rising or the sun is about to set. That is, when the sun is below an angle of 15°, the light is softer and the light is pleasing to the eye. Moist air often forms morning fog or curtain haze, and the phenomenon of air perspective is obvious. The sun exposure angle is low, the scene can form a long shadow. This lighting condition is suitable for shooting content that expresses an emotional atmosphere. When shooting large scenes with backlight or side backlight, it is easy to obtain obvious air perspective effect. If there is morning glow and sunset glow, it will add more interest. You can also take the sun into the picture and process the ground scene into a silhouette or half-silhouette. That will make the atmosphere of the picture more intense and give people a feeling of vigor.
Normal light photography time
The period when the sun is at an angle of 15° to 60° with the ground is usually called the normal light photography time. At this time, the incident angle of the sun is moderate. The vertical and horizontal planes of the ground scene are illuminated. And the shadow part can also be supplemented by the reflected light from the ground. Therefore, the scene captured at this time is clear, bright and rich in layers. That is conducive to expressing the sense of three-dimensionality, space and texture. At this time, shooting portraits, the modeling effect is better. Such as shooting scenery and plot themes, you can get clear tones, rich layers, strong lines.
(To Be Continued)
