Table of Contents
How to Properly Handle the Background
When the main body of the picture does not fill the picture, there is usually a background. The background of the picture can be a blank (expressed as a single tone such as white, gray, black), or it can be a variety of tangible images such as people, objects, and scenes.
The background is the same as the foreground and other companions, and its primary function should be to help highlight the main body of the picture. Under this premise, in order to make the picture modeling have an artistic specific effect, the processing of the background can be changed according to the needs:
1. Clean up the background
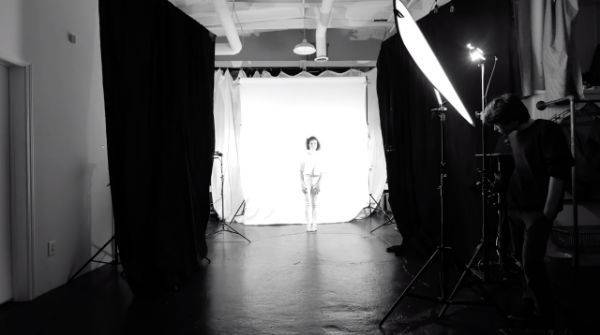
– Shoot close-ups of people, still lifes, flowers, etc. against the sky, white wall or white cloth to form a white background. Black, grey or any other monochrome background can also be used. There is no other tangible image in the background part, just a single empty tone, which is a purified background. The post-processing negatives are painted red and background bleached, also to clean up the background.
2. Lighten the background
——The people, objects and scenes in the background are rendered in light tones. This effect can be achieved by means of air perspective, or by blocking exposure when enlarging the photo, so that the background image is underexposed and faded. If you use a white or light-colored veil to cover the accompanying body when shooting close-ups of portraits, still lifes, and flowers, you can also achieve the effect of diluting the background.
3. Darken the background
——The people, objects and scenes in the background appear dark and heavy tones. The solution is to make the main body of the picture well-lit (in the bright places), and the background lighting is insufficient (in the dark places). Mask exposure can also be implemented when enlarging a photo, overexposing and darkening the background image.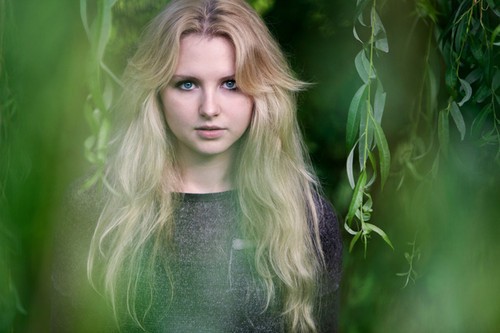
4. Blur the background
——By controlling the depth of field, people, objects and scenes in the background can be blurred. You can also implement occlusion stacking when zooming in on the photo, so that the projection focus of the background image is unrealistic and blurred.
5. Beautify the background
——Choose a patterned or rhythmic scene as the background. For example, use the steps or the stands of the stadium to set off the close-up of the characters, use the sparkling light to set off a light boat, or use the neatly stacked products to set off the portrayal of the image of the worker. You can also use the projection of a flower or just a beam of light to beautify the background. The virtual light magnifies the virtual light effect of the photo, which is also a beautifying background.
How to Express the Three-Dimensional Effect of the Scene in Photography
Photography is a kind of graphic art, which only expresses two dimensions of length and width, and it is easy to form a rigid picture. To make the picture lively, we must use photography skills to make the three-dimensional image of the scene appear on the picture.
Commonly used methods are:
1. Adjust the shooting position to express the three-dimensional effect of the scene.
When shooting from the front, the depth of the scene cannot be seen, and the three-dimensional effect is not strong. When shooting from the side, it can express the front and both sides of the scene, and the three-dimensional effect is strong.
2. Adjust the shooting distance to express the three-dimensional effect of the scene.
When the shooting distance is short, the contrast between the far and small objects on the screen is strong, and the three-dimensional sense of space is strong. When the shooting distance is long, the contrast between the size of the front and rear scenes is weak, and the three-dimensional sense of space will be weakened.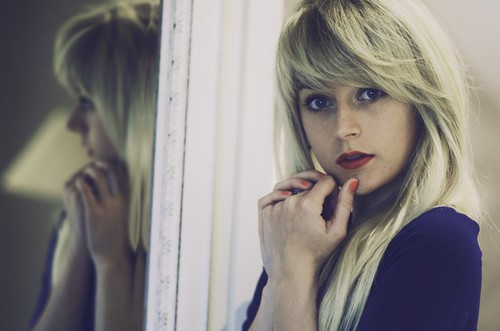
3. Adjust the shooting angle to show a three-dimensional effect.
When shooting at a high angle, the lens captures a wide range and includes many scenes on the screen. The close-up view is larger, and the distant view is smaller, so that the three-dimensional effect of the picture is enhanced. When shooting at a low angle, the foreground is tall and prominent, the background is relatively reduced or covered, the contrast is not significant, and the stereoscopic effect will also be weakened.
4. Adjust the tone contrast to show the three-dimensional effect.
When the tone lacks change, it feels flat. If the tone contrast is large, the three-dimensional effect is prominent. When the subject is bright and the background is dark, the three-dimensional effect is strong. If the subject is dark and the background is bright, it will also increase the three-dimensional effect.
When using forward light illumination, the subject gets equal illumination and lacks stereoscopic effect. When illuminated by backlight or side light, sharp contour lines will appear, and the three-dimensional effect will be enhanced.
5. Adjust the aperture size to express the sense of subjectivity.
When the aperture is small, the depth of field is large, so that the scenes of different distances are very clear, and the photos lack three-dimensional effect. If the aperture is properly opened and the depth of field is controlled, the outline and details of the subject are clear, and the background is blurred, which helps to express the three-dimensional effect of the scene.
6. Adjust the focal length of the lens to express the three-dimensional effect of the scene.
When using a short focal length lens, the picture includes both the foreground and the broad background, forming a strong image size contrast, and the three-dimensional effect will be strong. When using a long focal length lens, the distance between the front and back scenes is compressed, and the picture cannot form a strong contrast, and the stereoscopic effect will be lost.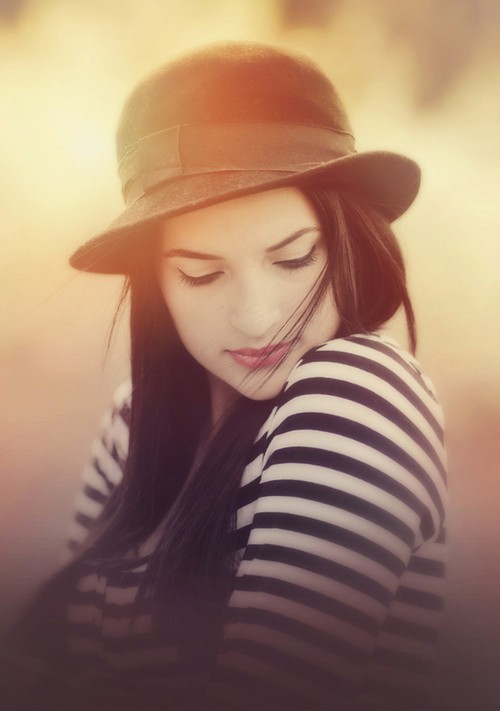
7. Use different filters to express the three-dimensional effect of the scene.
Different filters can enhance or weaken the perspective effect. For example, the blue filter can speed up the sense of perspective and help to form a three-dimensional effect. Using a yellow filter on a foggy day and a cyan filter on a sunny day can subtly thin the film, make some tones stand out, and weaken some tones, thereby enhancing the perspective effect and three-dimensional effect of the photographic scene.
How to Get a Larger Depth of Field
What is Depth of Field
First, let’s briefly explain what depth of field is. When we pick up the camera to focus, we will find that in the viewfinder not only the scene we use to focus on is clear, but also the scene within a certain distance in front of and behind that scene.
The distance between the scene that can be clearly imaged and is closest to the camera to the scene that can be clearly imaged and that is farthest from the camera is called the depth of field. In other words, the depth of field is the clear range of the depth of the scene.
For the same camera, the depth of field range is determined by the aperture and shooting distance. The larger the aperture and the shorter the shooting distance, the smaller the depth of field. The smaller the aperture, the longer the shooting distance, the larger the depth of field. When the aperture is adjusted from large to small and the shooting distance is changed from near to far, the range of depth of field increases accordingly.
How to get a larger depth of field
If we set the distance ruler at ten meters and the aperture at 8, we can make the scene from five meters in front of the camera to infinity clear. At this time, as long as the main scene (person) you want to shoot is within this range, you can take a picture clearly, not necessarily at a distance of ten meters.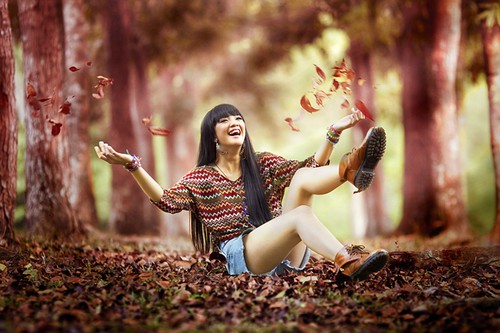
If you want to get a wider range of sharpness, making things clear to infinity at a distance within five meters, you can continue to stop down the aperture, such as 11, 16 or even 22.
Or you can also apply the following method:
First set the distance ruler at infinity. Then you can see that the aperture corresponding to a distance of four meters is 22, then you set the aperture at 22. Then you set the distance ruler at four meters. And you can see from the depth of field table that everything from 2.6 meters to infinity is within the depth of field.
For the convenience of beginners, some cameras have a red dot on the three scale positions of aperture, distance and speed. The red dot is marked in the middle of aperture 8 and 11, between seven meters and ten meters, and the speed is 1/100 of a second. . Putting all three on the red dot when the weather is fine, you can get a clear range from about five meters to infinity.
Obtain a large depth of field range, which is convenient for concentrating and capturing wonderful shots when shooting active scenes.
How to Focus on Moving Objects
In sports games, snapshots and other dynamic photography, the subject is in constant motion changes. This brings difficulties to the photographer to focus accurately. Can you find some shortcuts? The answer is yes.
Hyperfocal distance method: adjust the focus ring of the lens to the hyperfocal distance to take pictures. This method produces very satisfactory results when using short focal length lenses.
Predetermined reference object method: Focus the lens on the area that the moving object will pass through. That can be divided into predetermined depth of field method, area focusing method and predetermined target method.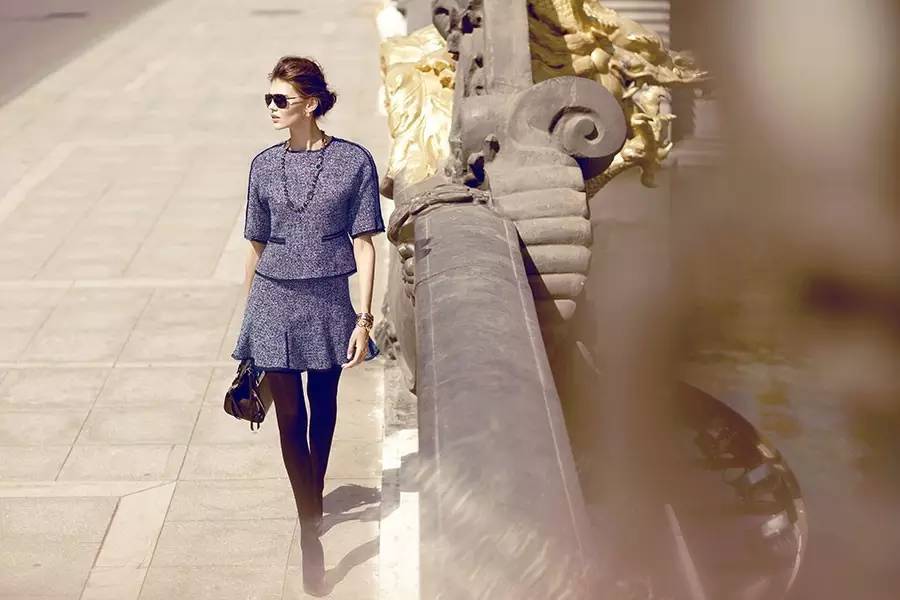
- Predetermined depth of field method:
This method is suitable for moving body photography where the movement speed is not too fast. First choose the aperture and shutter speed according to the scene light. Use as small an aperture as possible to ensure adequate depth of field. The lens is adjusted to a pre-selected distance. And when the subject enters the depth of field, it will be captured immediately.
- Area focusing method:
Press the area where the body moves to focus. To get enough depth of field, it is best to take pictures with a small aperture at a distance of 5 meters from the subject. This method can be used for moving bodies with limited range of motion. Such as stage performances, balance beams in sports competitions, etc.
- Predetermined target method:
If there is a fixed target in the place where the subject is moving, you can focus on this target in advance. Once the moving body enters this area, the shutter can be pressed. This shooting method is very suitable for sports photography such as pole vault, high jump, hurdles, finish sprint, etc.
