Table of Contents
Front Light
The front light is the so-called forward light (the photographer’s shooting direction is the same as the direction of the light). Because the light source of forward light covers a large area and the metering difficulty is not high, it is one of the easiest light environments for beginners to master. However, the disadvantage is that the contrast of the light source is small, which is easy to cause the color of the subject to be flat and lack of transition layers. Therefore, when shooting, it is recommended that players adjust the viewing angle in time to keep the subject in a half-side light state. This can effectively improve the above problems.
Front Side Light
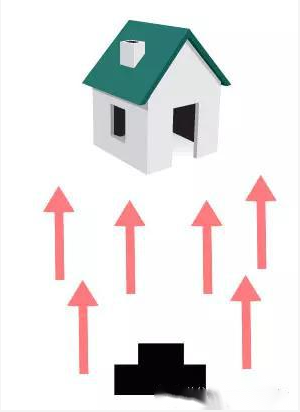
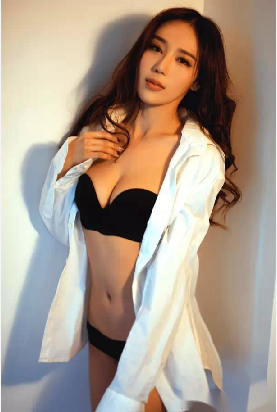
We also call front side light oblique light. Since the direction of light irradiation is just at a 45-degree angle to the subject and the camera, there is a clear difference between light and shade on the subject. However, because the light contrast is moderate, the shadow area is small, and the three-dimensional effect of the picture is strong, it is one of the best lighting methods to express the material sense of the subject. It is generally used for shooting subjects such as landscapes and buildings.
As for the timing of the front side light? If you look at the average of the day, it will mostly appear between 9-10 am and 3-4 pm, which can be used as a reference for photographers when using light to frame the scene.
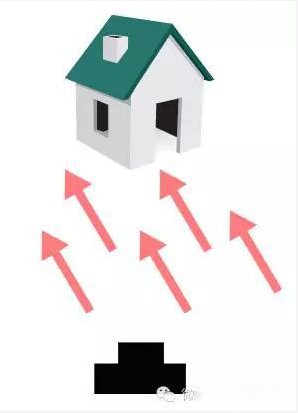
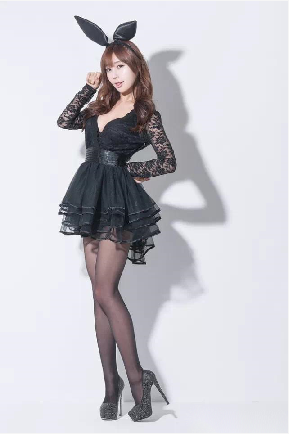
Due to its small contrast and strong three-dimensional effect, the front side light is one of the light methods that photographers generally like to use at present.
Side Light
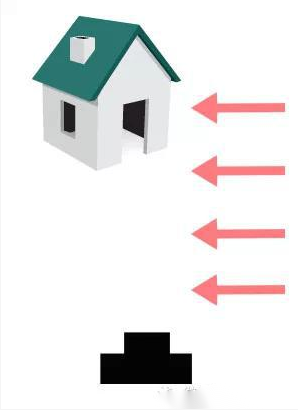
Side light, as the name suggests, is the light from the left or right side of the subject. Since the light is at a 90-degree horizontal angle to the subject and the camera, the light will produce a strong contrast.
Generally speaking, many photographers will use this light feature to create, such as using side light to express the specific mood of the character or highlight a part or detail of the subject, it can immediately achieve obvious effects. However, due to the strong contrast of the side light, we recommend to meter the light according to the bright area first. And then reduce the exposure by 1~2 levels.
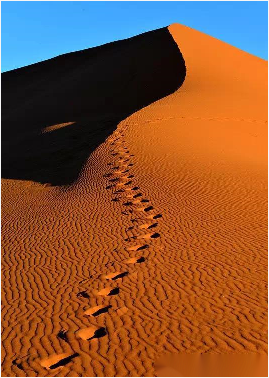
The strong contrast characteristics of the side light are very suitable for expressing the specific expressions or emotions of characters, and can immediately achieve an immediate highlighting effect.
Full Backlight and Side Backlight
Broadly speaking, we can divide backlighting into “full backlighting” and “side backlighting”. In the former case, since the light source is shining directly from the back of the subject, the subject will form a dark silhouette in front of a bright background. Although the picture is simple, it has excellent expressive power, but it is best to actively use the hood when shooting, in order to effectively avoid the problem of glare.
As for the latter, it refers to the light source emitted from the rear side of the subject. That is about 45 degrees deviated from the backlight angle. Since the light source has both side light and backlight characteristics, it can fully express the outline and texture of the subject.
Generally speaking, in addition to natural light sources, the photographer can also correct the side backlight through the reflector or flash to make the side backlight picture more perfect.
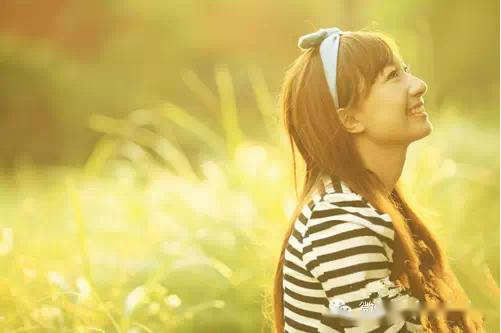
In the field of portrait photography, photographers often use side backlighting to express the outline and silky light of the Model to create a dreamlike effect on the picture.
Top Light
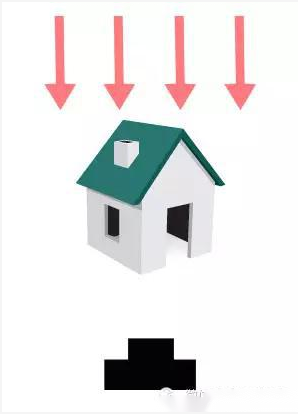
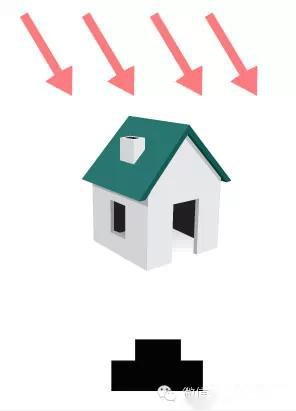
Top light is the light from the top, which forms a vertical angle of 90 degrees with the subject and the camera. Since the light falls from top to bottom, it will leave a noticeable shadow on the subject. Among them, portrait photography has the most serious impact. Not only will it brighten the crown of the head, forehead and tip of the nose, but it will also leave a noticeable shadow on the cheeks, lower eye socket and under the tip of the nose.
Therefore, in general, you should avoid using this light to shoot portraits. If you have to shoot in a top-light environment, we recommend you to adjust the camera exposure compensation value by about 1-2 levels when shooting. So that the picture can obtain a softer light performance.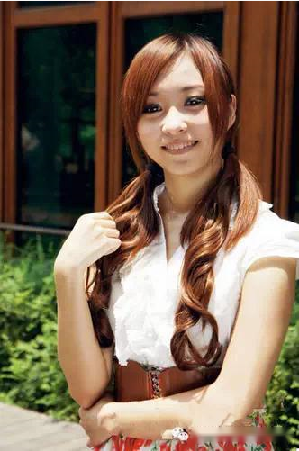
When creating portraits, you should try to avoid using top light for shooting to avoid leaving obvious shadows on the Model’s face.
If you have to shoot in a top light environment, you can adjust the exposure compensation value by 1-2 stops to obtain a picture with accurate exposure.
