Table of Contents
1. What is Macro Photography?
Macro, as the name suggests, is to take pictures of very small things. Because these tiny things are often things we don’t see very often with the human eye, many macro photos strike us as magical.
However, does taking small things all belong to macro? actually not.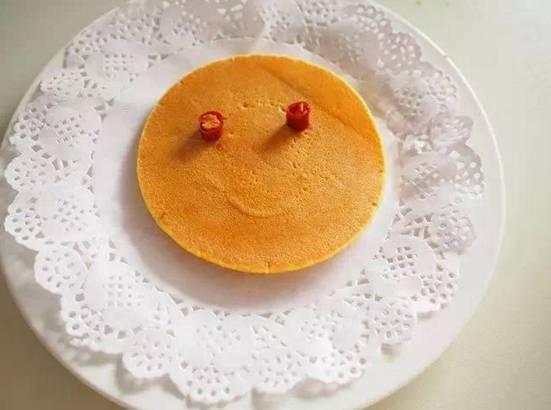
For example, this photo, although it is a cookie, is not a macro.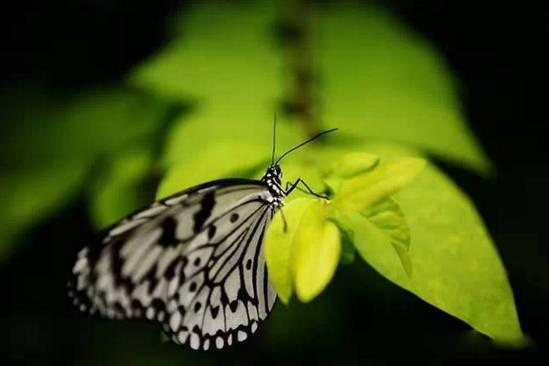
For another example, in this photo, although the head of the butterfly can be seen clearly, it is not actually a macro in the strict sense.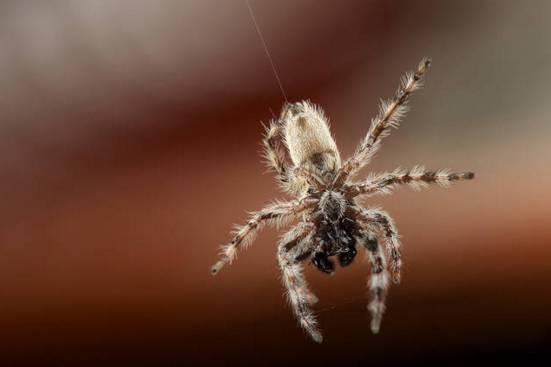
This spider, on the contrary, is a macro photography.
Macro photography does not have a clear definition, and can generally be divided into:
Close-up photography – the magnification ratio is 1:2 ~ 1:1,
Super close-up photography – 1:1 ~ 6:1.
So the question is, what is magnification?
First of all, the magnification is only related to the lens. It is the most important parameter of the macro lens, which expresses the ability of the macro lens to capture subtle things.
So what exactly is macro photography? To put it simply, the objects we see with the naked eye in daily life are about the size of a fingernail, and the pictures taken by macro photography can enlarge the subject to the size of a palm.
For example, the dandelion in the picture below: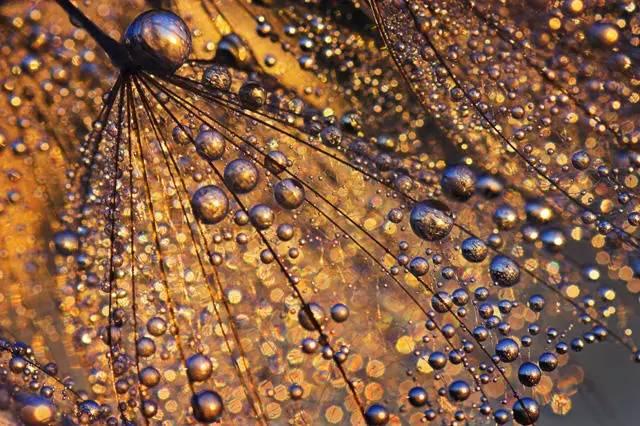
2. Do You Need a Professional Lens for Macro Photography?
To be precise, it is needed. Friends who have some knowledge of photography know that if you are too close to the subject, you cannot focus. Therefore, for macro photography, ordinary lenses cannot meet the shooting needs.
If you want to take a close-up shot with a general photography lens, you need to add a close-up lens, a close-up ring or a close-up skin cavity and other close-up accessories to the lens before you can do it.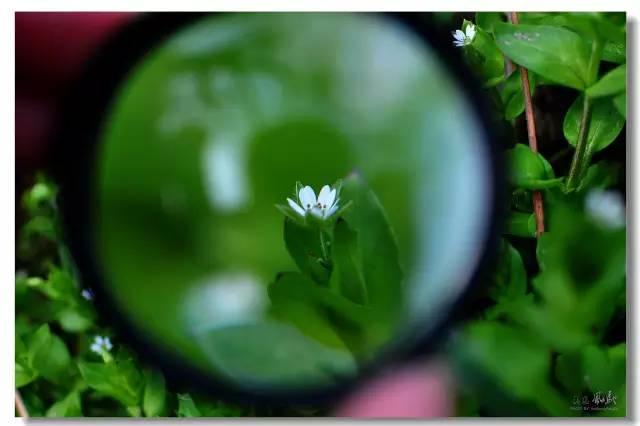
To shoot the perfect macro shot, it is best to have a professional macro lens. Macro photography lens is a photographic lens that is specially designed to shoot tiny subjects or remake small pictures. The resolution of this lens is quite high, the distortion aberration is very small, and the contrast is high, and the color reproduction is good.
Lens manufacturers on the market now attach great importance to macro lenses, so the quality of each lens is not bad. However, macro lenses are generally expensive, and you better do what you can. You don’t have to spend a fortune on a macro lens if you only shoot macro occasionally.
3. Precautions When Shooting Macro
A: Aperture:
It is best to use a large aperture. Under normal circumstances will not use an aperture smaller than F16.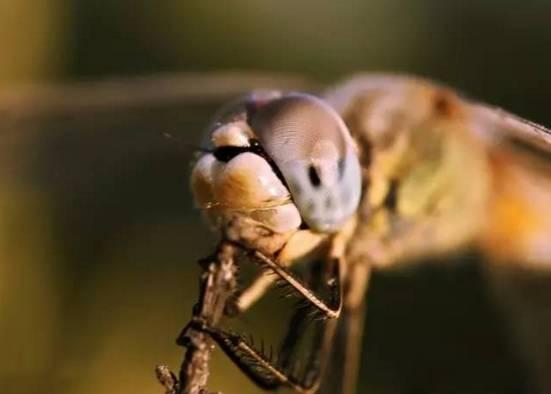
B: Choice of focus
Different focus options can create different image effects. When moving the focus, the subject should be in the middle of the frame. Under normal circumstances, you should select the most attractive part of the screen, that is, the part you want to express the most, and keep the shutter half-pressed. After the focus is clear (wait for a while for the camera to focus), press the shutter calmly to avoid blurred photos.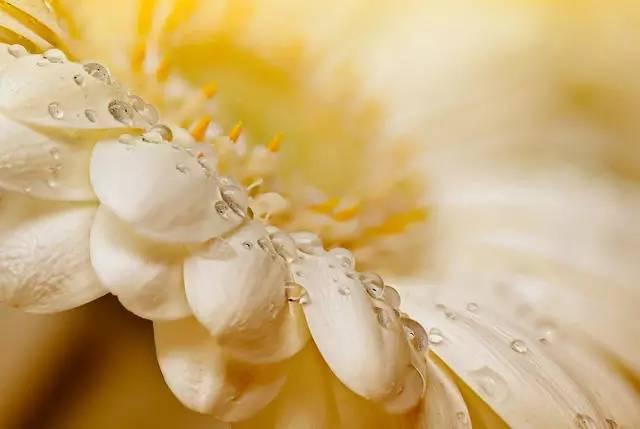
C: Focus and Depth of Field
Depth of field is often the key to success or failure in macro photography. Because the lens is so close to the subject in macro shots, the depth of field is generally shallow and the background is barely visible. But sometimes in order to emphasize the effect of the picture, it is necessary to properly strengthen the depth of field. Therefore, special attention should be paid to the adjustment of focus and depth of field.
Depth of field generally depends on three factors: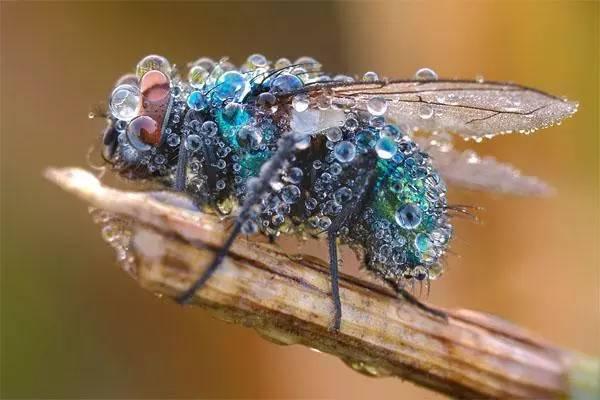
Aperture size.
Under the same focal length, the larger the aperture, the shallower the depth of field, and the smaller the aperture, the deeper the depth of field. In order to show the details of flowers, birds, fish and insects in macro photography and increase the clarity of the subject vertically, it is generally appropriate to use a larger aperture value to deepen the depth of field.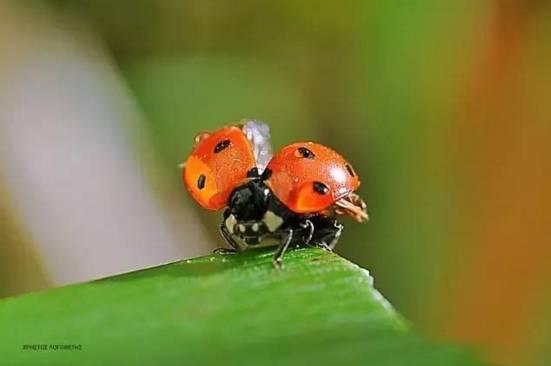
The distance between the lens and the scene
The farther the distance, the deeper the depth of field, and the closer the distance, the shallower the depth of field. When shooting, it is best to put the subjects to be photographed in the same plane perpendicular to the lens axis, otherwise some subjects may not be sharp enough. If conditions permit, you can configure a wide-angle lens, which not only increases the depth of field, but also allows you to get closer to the scene.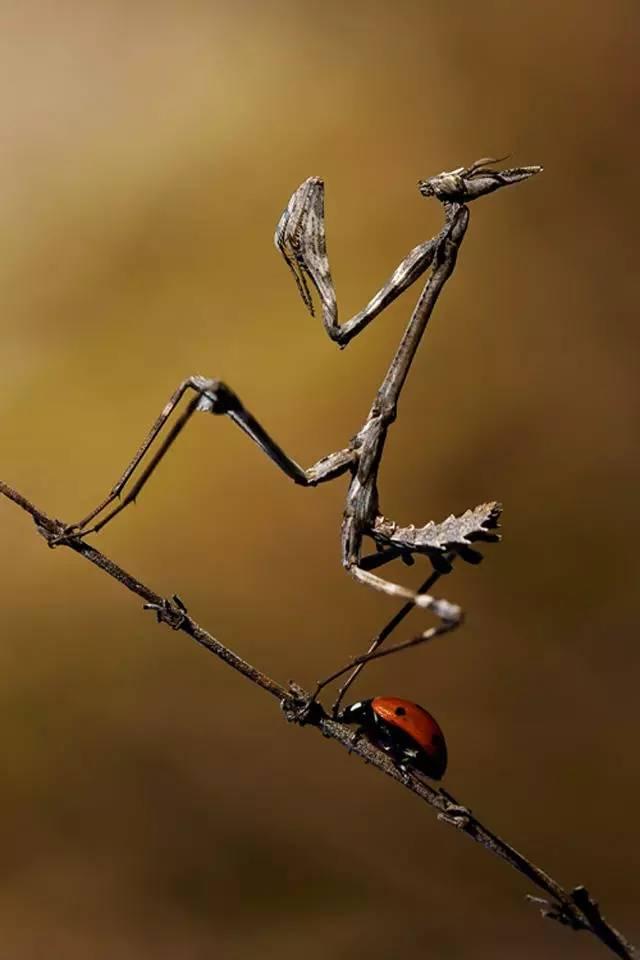
focal length
The larger the focal length, the shallower the depth of field, and the smaller the focal length, the deeper the depth of field. Different combinations of apertures and focal lengths can produce different depths of field. We should learn to use the combination of aperture and focal length reasonably, which can not only blur the background, but also ensure that the subject is clear. If you use the telephoto zoom for macro shots, you’ll get less than ideal photos.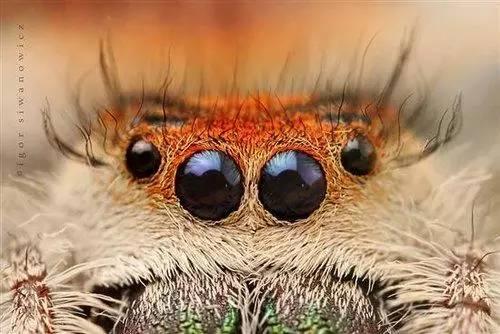
D. Exposure and Background
Macro photography exposure procedures are slightly different than normal photography. Because macro photography items are generally very small, occupying a small part of the space. The exposure procedure is likely to be fooled by the background, so it’s best to artificially add a background when shooting to make the subject stand out more.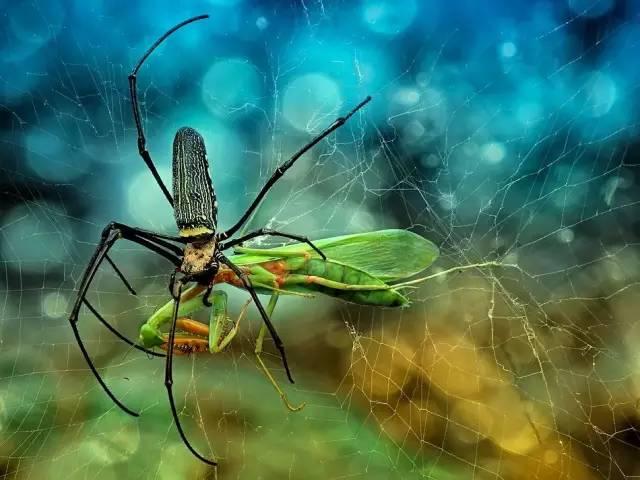
Generally, a neutral gray paper can be chosen as the background. Using gray on the one hand can make the exposure more accurate, and on the other hand, using gray can make the background appear very light. This color can be matched with normal colors. White or black backgrounds can also be used, but special care must be taken when exposing them, as they can easily lead to inaccurate exposures, resulting in over or underexposure. Then you need to use exposure compensation to adjust. If the background is too dark, increase the exposure, if it is too bright, decrease the exposure.
E. Control of light
Light control in macro photography essentially adjusts the ratio of natural light to artificial light. The correct operation of light can create different atmospheres and moods. But generally do not use flash. Although the flash can shorten the exposure time, obtain a deeper depth of field, and reduce the impact of exposure shake or object movement, it is more difficult to use the flash in macro photography than in normal mode, and it is easy to cause overexposure.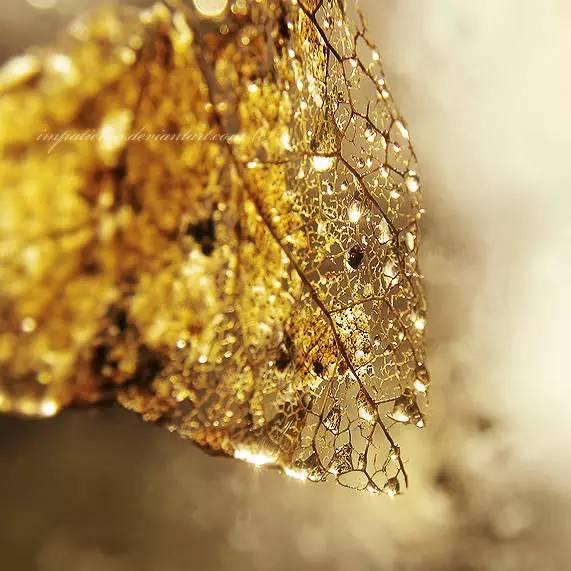
Therefore, general photography enthusiasts should pay attention to the direction of light irradiation when taking macro shots. Make the most of natural light and make sure it hits the subject evenly. In most cases, light coming in from the side accentuates the texture of the object better. If the natural light is insufficient or the light exposure is inappropriate, you can use a flashlight or a white foam board (acting as a reflector) to fill in the light.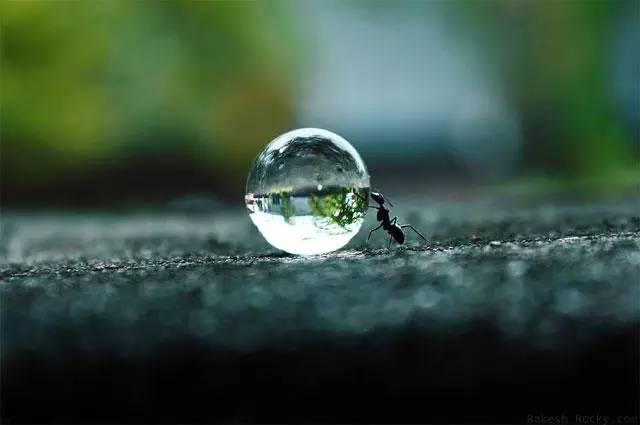
4. How to Take Excellent Macro Photography?
What’s the trick? Take macro shots without asking anyone. The most practical macro photography tips are here.
Leave the subject’s sight space
When photographing insects, animals and portraits, one principle should be followed: leave room for the subject’s sight. Because the line of sight itself is an invisible guiding line, the audience’s attention is easily led to the direction of the subject’s line of sight.
As shown in the figure below, the head of the insect is facing to the right, so leave some space on the right side of the screen, so that the audience’s line of sight can also be extended, making it more comfortable to watch: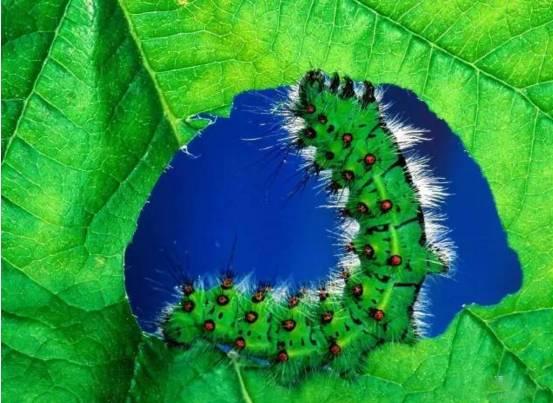
On the contrary, if there is not enough space in front of the head, does it feel awkward to look at?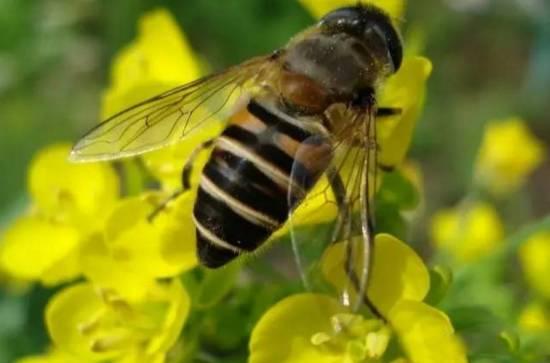
A more conservative composition is to follow the rule of thirds. But sometimes it can be more extreme, increase the ratio of the main body to the reserved space, create an edge composition, and use white space to deepen the visual impression: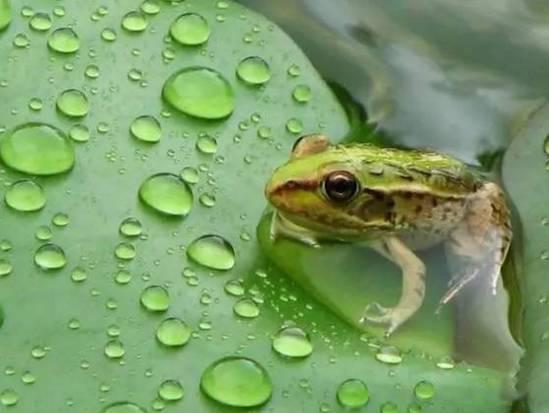
However, when reserving space, you also have to consider whether there is an interesting scene or special light and shadow in front of the line of sight, will it be too monotonous?
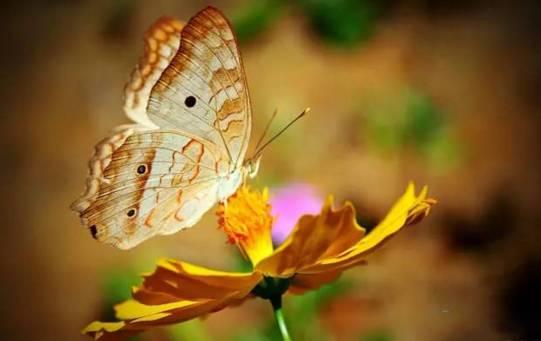
As shown in the picture below, there is no other scene in the space in front of the butterfly. Fortunately, there is a special light and shadow, you can take which as out-of-focus bokeh. Otherwise I really dare not leave so much space.
Is the subject complete
Some people will be confused when they see this title. But if you look at the example in the picture below, you will understand immediately.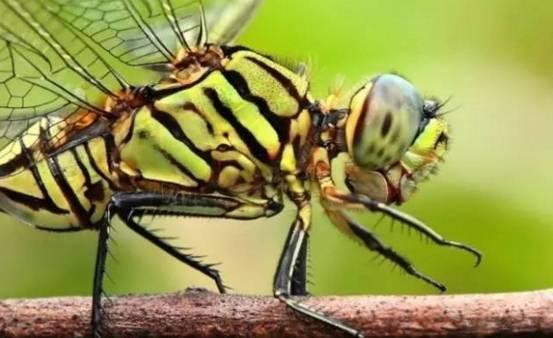
In addition to letting the subject be in full shadow, there is another way of expressing it. Often, in order to better highlight the key points, the key points are enlarged for visual effects. And the rest are omitted. Anyway, everyone on earth knows what a dragonfly looks like.
Use lines to make the picture more lively
When shooting macros, controlling exposure or using black card stock to create a pure black background are common techniques.
When shooting the insects on the leaves from above, the edges of the leaves against the black background will form a graceful curve. That makes the picture more lively. Consider leaving more space for the leaf edge curve when composing the picture.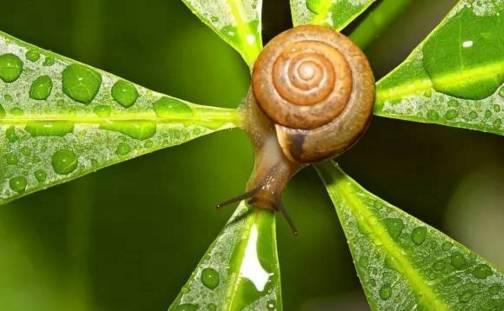
When shooting the “side face” of insects, you can use the edges of branches and leaves to express the shape of similar lines to enrich the layering of the picture: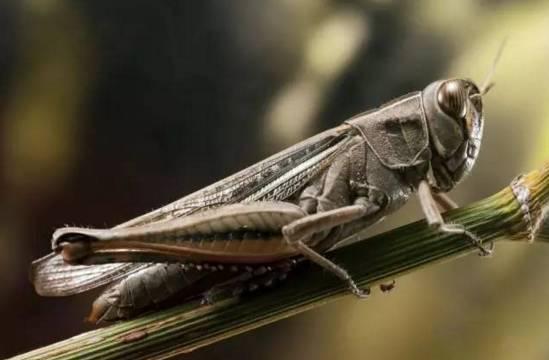
In addition to leaf edge curves, leaf veins are also natural lines that are worthy of our good use.
In particular, the leaf/grass surface with a long strip shape as a whole, numerous and obvious leaf veins, and parallel arrangement is a very strong visual guide line. That can effectively strengthen the directionality of the picture.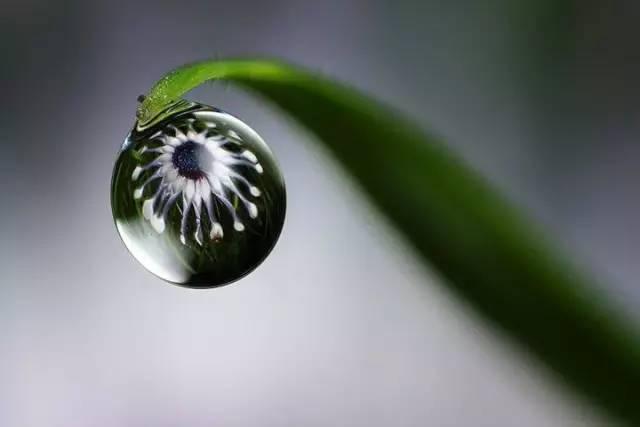
Don’t be greedy
When there are multiple animals in the picture at the same time, most photographers will choose to have them in the same focal plane and share a clear composition.
In this way, although more individual creatures can be photographed, it is better to keep them apart to form a contrast between the virtual and the real, the detailed and the subtle, and enhance the layering of the picture. 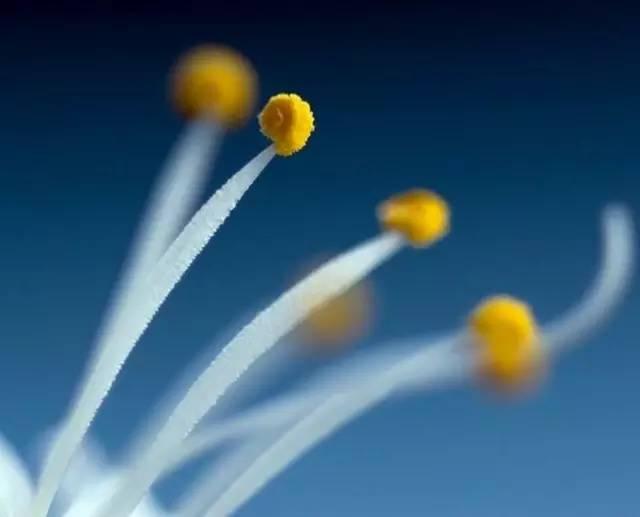
In short, it must be remembered that the essence of composition is the rearrangement and combination of various elements of the picture, in order to make the overall picture look more comfortable or eye-catching.
