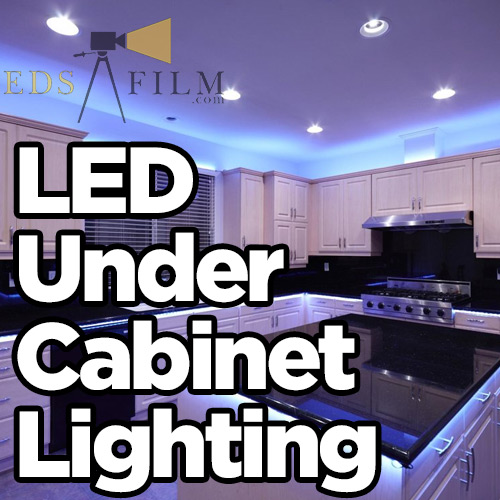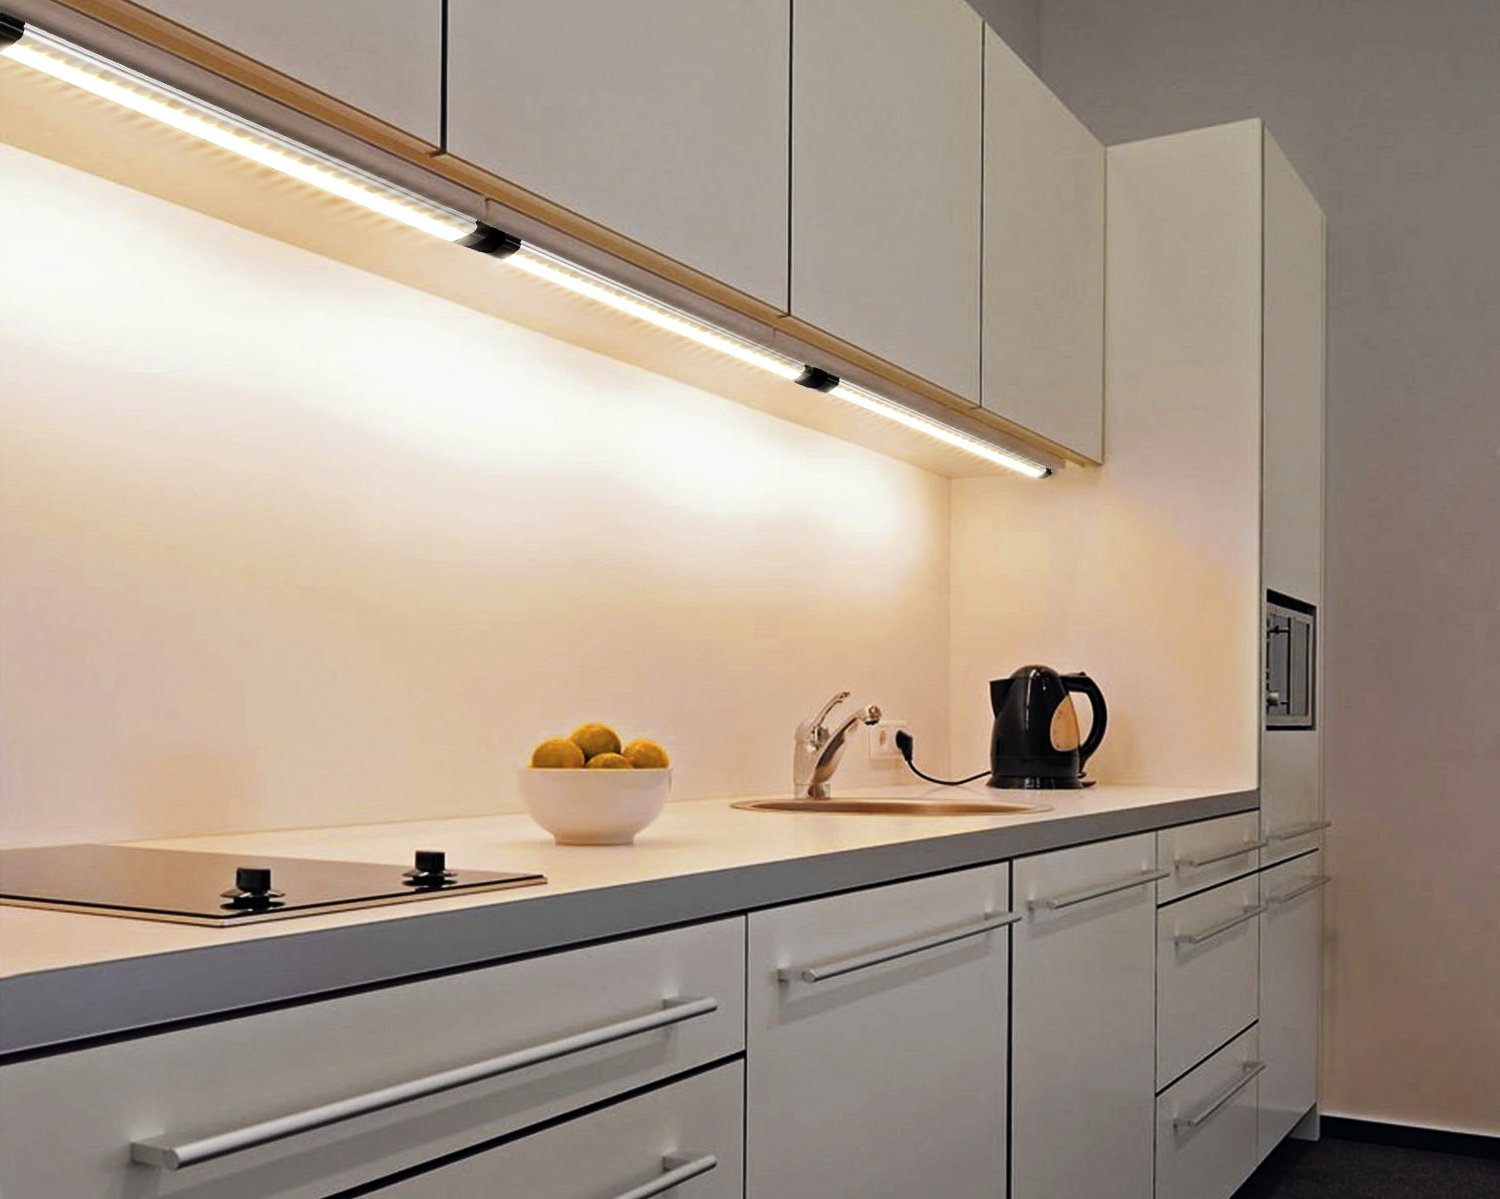


LED under cabinet lighting can change the look of any room, particularly the kitchen where there are lots of cabinets. The LED under cabinet lights provides an ambient glow that shines upon the counters or workspaces. These lights offer a uniform distribution of light under the cabinet so that the area below the cabinets remains illuminated. These lights are particularly used at night when the general lighting is switched off or when additional light is needed to increase the brightness of the workspace.

How to install under cabinet LED lighting?
LED under cabinet lighting is a very beneficial thing but the question is, how to install under cabinet LED lighting? Installing LED under cabinet lighting is not a difficult task and one can install it easily using simple DIY techniques.
Sometimes the under cabinet lights are also available in the form of LED strip lights or tape lights which are even easier to install. The LED strip lights or tape lights have adhesive materials at their back which is covered with a plastic material. After removing that plastic material, those LED strips can be stick anywhere on the wall, or under the cabinets. Following steps are required to install under cabinet LED lighting:
1. The first step is to choose the various types of under cabinet LED lighting. There are different correlated color temperatures for these LED lights and they are available in warm white and cool hues both. There are task LED lights, accent lights, and LED strip lights available for under cabinet lighting. There are dimmable LED under cabinet lighting systems available too.
2. Warm correlated color temperatures are good for under cabinet lighting as they provide good illumination and promote the feeling of comfort and relaxation.
3. You’ll need supplies such as measuring tape, wire strippers, electrical tape, nuts, scissors, solder connector, and extension. It is also necessary to make sure that there is a power supply near the cabinet under which you want to install the LED lights.
4. Before installing, check the LED lights to make sure whether they are functional or not. Testing the LED lights is an important step before installing them. Testing can be done by attaching the uncut lights to the power supply and checking whether they are bright enough for under cabinet lighting purposes or not.
5. Now take measurements and cut the LED strip lights with scissors. Measure the area under the cabinet and the place where you want to install the LED lights. LED strip lights have clear marks so that they are cut evenly.
6. Cut the low voltage wire to length and wrap the positive and negative ends of the wires that are exposed. Use wire nuts to make the connection secure.
7. Now connect a solderless connector to the LED strip light. Peel the plastic cover half an inch and leave some space for connection.
8. Secure the locking tray in its original place and make sure that the mounting tray is placed correctly and closed securely.