Table of Contents
A Compulsory Course for Photographers–Learn to Take Backlit Silhouette Photos
Digital cameras have become popular, and many people have their own digital cameras. But having a digital camera does not mean that you can use a digital camera, just like being able to take pictures is not the same as being able to take pictures.
In the face of a lot of dull photos taken every time I come back from a trip, it really makes people feel that there is nothing special about this digital camera in my hand. However, I often hear that many photographers use very common models to create, and I can’t help but feel the gap between myself and the masters. In fact, through some very simple tricks, you can make the photos you take more like a created work. Today we are going to talk about taking silhouette photos.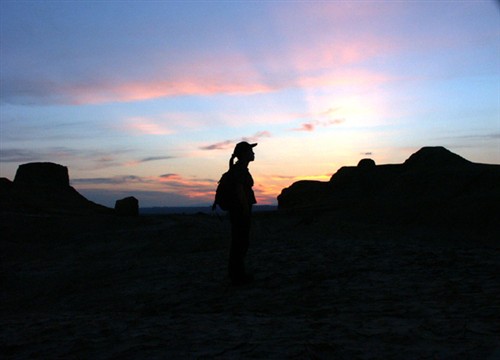
The silhouettes in your albums can boost your level
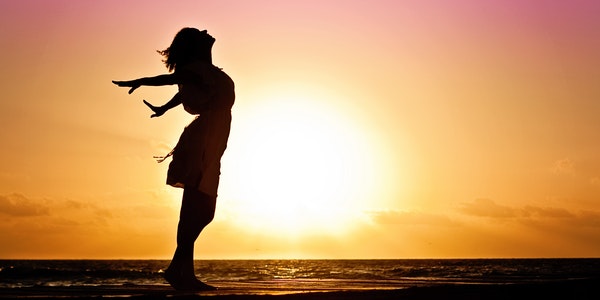
Silhouette photos express the outline of the subject. Whether photographing people, mountains or buildings, what will appear in the photo will be a dark outline. The details of the object’s performance are no longer our concern, and the sharp shape cut by scissors is what we seek.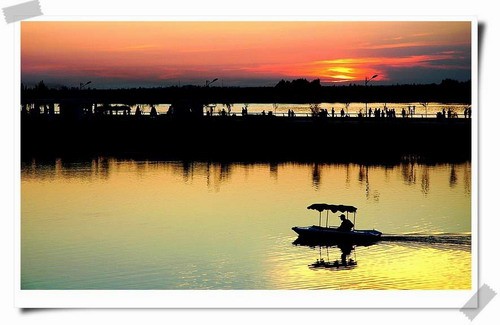
This way you can also take silhouette photos
Principles of Shooting Silhouettes
Silhouette photos can describe the pose of the target well, and the background is well highlighted, so the photo has a strong sense of environment. Although the faces of the characters cannot be clearly seen in the silhouette photos, which does not meet the needs of taking souvenir photos in general, the appearance of silhouette photos in your albums will definitely make your photography skills more convincing. So how do you take a silhouette photo?
The silhouette photo is shot through the principle of backlighting, so that the target is between the photographer and the light source, and the front of the target cannot be directly illuminated, even close to complete darkness. The level of the background (usually the sky), the color performance is more adequate. Seeing this, friends who are familiar with the principle of camera photography already know that the silhouette photo is actually a photo based on background metering. Let’s take a look at the specific method of silhouette.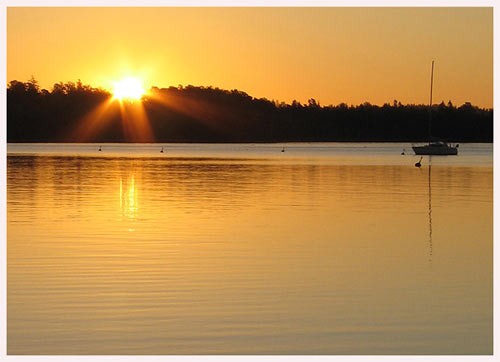
Metered by the water, the trees and boats will be underexposed, creating a silhouette
How to Take Silhouette Photos
First, it’s not always possible to take silhouette photos. Generally choose early morning or evening. When the light is soft, the texture is good, and the polarized light is less. It is easy to take good photos. At the same time, since the light is not as strong, the front of the subject is not illuminated by various reflections. As for the sky, colors and layers can also be better expressed in soft light, which is in line with the background requirements for silhouette photos.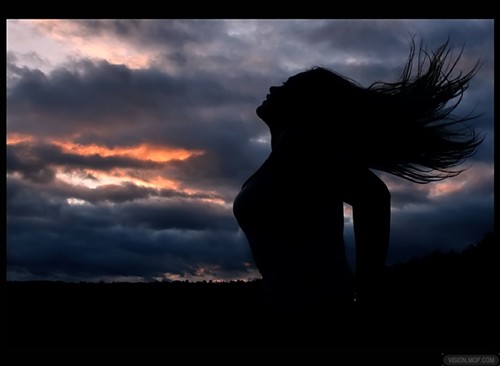
Silhouette photos emphasize the shape of the subject and the color and detail of the background
Next is the camera settings. To take a silhouette photo, to make the subject almost completely black, the subject is underexposed. Most photographers will use manual exposure mode, close the aperture and speed up the shutter speed. Generally, the aperture of F8 ~ F11 is used, and the shutter speed is determined according to the needs. When the light is relatively strong, it is generally necessary to use a dimming filter.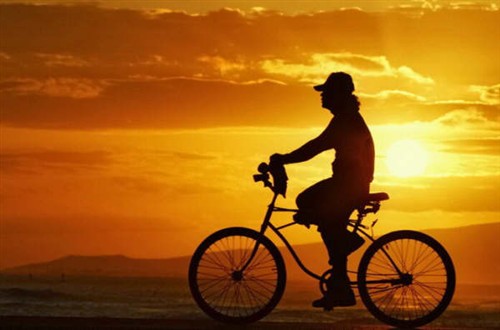
Timing of Shooting Silhouettes Matters
When shooting, the first thing to do is to find the right scene so that the rising or setting sun is behind the building or person we want to shoot. Use the M file to adjust the aperture and shutter. Since the digital camera we use is very convenient, we can take a picture first to see the effect and check the exposure. In particular, the exposure of the sky is not appropriate. So what is the appropriate exposure for silhouette photos? What should I pay attention to when shooting?
Since you want to shoot silhouette photos, you must make the photos show the expressiveness of silhouette photos. First of all, fully display the physical characteristics of the silhouette subject, and vividly integrate the figure and the background. Since in silhouette photos, there is basically no color and detail display of the subject. So the requirements for the physical characteristics of the subject are very high. Therefore, when creating, it is best to carefully grasp the subject’s posture, choose the framing angle. And grasp the shooting opportunity.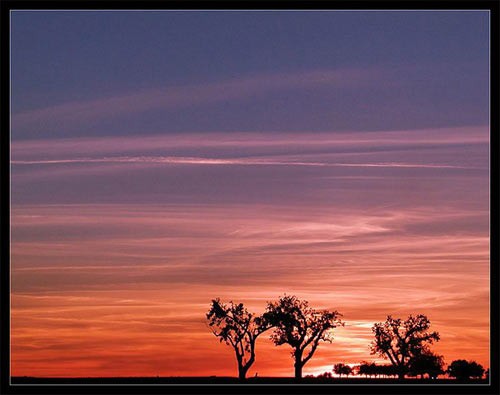
Main body shape and background color are the focus of silhouette photos
Also, as I said before, the timing of the shooting is very important. The acquisition of silhouette photos takes full advantage of the difference in light between the subject and the background. Generally speaking, we can take advantage of the backlight at sunrise and sunset, because the light is the softest at this time. Choose the position and angle in advance and wait for the best light to appear. In addition, the red sky reflected in the morning and evening glow is also a great time to take silhouette photos.
The shape of the subject is very important for silhouette photos
Accurate Exposure
It can be said that in addition to the subject’s posture and outline. Accurate exposure is the most important detail in a silhouette photo. Here is a little trick. When taking silhouette photos, the exposure should follow the principle of underexposure rather than overexposure. And the exposure should be measured according to the background. Only in this way can the subject be severely underexposed, form a strong silhouette, and fully express the subject’s posture.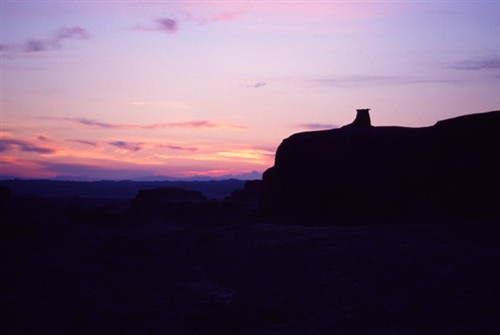
The main body in the silhouette photo is all black, it is best not to take up too much area
After you have a feeling for the lighting conditions for taking silhouette photos, you can use the spot metering and exposure lock functions to easily achieve a silhouette effect. The method is to switch the camera’s metering mode to “spot metering”. Then select the metering point on the bright part of the sunset on the right side of the building for metering. Press the camera’s AE Lock button to lock the exposure value. For cameras without AE exposure lock function, you can hold down the shutter button halfway to lock. Finally, re-adjust the composition and shoot with the exposure combination just now. This results in a perfect silhouette effect.
