Table of Contents
What Photographic Equipment and Accessories Should I Bring When Traveling to Photograph People?
1. Photographic equipment
The photographic equipment to be carried when photographing people in travel is generally light. Usually, to take a commemorative photo of the tour, holding an ordinary small 135 camera or a “point-and-shoot” camera can be used.
If you plan to further engage in character photography, such as shooting some local customs, etc., it is best to carry a 135 single-lens reflex camera with an interchangeable lens and a 28-80mm zoom lens. This is easy to adapt to photographic needs, while reducing the size of the equipment.
Alternatively, while using the original standard lens of the camera, one 24-28mm wide-angle lens and one 85-105mm mid-focus lens can be configured for selection. If you need to take color and black and white portrait photography at the same time, it is best to have two bodies, respectively, loaded with color and black and white film, used alternately. If you are carrying a 120mm single-lens reflex camera with an adjustable back, you only need one.
2. Accessories
No matter what camera you are carrying, a lens hood and No. 2 yellow filter should be included. If conditions permit, it is best to bring various main filters (including UV mirrors, skylights, polarizers, etc.) commonly used in color and black and white photography, as well as yellow, red, and green filters for black and white photography. You can also carry a small electronic flash or a self-made reflector for auxiliary lighting.
To keep the camera and lens clean at all times, bring lens paper and lens brushes. It would be ideal if you could bring a blower. When traveling to photograph people, since the angle can be freely selected for handheld photography, the tripod is not used many times and does not need to be carried. But if you can bring it with you in case of emergency, of course it is better.
In addition, it is advisable to prepare a pocket notebook to briefly record the shooting situation, including date, weather, time, occasion, person, aperture and shutter speed used, etc., so as to accumulate relevant data and refer to it at any time, so as to continuously improve the level of photography.
What Additional Lenses Are Commonly Used for Black and White Portrait Photography?
In black and white portrait photography, the commonly used additional mirrors in front of the camera lens include two series of changing the properties of color and light and changing the imaging result. For example, the former are various colored filters, sky filters, UV mirrors and sky light filters. The latter such as diffuser, blooming mirror and close-up mirror and so on. It is described as follows:
1. Additional mirrors are commonly used to change the properties of color and light
1) Various color filters
This type of filter is made of colored and optical glass, and there are yellow, green, red, orange, blue, etc., which are named after each color. Its function is to prevent or reduce the unwanted color light, and relatively increase the amount of light passing of the desired color light, so as to change the color sensitivity of the photosensitive film.
In black and white portrait photography, the yellow filter is the most commonly used. For example, in the case of blue sky and white clouds, once it is used when shooting outdoor people, it can absorb part of the blue light, so that the blue sky on the film is less sensitive, so that the sky is slightly darker on the photo, and the white clouds are clearly prominent. . Otherwise, the blue sky and white clouds will be mixed into one color, and it will become a white sky, which is tasteless.
The yellow filter can also enhance the texture level of characters and express delicate and realistic skin tones. It also has the characteristics of large light transmission range and low light blocking rate. Therefore, when adding a light yellow filter, you only need to open the aperture by half a stop, and when adding a medium yellow filter, you only need to open the aperture by one stop.
2) Sky Filter
This is a half-yellow or light-grey, half-transparent colorless add-on mirror. The edge of its colored part is dark to light, and gradually transitions to colorless and transparent, so it is also called a gradient filter. Its role is to adjust the contrast between the sky and the ground. Specifically, the colored parts can absorb the sky’s violet blue light or reduce the intensity of the sky light, limiting the exposure of the sky part on the film, and making the ground part more exposed on the film. When using, the colored part should be facing up, no need to increase the exposure. When shooting people in backlight, adding a sky filter will give a better effect.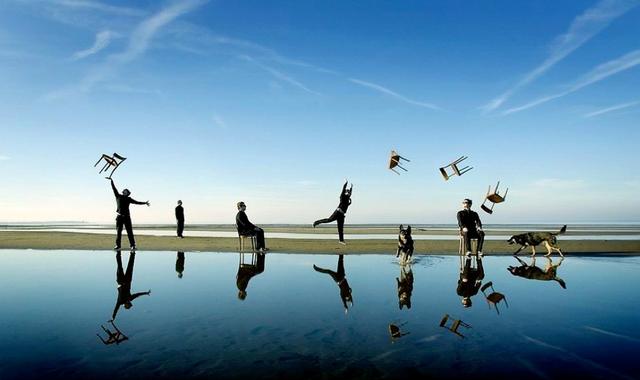
3) UV mirror and sky light mirror
Most UV mirrors are colorless, and some are slightly yellowish. Skylight mirrors are nearly colorless or slightly reddish. Their role is mainly to absorb ultraviolet rays in the atmosphere. Ultraviolet rays have a serious impact on photography in alpine areas, often hindering the clarity of images. After adding a UV mirror or a skylight mirror, the influence of ultraviolet rays on the photosensitive film can be eliminated, and the image clarity can be improved, especially for distant scenes.
Since the UV mirror and skylight mirror are colorless or nearly colorless, there is no need to increase the exposure, and there is no side effect for photography in any situation. Therefore, it is often worn on the lens to protect the lens.
2. Change the commonly used additional mirror for imaging concretions
1) Diffuser
The diffuser partially refracts the light passing through the lens, so that the photographed image can maintain a certain clarity, and the contrast of the tone can be softer and more natural. The diffuser has various structures. Generally, circular corrugations of different density are made on transparent glass, or a mesh woven from nylon wire or other fibers is used to achieve the purpose of dividing and refracting incident light. After adding a diffuser, take close-up photos of women and children, which can make the image soft and pleasing to the eye.
2) Halo Mirror
The shape and structure of the halo mirror is that a circular hole is opened in the middle of the glass lens, and the surrounding is sand-like. Because of the hollow in the middle, wearing it in front of the lens will not affect the focus of the main image. When shooting a person, arranging the face at the position of the round hole can get normal sharpness, while the image around the face is hazy and hazy due to the influence of the sand on the lens. It is advisable to use a single-lens reflex camera to photograph people with vignetting lenses. Because the photographer can directly observe the blurring of the image through the camera’s viewfinder.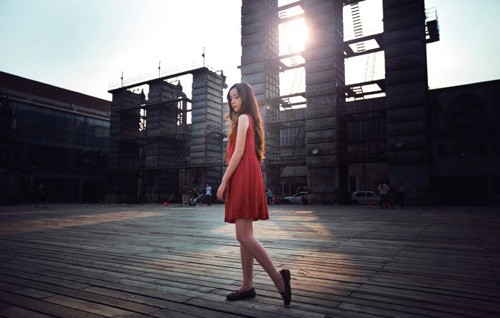
3) Close-up lens
A close-up mirror, also known as a half-length mirror, is a convex positive lens. After wearing it, the focal length of the lens can be shortened, thereby shortening the closest shooting distance, expanding the image of the person, and making full use of the area of the photosensitive film. When shooting, it is generally not necessary to increase the exposure, but use a small aperture to increase the darkness and prevent the four corners of the negative from being blurred.
In photography practice, close-up lenses are not suitable for taking close-up shots of people, because the shooting distance is relatively close, which is prone to deformation defects.
In addition to the above commonly used add-on mirrors, there are also many special effect add-on mirrors such as multi-shadow mirrors, starlight mirrors, and neutral gray mirrors. After being added, the former two can obtain the effect of multiple images and different radial rays respectively, and the latter can reduce the amount of light passing through.
What Additional Lenses Are Commonly Used for Color Portrait Photography?
Color portrait photography, in order to correctly reproduce the original color of the characters, generally only use colorless, neutral gray or very light color additional mirrors under the correct color temperature lighting. It is not advisable to wear colored filters for black and white portrait photography in front of the lens.
Because UV mirrors, skylight mirrors, diffuser mirrors, halo mirrors, close-up mirrors, and various other special effect additional mirrors are colorless, light-colored or nearly colorless, they are not only used for black and white portrait photography, but also Suitable for color portrait photography.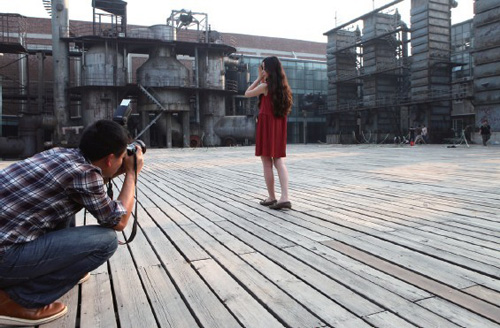
Secondly, in color portrait photography, when the color temperature of the lighting source and the color temperature balanced by the color film do not match, in order to obtain correct color reproduction, a color temperature conversion filter should be added in front of the lens.
Color film is generally divided into two types: daylight type and light type, and most of the color negative films sold on the market are daylight type. Daylight-type color film should be shot under daylight or electronic flash lighting with a color temperature of 5,400-5,600K. If you shoot under tungsten lighting, you need to add a blue filter in the color temperature conversion filter series to increase the color temperature, and you need to increase the exposure by about two steps.
Likewise, light-type color film should be shot under tungsten lighting with a color temperature of 3,200K. If shooting under daylight or electronic flash lighting, add the orange filter in the color temperature conversion filter series to lower the color temperature, and increase the exposure by about two-thirds.
How to Arrange the Portrait Photography?
The layout of portrait photography should simplify and exclude everything unrelated to the theme according to the requirements of the theme, and arrange the main characters in the dominant position.
Golden Section
This dominant position should not be in the center of the picture, because it seems to divide the picture into two halves, which is rigid, rigid, and lacks artistic expression. Usually, the main characters can be arranged on the aesthetic point of the golden ratio. The so-called golden section is one of the rules of composition in plastic arts, that is, a line segment is divided into two parts, so that the ratio of the larger part to the whole is equal to the ratio of the smaller part to the larger part, and the ratio is 1:1.618. This rule is applied to photographic composition, which is to use this ratio to draw two straight lines horizontally and vertically, so that the picture is roughly divided into nine grids, and the four intersections formed by these four straight lines in the picture are taken as the golden section.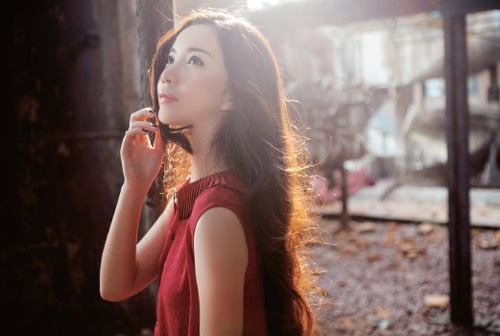
Generally speaking, these four intersections are recognized as having aesthetic value. No matter which one of them is, it is an ideal position for arranging the main characters, because this position not only changes, but also has a stable and comfortable feeling, which is in line with people’s aesthetic requirements.
Primary and secondary collocation of scenery
In addition, it must be noted that the arrangement of figures and other scenery should be clear and dense, and should not be piled up. Sometimes, in addition to making appropriate arrangements for the position of the main character, it is often necessary to use another character and scene to play a role of lining or balancing.
For photos of dynamic figures, such as toddlers, bicycle races, etc., more blank areas should be left in front of the dynamic figures, so that there is room to stretch forward, which is in line with the usual habit of observing things.
How to Master the Balance of the Picture in Portrait Photography?
Balance, applied to the composition of portrait photography, means that the subject in the picture is in a relatively balanced state, so that the portrait of the portrait can be visually stable and comfortable. In order to master the balance of portrait photography, generally pay attention to the following aspects:
1. The face of the character
The head and face of people photography, in terms of vision, the proportion of the face is larger, and the proportion of the back of the head is smaller. Therefore, when taking side portraits, the image needs to be shifted to the back, and there is no space left behind the back of the head, so that the space in front of the face is larger than the back of the head.
In this way, the line of sight of the face can be stretched, and the light and heavy balance of the picture can be maintained. But there are also some themes that show the plot of “impulse”, the space in front of the character’s face is smaller than the back of the head, so that the picture has a sense of weightlessness. This is a special placement based on the subject’s needs.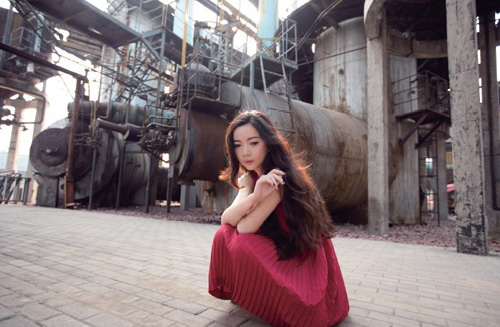
2. Subject matter
In the image structure form of the inequality of portrait photography, the posture of the subject, such as tilting, tilting or tilting, often leads to a feeling of weightlessness and instability. To this end, the body’s own shoulders, its own hands, and other objects related to the theme, such as books, flowers, teacups, fans, etc., can be used as “pads”, so that the weightless body can be stabilized.
3. The subject and the foil
In the subject of portrait photography with scenery as a foil, visually, the characters are the most important and the scenery is lighter. To this end, the area of the space occupied by the characters can be arranged to be smaller, and the space occupied by the scenery can be arranged to be larger to achieve a balanced picture.
For example, shooting a half-length scene of characters writing, in which the characters with a larger area can be arranged to one side. Correspondingly, objects such as ink bottles or inkstones can be placed on the other side of the table to keep the picture balanced.
4. Bright, dark, deep and light aspects
In the composition of people photography, the visual importance of light, dark, deep and light is also different. Generally, dark colors are heavier, and light colors are lighter. Typically, a small area of dark patches can be balanced with large areas of gray or light patches. If a certain part is too deep or too shallow, and the weight is not coordinated enough, you can choose a light-colored scene as a “pad” in the too deep part. You can also choose a dark scene as a “liner” in a too light area. However, it should be strictly noted that dark backgrounds or light-colored scenes must have a certain contrast in order to increase or decrease the weight and balance the picture.
5. Color
Different colors have different visual components. Generally, warm colors and bright colors are heavier, and cool colors and light colors are lighter. The law of its balance should also use the warm or bright color of the small surface to correspond to the cool or dark color of the large surface. For example, around the warm color of a small face of a character, a cool color with a larger face can be arranged. When taking pictures of people with warm tones, the skin color of the face should be as bright as possible, and the surrounding warm colors should be made darker, which not only facilitates the highlighting of the subject, but also makes the color balance of the picture.
