Table of Contents
Avoid too Dark Face: situations that Need toBbe Filled with Light
Backlight shooting often results in underexposure of the face, and most of the time we need to supplement the light on the face of the person.
A typical portrait of a backlit portrait with the face in the center of the frame, with light shining from the left back of the head. The backlight here outlines the cheeks and contours of the characters, while shining golden hair. Coupled with the blessing of the front and back glare, the whole picture will not look too monotonous, and the appearance of the backlight glare is very important for the expression of the character’s temperament.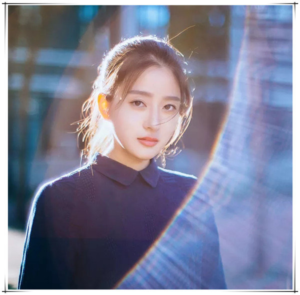
Such photos need to fill the face with light. Many people say that a flash or a reflector must be used to fill the light. Of course, it is best to have the above equipment. But enthusiasts take a simple photo of a person and most of the time they will not go out with too many things. At this time, it is very important to use the on-site environment flexibly.
The reason for using back light instead of forward light here is simple. Only the backlight can show the transition of light and dark on the subject’s shoulders, and at the same time, it will not make the subject’s eyes unable to open in the sun.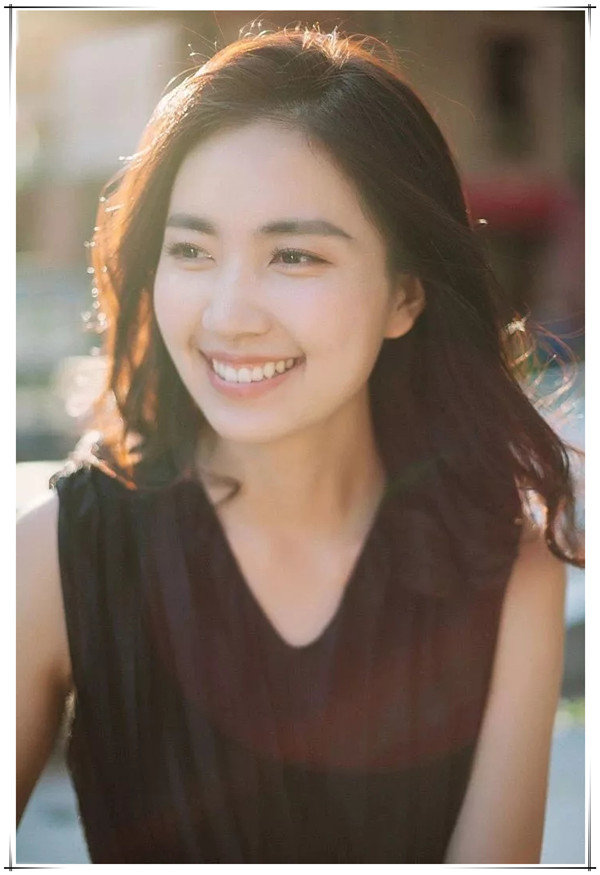
If you happen to have a reflector and are willing to take it out, then asking an assistant to help light it is the best way. Of course, the reflector is not a panacea. If the light on site is too weak or the angle is wrong, it will not produce good results.
Even if you use a reflector, you still have to pay attention to the effect of the light on the subject’s face.
Sometimes the subject’s face is not completely facing the lens. At this time, the reflector is even more important. The light reflected by the board can ensure the basic details of the subject.
An example of indoor natural light backlighting. Sunlight came in from outside the window, and there was no other light source in the room. Obviously this is also a backlit environment, and we need to solve the problem with the help of wall reflectors.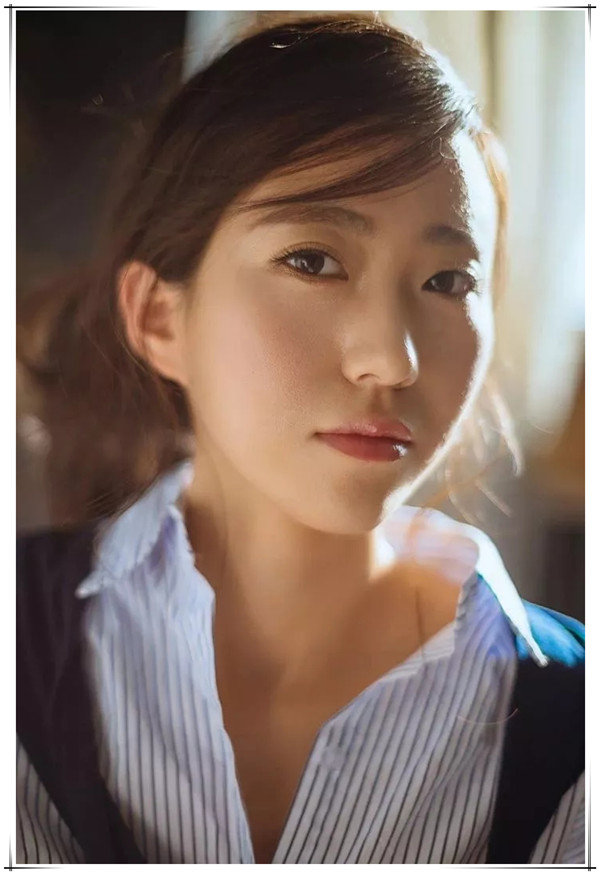
If it is too far away from the wall, the light on the subject’s face may appear too wide.
The light comes entirely from the glass behind, and the sunlight outside the window is very weak due to the haze. At this time, the backlight situation also requires the use of reflectors to fill up the face.
Taking pictures of people with the evening sky as the background is also a kind of backlight. If the sky is too dark to use the reflector, then flash (artificial light) will be the best feasible method. How to use light correctly is a university question, and it can’t be expanded too much due to space limitations. Here is an example of fill light using a small lamp.
When the flashlight is in different positions and matched with different accessories, it will have completely different effects. In addition, there are index, color temperature and so on. You can start with a bare lamp in the early stage.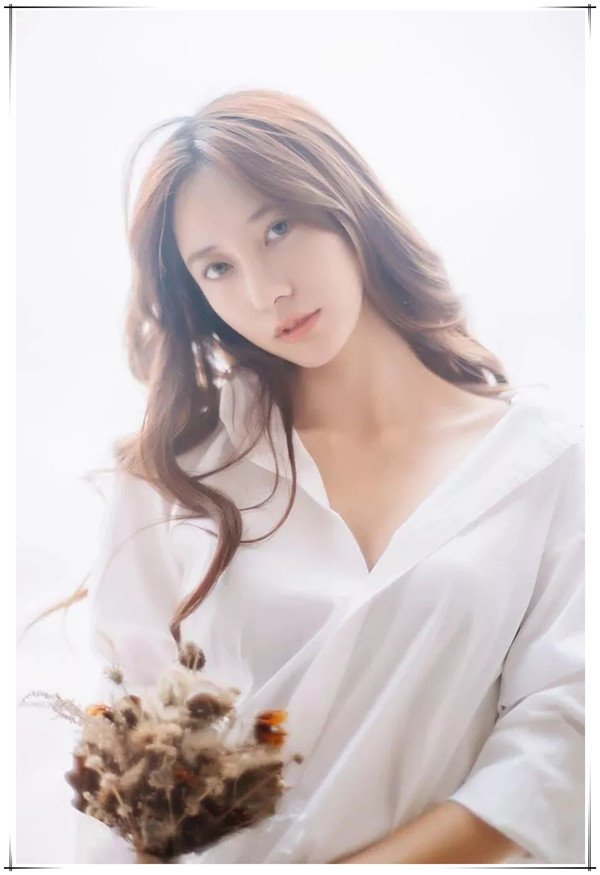
How to improve the quality of photos
Although we will have a clear subject every time we shoot. For example, your model when shooting portraits, for example, your cats and dogs when shooting pets, or the small object you want to express most when shooting still life. But no matter what, for a photo itself, the subject is not enough. To make the subject more colorful, we also need to use a suitable background to set off it.
In fact, although background and subject are equally important, they are often the most overlooked part. But don’t forget that a background has enough ability to influence the subject’s expression. In ordinary shooting, how do we choose a suitable background?
- Keep the background clean
In most cases, we need to keep the background clean. Of course, the cleanness here does not mean that there is nothing in the background, but that our background needs to be relatively clean and there will not be too many interference elements to affect the subject’s expression. Especially when shooting outdoors, this is difficult to control, after all, we cannot change the environment.
But when the background is too messy, you have to think about re-framing, otherwise it will be a waste of effort for the subject to look good and not show it.
When shooting indoors, this is very convenient. We can change the background according to our needs, but the main premise is not to let the background have extra interference elements.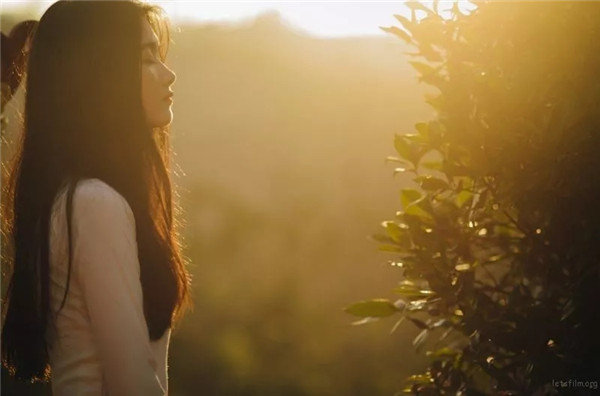
- Blurred background
When the background cannot be changed, and the background really affects the subject too much, we can achieve the effect of separating the subject and the background by blurring the background with a shallow depth of field.
The blurred background is very useful when shooting portrait photography or product photography, and can directly highlight the subject.
- Close to the main body
When blurring can’t satisfy the separation of the subject, we can only get close to the subject and let the subject fill our frame as a whole, making the subject the only one in the picture. Although it may not always work, sometimes you have to try it. This is mainly to eliminate all interference in the photo, so that our subject can dominate the entire picture.
- Use contrasting colors
The power of contrasting colors, that is, complementary colors, must not be underestimated. When contrasting colors appear in the picture, the contrast between the two contrasting colors will definitely become the center of the picture.
Because, analyzing your subject, and then choosing a complementary color for your subject as the background color can also highlight the subject, allowing the viewer to immediately focus on the subject you are shooting. Like a red bird on a green background, or a model wearing a yellow dress on a blue sea and sky background, they will definitely become the focus of the picture.
However, since it comes to complementary colors, it is also important to note that two similar colors in the color wheel should not be used as the hue of the main body and the background at the same time. It’s easy to confuse the primary and secondary, such as red and pink, blue and cyan.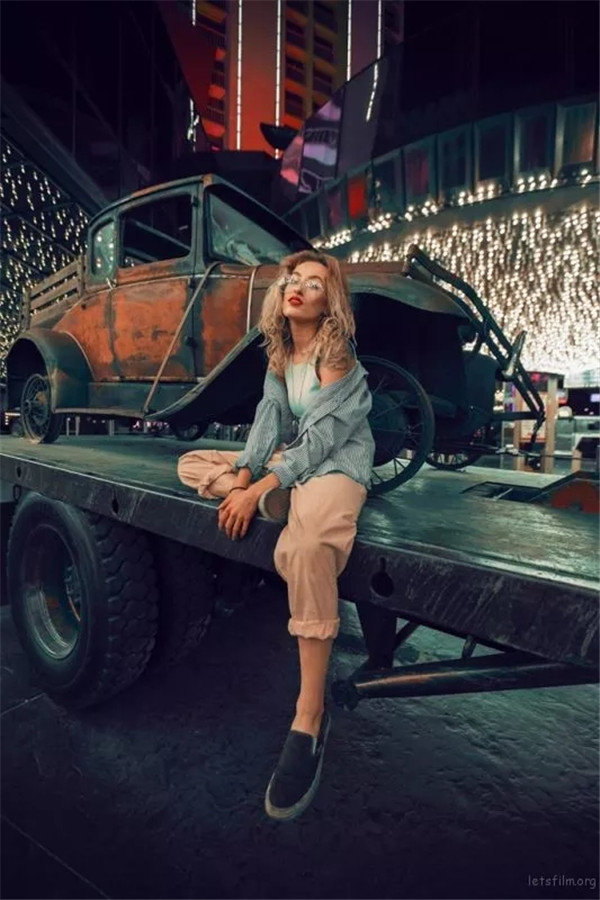
- Change the perspective
When we feel that the background in the environment is not good-looking, we might as well change our perspective. Previously, we used eye-level framing to shoot the model, which is a head-up model, so the background is naturally the environment behind the model.
If the environment behind you really does not satisfy you, then you can lower your posture and squat down to take the view from the bottom up, so that the background becomes the environment above. Generally speaking, a higher background can effectively eliminate the messy factors that we see in daily life, and make the picture more pure.
- Let the background speak
The background is not only an aid, the background can also become the theme of the picture. The model is the flashpoint, and the background is the environmental factor that detonated the flashpoint.
Influential photos can always tell the audience a story, and the background must be an important part of the story. The background can bring a lot of information and help the subject to express their story.
Small and fresh shooting guide for location
It looks easy to be fresh, but it is not easy to shoot. Everyone usually sees the surface of the small fresh photos: whether the color of the photo is transparent, whether the model’s movements are natural…These are the most basic of small fresh photos. But the most important thing for fresh is to control the expression of the model’s emotions. For example, you will laugh happily, or your expression will be cute. Although there are a lot of photos taken online for this kind of freshness, there is not too much feeling that there are people and scenes in one.
1. Every choice has a different achievement
First of all, let’s talk about the preliminary preparations. You must have your own ideas, that is, you choose places, costumes, models, and props. If you don’t prepare the early stuff, you may feel that the film you come out is different from others. I took the photos in the same place, but because your costumes don’t match the scene well, or the props are not in place, the photos that come out are not the same.
(1)Venue selection: green, color
Generally speaking, the site chosen by the small fresh style can be richer in green, such as schools, groves, rice fields, etc., as well as places with richer colors.
(2)Model selection: cute, cute
The model is best to choose a little cute, a little cute, or a clear and simple eyes. Short hair and long hair are fine, but try not to be in the middle, or it will look more mature.
(3)Clothing selection: fresh and elegant
It is best to prepare some fresh and elegant clothing, do not choose too dark or dark clothing.
(4)Prop selection: the key is to match
After choosing costumes and scenes, we need to prepare props. For example, if you are in school, you may need to prepare school-related books and sports equipment. If you go to the fields, prepare insect nets and the like. The props we prepare must match the scene. The choice of costumes, scenes, props and models is indispensable!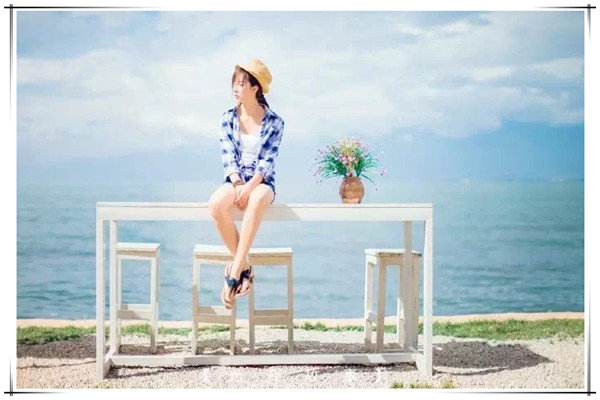
- The small freshness framed
When we are ready in the early stage, all that is left is how to compose the shots, which can make the photos cleaner and more refreshing.
Framing Tip 1: Four Elements
Except for the main person, there should be no more than four other elements: the first is the sky, the second is the mountain, the third is the sea, and the fourth is the sand. These are the four elements. If there are other elements added, and there are people or boats behind, the picture will look messy.
Framing Tip 2: Sky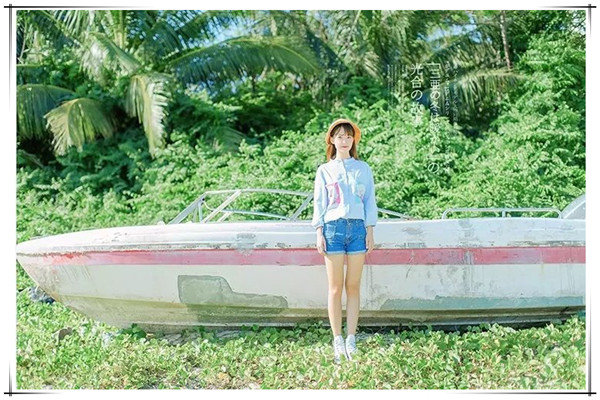
What elements are there except people in the above picture: one is the sky, the other is green plants, and the third is a broken ship, three elements. But we must remember: location shooting, but 90% of them will have the element of “sky”, why?
Because after adding the sky, there will be a sense of space in the photo, which will make people think that this is a big space, giving people a kind of imagination. Let’s take a look after cutting off the sky.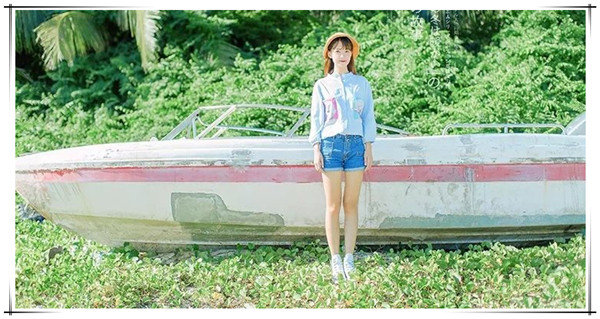
It looks like the picture is equally clean, but because one element of the sky is missing, the whole scene seems to be relatively narrow, not so wide, and a bit depressing. When we take pictures, we try to have an element of sky. So don’t have too many photos of a group of photos from the top-down angle, because if you take the top-down view, there will definitely be no sky.
- The horizontal composition is very different from the vertical composition
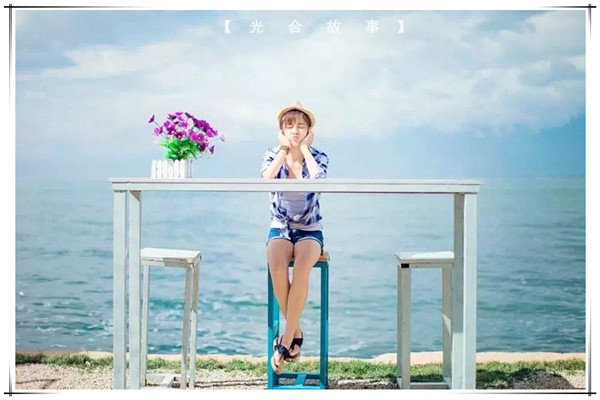
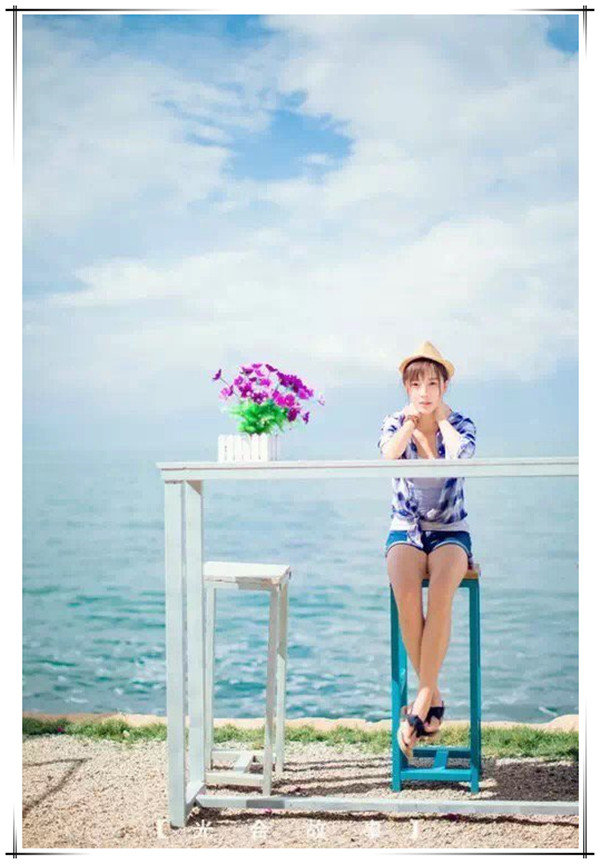 In the above two photos, the framing is actually the same, but I will make the viewer have a different feeling by changing the horizontal composition and vertical composition.
In these two photos, the model’s movements have not changed much. I would stand a little closer and take a horizontal composition and then take a vertical composition a little further away, which will give the viewer a different feeling. When taking pictures, you can also make different changes to the viewer by switching between horizontal and vertical composition and distance.
- Far and near, high and low, each has its own style
When shooting, you can also take a close-up of the head portrait, or the half-length or full-body environment according to the specific conditions of the model itself and the surrounding environment, and finally show it in the photo.
