Table of Contents
Brief Introduction
You may have experienced glare when taking pictures under strong light sources. There may be times when you think it’s cool to be able to shoot with glare, but in fact most of the time glare affects the picture.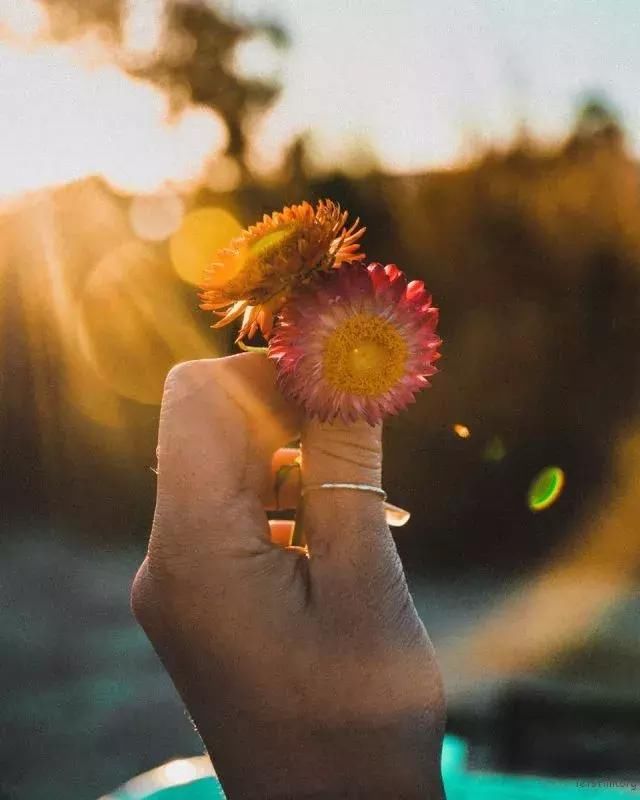
Lens flare is prone to occur when bright non-imaging light from the sun or other light source hits the front lens of the lens, and is often accompanied by haze that significantly reduces the contrast of the picture.
While glare is sometimes presented as an artistic effect, most of the time it can be a highly unwelcome addition to a photo and something that photographers try to avoid.
Let’s take a look at what methods can help us avoid glare in the process of shooting.
Use a Hood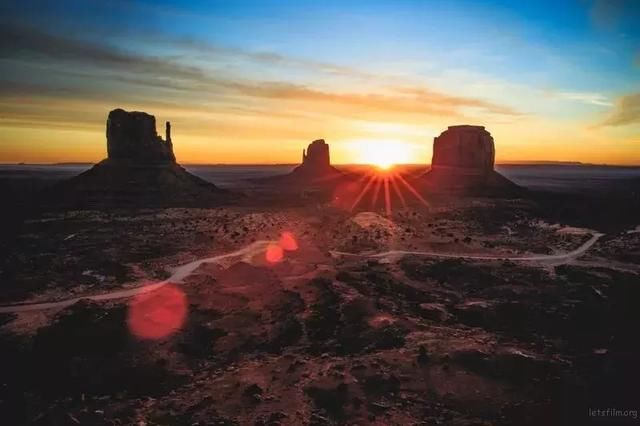
The easiest way to do this is to use a hood. Most lenses will also be equipped with a hood. Because most of the glare is caused by direct light, the hood can help us effectively prevent the light from directly hitting the front mirror of the lens.
Not only can it avoid glare, the hood can actually help us protect our camera from minor impacts.
When using the lens hood, it is best to use the original lens hood, because they are specially designed for this lens. Using a third-party lens hood may cause vignetting due to incompatibility, especially when using shorter focal lengths.
Typically, round hoods are suitable for lenses with longer focal lengths, while petal hoods are suitable for lenses with shorter focal lengths.
Cover with Hands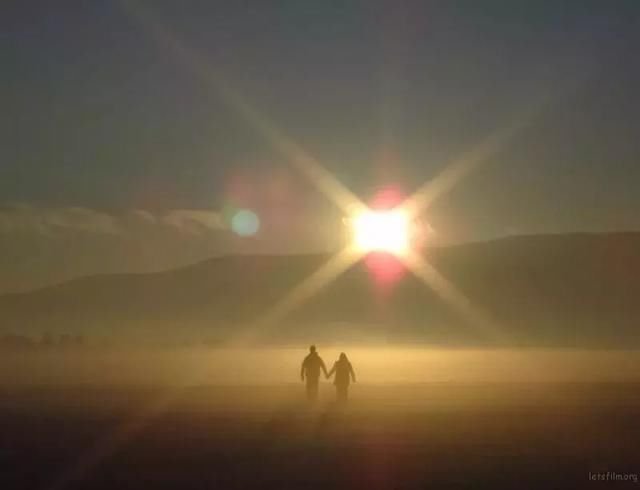
It doesn’t matter if you don’t have a hood, the urgent solution is to cover it with your hands. We just need to cover the direction of the light coming from the front of the lens, form a C-shape, and constantly adjust the angle of the hand until the halo completely disappears. Be careful, however, that your hands don’t get too far inward and block what the lens is capturing.
Check Your Filters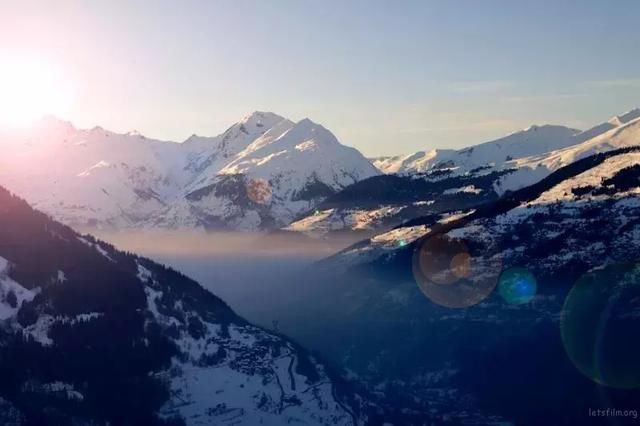
While filters are an essential addition to landscape photography, extra lenses do increase the chance of glare. Low-quality filters, in particular, tend to cause more problems with images.
If you find that your picture is plagued by glare, and the current environment does not require a filter, try removing the filter.
Block the Light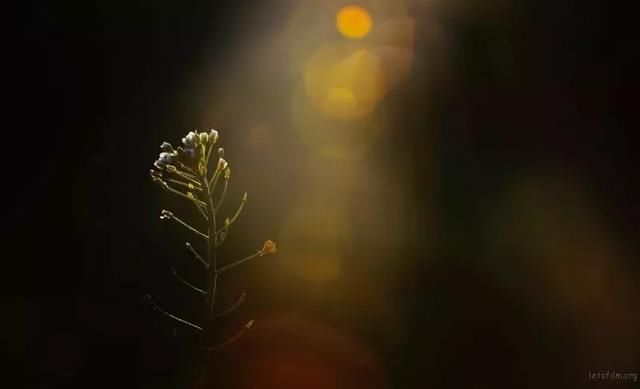
Generally speaking, the reason for the formation of halos is that the strong light source directly shines on the lens. Therefore, sometimes when we take pictures, we can try to recompose the picture to make some elements in the picture become blocking factors to block the light source, so as to avoid flare.
Adjust the Angle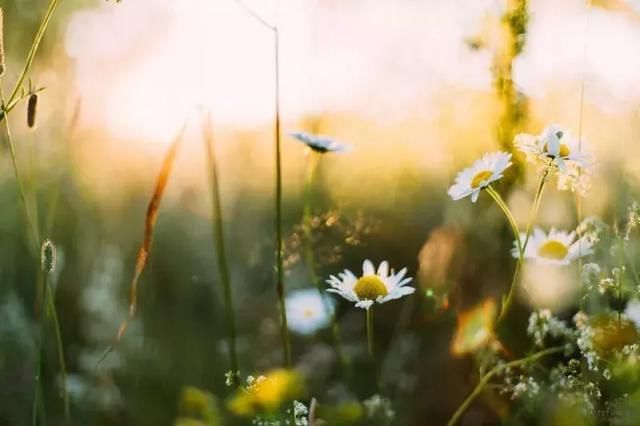
If you see halos in the viewfinder, try adjusting your shooting angle. Change the angle at which the light source enters the lens, look for an angle that doesn’t create glare, and avoid direct sunlight hitting your lens.
Classic and Practical Photography Tips
Photography is a skill as well as the accumulation of experience. Below are six of the most classic and practical photography tips from the experience of countless photographers. Keeping it by heart will help you deal with many difficult-to-control shooting situations
1. Sunny16 Rule
The “Sunny16 Rule” is a method for correctly estimating exposure values in sunlight without a light meter. So this rule is only suitable for use in sunny conditions. Set the aperture to F/16 and the shutter to sync with ISO, or slightly faster. For example, when the ISO is set to 100, the shutter should be set to 1/100 of a second (1/125 of a second). So, according to this rule, you should use F/22 aperture when shooting on the beach, and F/11 aperture when it is cloudy.
2. Moony 11,8 and 5.6 Rules
If you want to photograph the moon, here’s a good rule of thumb. When the shutter is in sync with ISO, use F11 for a full moon, F8 for a crescent moon, and F5.6 for a new moon.
3. Camera-Shake Rule
When you shoot with a handheld camera, the shutter speed cannot be slower than the reciprocal of the focal length of the lens. The slower the shutter speed, the more likely you are to lose sharpness when shooting shaky. If you use a 50mm focal length, the shutter should be at least 1/60 of a second. Only when the environment is really dark, use a flash, a tripod, or place the camera on a hard object to prevent shake.
4. Anatomical Gray Card
Carrying 18% medium gray board with you is a good tool for shooting. But what if you don’t have a grayscale board? You can open your palms to face the sun, meter your palms, and then add one stop exposure.
5. Depth-of-Field Rules
The back depth of field is 2 times that of the foreground
When the subject is relatively deep, the focus point should be selected in the first 1/3 of the depth of field. Because of this, the depth of field behind the focus point is twice as high as before. This rule can be used for various aperture and focal length combinations. Remember, the smaller the aperture, the shorter the focal length, and the further away you are from the subject, the greater the depth of field.
6. Largest Digital Print Rule
If you want to take your work into a large size photo, the size of the photo should not be larger than the digital image’s length and width pixels divided by 200. If you are very demanding about your work, then at least divide by 250.
