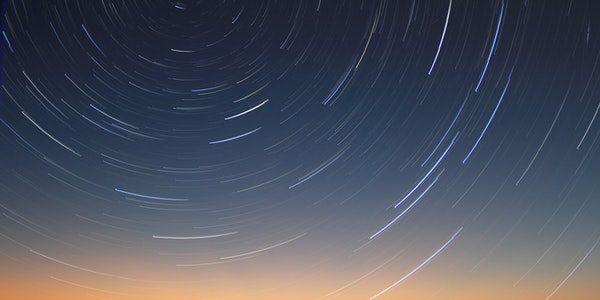
Why do you choose to photograph the starry sky, I believe this is the dream of many people in childhood. The significance of photographing the stars lies in the enjoyment of the process. Escape from the city under the high-paced life, come to the wilderness, stretch your body, lie on your back and stare at the deep sky above your head, and your mind can be peaceful.
But looking at the romantic and beautiful starry sky, it is not so easy to shoot. This requires the photographer to have some basic astronomical knowledge, enough patience, and of course, a love for the sky and a persistent heart.
Table of Contents
1. Explanation of the Starry Sky
You may ask, if you don’t have basic astronomical knowledge, how can you take good photos of Hoshino?
Yes, astronomical knowledge does need to be cultivated slowly, and it is necessary to have a general understanding of the starry sky in the sky and even become familiar with it slowly. It will take some time, but not difficult. The software called Stellarium is a very powerful real-time star simulation software. When shooting outdoors, it can help you find different constellations and bright stars in the sky very easily. You can also use this software to combine the actual stargazing outdoors, and slowly get familiar with the sky above your head.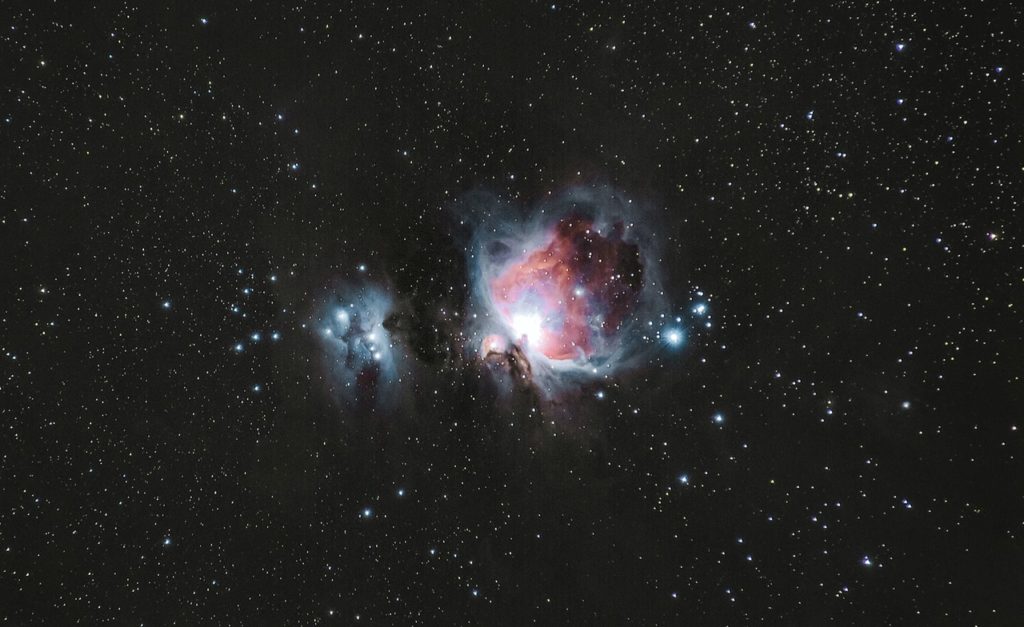
In fact, some famous constellations are composed of several to several very bright star points, so you only need to remember these iconic star points, and you can slowly identify more constellations. There are also many story connections between constellations in Greek mythology, which is also a good way to help familiarize yourself with the stars.
2. Classification of Astrophotography
Astrophotography can be roughly divided into two categories:
One is deep sky astrophotography. The main objects are galaxies, nebulae, star clusters, planets and other dim deep sky objects. So the requirements for shooting equipment are very high. An astronomical telescope suitable for photographing the target celestial body and an equatorial mount for accurate tracking are essential. It also requires the photographer to have a very high astronomical knowledge and expensive equipment guarantee. The requirements for the shooting environment and weather are also very demanding.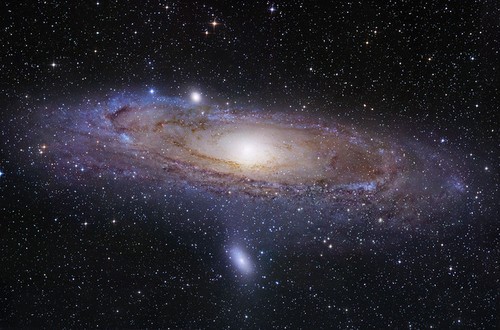
This is the nearest extragalactic galaxy to our Milky Way, also known as M31, the Andromeda Galaxy.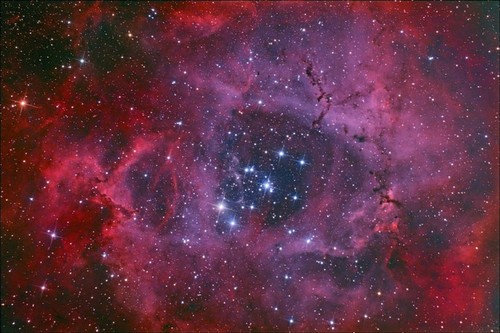
This one is NCG2237 Rose Nebula.
The other category is Hoshino photography, which we are going to talk about today. The shooting content is mainly based on the Milky Way, star scene. And various landscapes with various characteristics to achieve a wide and beautiful visual effect.
The equipment used in Hoshino photography is just an entry-level SLR digital camera, a shutter cable that can control the shutter speed, a sufficiently stable tripod, a light Hoshino equatorial mount (example), various focal lengths. SLR lens and the must-have wide-angle lens.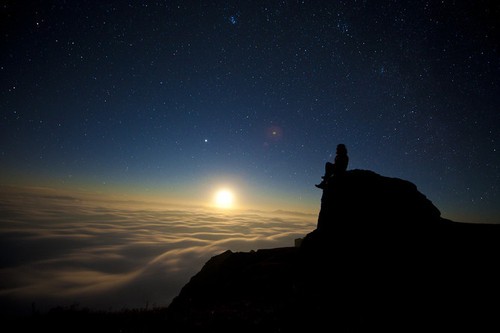
This photo was taken in Yunnan, around 1:00 in the morning. The starry sky, the falling moon, the sea of clouds, and the characters in the picture constitute a beautiful and illusory beauty.
3. Tools—-Equatorial Mount
The main purpose of the design of the equatorial mount is to overcome the influence of the earth’s rotation on stargazing and photography. The application of Hoshino photography is to eliminate the star drag line phenomenon that occurs in photos due to long exposure. The application in deep space photography is to ensure that the focus during long exposures is accurate and does not shift through accurate star tracking.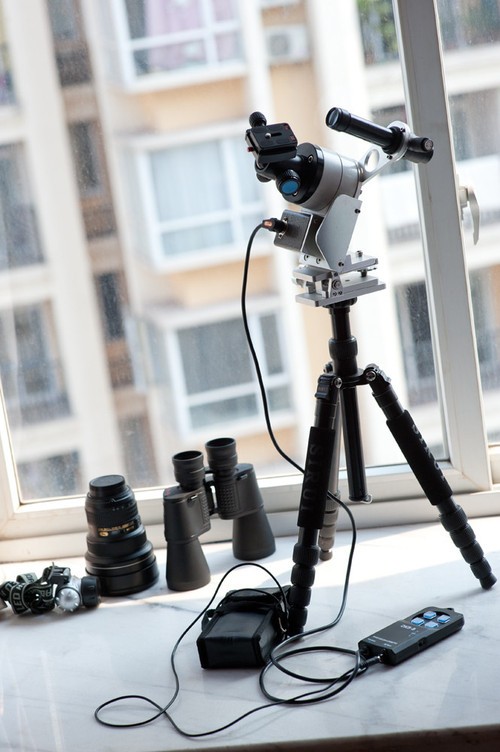
This is the lightweight Hoshino equatorial mount. Just connect the camera to the gimbal of the equatorial mount. And simply calibrate the polar axis, then you can track and shoot.
The photo of the Perseid meteor shower in the picture below is a picture obtained by aligning the radiant point of Perseus with the equatorial mount and exposing it for 5 minutes. If there is no equatorial mount, the Milky Way and star points on this picture will all be drag lines, not so clear.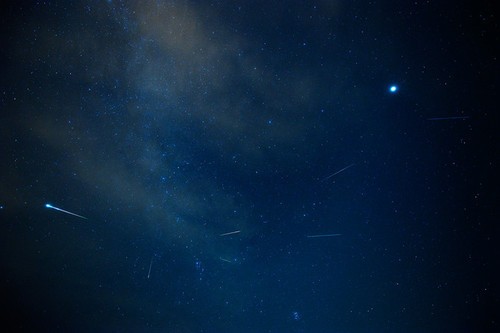
Perseid meteor shower
Meteors appear clearer and brighter in the background of non-star trails.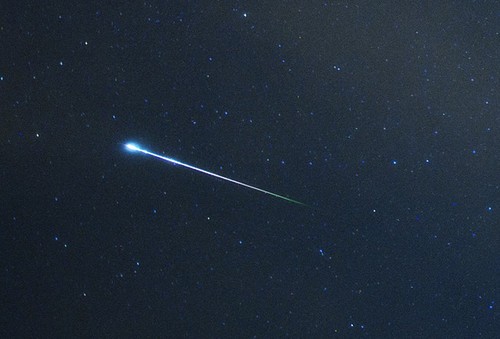
Meteor in the background of non-star trails
Equatorial mounts can be selectively used according to different shooting environments and landscapes. Most of the star field photos you will see in the following are not actually taken with an equatorial mount.
4. Matters Needing Attention
Next, we need to choose a better time period to shoot. Generally speaking, the beginning and end of the lunar calendar of each month are the time periods when the interference of the full moon can be avoided. Because the moonlight of the full moon will cover up many dark stars that are invisible to the naked eye, the resulting picture is sparse.
Another thing to note is that in a moonless environment, the landscape may require a longer exposure time to appear. In an environment that is invisible to the naked eye or invisible to the naked eye, the landscape cannot be properly exposed, no matter how long you expose it. Unless there is a faint light that illuminates the foreground, bright lights such as torches must not appear. To sum up, it is not difficult to see that the influence and role of moonlight on Hoshino shooting is a decisive factor.
The interference of moonlight on the starry sky is as follows: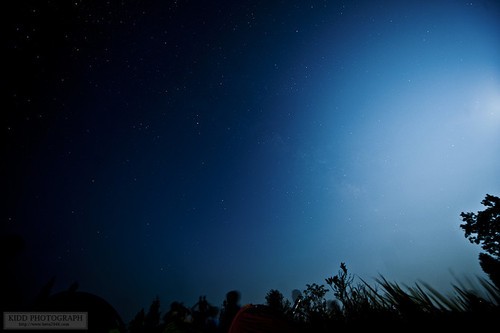
In addition, sunny, transparent atmosphere, sufficient contrast, more stars can be seen with the naked eye, high visibility and avoiding the light pollution of the city are also necessary shooting conditions. Generally, in the open mountainous areas 20-80 kilometers away from the urban area, you can look up and see the Milky Way and stars clearly visible to the naked eye. Even if I am in the Great Basin, as long as I leave the city in good weather, I can see the Milky Way. So you don’t have to worry about not seeing the stars at all.
We should remind that photographers mostly carry out Hoshino photography in the wild. So pay attention to safety and nighttime warmth. It’s best to go together in three to ensure safety, to prevent poisonous beasts. After entering the middle of the night, the temperature is extremely low. So you must bring enough clothing to keep out the cold.
5. Shoot the Starry Sky
The next key point is the specific shooting and exposure methods of Hoshino photography:
(1) Choose a suitable shooting location
You can try to step on the spot before it gets dark. Find a suitable composition position, set up a tripod and camera. And wait for the night. This is more conducive to saving time than turning around with your head covered at night. And it is also relatively safer.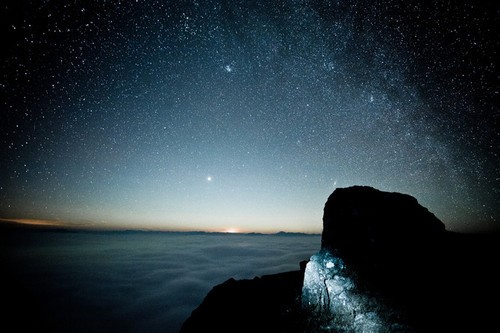
(2) Adjust the composition
Adjust the composition in the viewfinder. If it is too dark to see it, please take a sample after composing the picture. And then gradually adjust it. Or scan the framing range with a red light bulb to determine the compositional boundaries.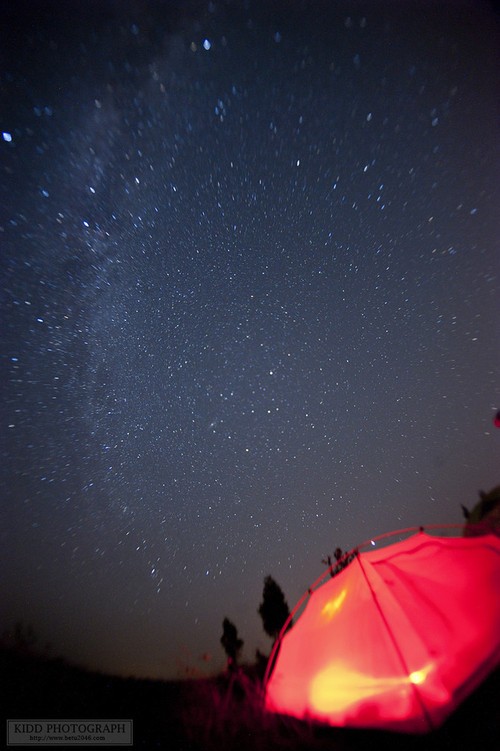
(3) Lens settings
Set the lens to M-position manual focus mode. Turn the focus ring to ∞ infinity, and then turn it back about 2-5mm.
Why turn around? The focus here is on focus. Because the viewfinder is completely dark, the autofocus mode will definitely not work. And the manual focus will also not be able to accurately focus. In this case, only estimated focus. Usually Hoshino photography landscape is far and large, so set the focus at infinity. But the infinity of the camera is really farther than the star point. so it has to go back a little bit. The exact amount of rollback may vary depending on each lens. The best way is to focus on the moon when there is a moon near the horizon. When there is no moon, you can only gradually expose the proofs for fine-tuning before and after comparison, preferably with the smallest star point.
(4) Set the camera to M or B for manual exposure
- If you don’t have a shutter release, you can only use the M file. Your exposure time can be set up to 30 seconds. So please use the widest aperture, or reduce it by one stop. To minimize body shutter shake, mirror lockup mode can also be turned on. The ISO is first set to 400, and the sensitivity is gradually increased if the brightness is not enough after shooting, because the other two sets of parameters have reached their limits. 30 seconds is usually enough to expose normal starry sky and landscapes normally.
- If you have a shutter release, please set the B file, the aperture can use the maximum aperture (the purpose is to minimize the exposure time). And the sensitivity is 200 or higher. Then control the exposure time by manually locking and releasing the remote release button. Generally use the widest focal length no more than 42 seconds, because beyond 42 seconds, the trailing line of the star point will become obvious, unless you use a longer exposure star trail photography.
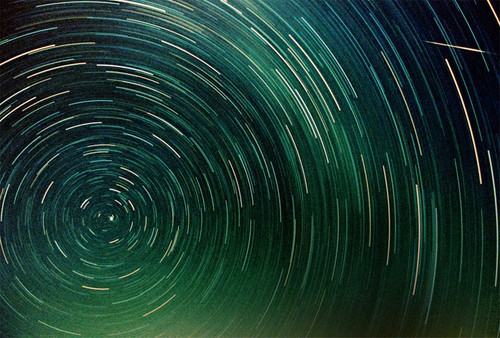 Lens and exposure time: Because of the different shooting stars, photographers will use lenses with different focal lengths to shoot. But how to ensure that there will be no star drag lines when shooting with each lens? Here is the 600 rule, the formula is as follows:600 (quantitative) / the focal length of the currently used lens = safe exposure seconds (ie, no star drag line will appear)
(5) About composition and framing
Because Hoshino photography and traditional photography are the same, so the composition can also use #-shaped composition, golden section, diagonal line, extension, symmetry and other composition methods. It’s just that the subject of the composition becomes the landscape and the Milky Way. We should note that when composing the picture, you can consider the composition according to the direction of the Milky Way. And try to show the complete Milky Way.
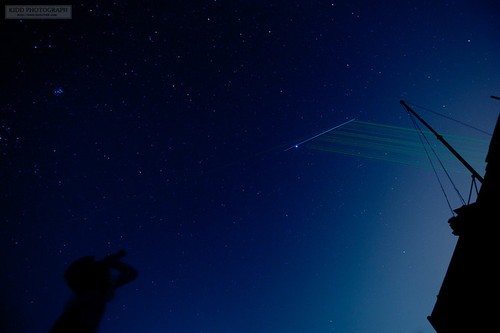
This photo is the result of luck and calculation. It’s not a meteor that crosses the picture, but the brightest Jupiter in the night sky at the moment when the solar panels of the Hubble Space Telescope reflect sunlight. The thin green lines are the star pens of other astronomy enthusiasts. The lovers holding binoculars in the lower right corner of the picture have perfected the balance of the whole picture and played the role of a little sunshine.
(6) About color temperature
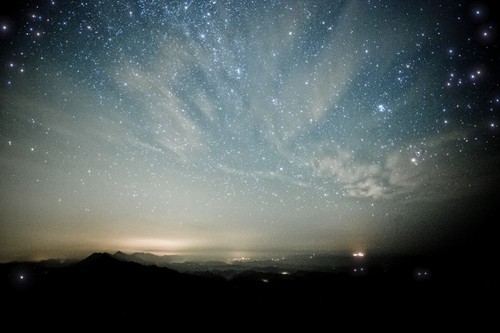
This photo is cool toned
There is no fixed value for this, it can be set according to different environments or your own preferences. The starry sky is infinite, and so are creativity and feelings.
(7) About light pollution
Light pollution refers to the redness and whiteness of the sky caused by the reflection of city lights by low-level atmospheric dust or water vapor. In traditional astrophotography, we will try to choose a field with little or no light pollution for shooting.
But in the photos I take, sometimes I deliberately use light pollution and shoot it into the picture to achieve the atmosphere of the picture. Everyone has different opinions on this.
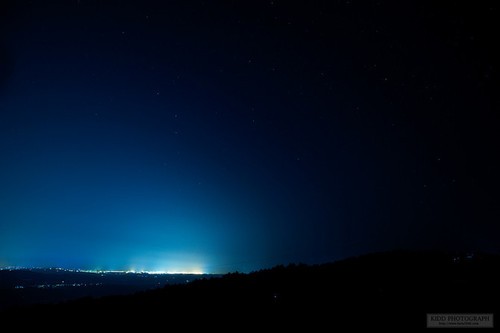
This is a relatively strong light pollution effect.
(8) Creative shooting method
Shooting the starry sky is an enjoyable process. So you can completely improvise your own creativity and take some creative shots in combination with the environmental conditions at that time. Even if it doesn’t work out in the end, it’s still a good experience.
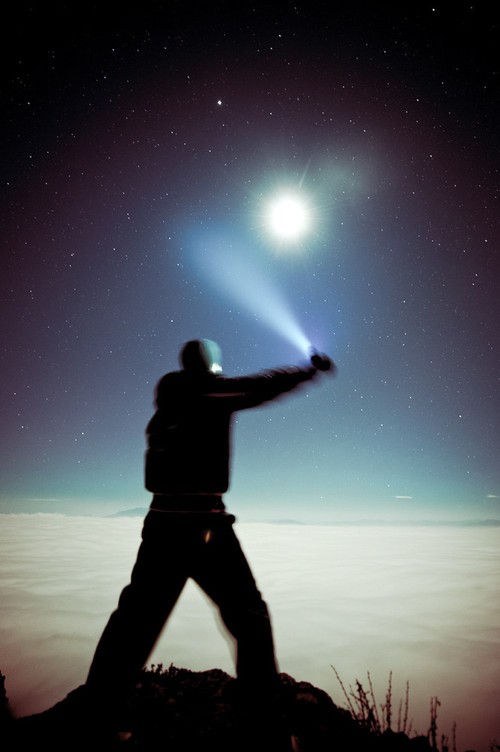
Alternative use of the equatorial mount: During the rotation of the equatorial mount, manually rotate the focus ring. And the resulting galaxy has three visual effects of stretching, rotating and expanding.
