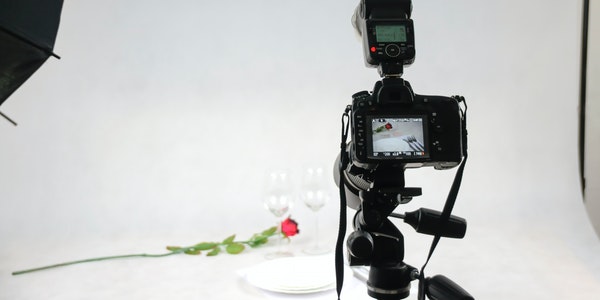
Let’s learn how to illuminate micro-films and small large-scale movies together.
Placing the first luminaire is different from planning lighting. We must understand the lighting process: it refers to both the physical process and the process in the mind of the lighting staff.
Lighting a set is never a clear mechanical process, although it may appear to be the case to the beholder. Lighting contains details, beauty, and a strong concept. It is not a simple matter of simply hanging a few pieces of lamps and turning them on. It is the result of a mixture of various factors, including physical aspects, actors, atmosphere and characteristics of a certain scene.
Each light fixture has its own role, each light fixture must be able to integrate into the entire lens, and each light fixture must be matched with other fixtures and plots. They work together in a sophisticated network and cannot be predicted with a single graph.
The process of lighting is like the process of building. Add a lamp or several lamps each time, observe, measure and evaluate the accumulated effect, and then make adjustments and add other lamps. Buildings can take many forms, and lamps can actually be brought to the set or roughly lined up at once, and then opened for individual adjustments. Obviously, the schedule and budget have a lot to do with how to carry out this link.
This process is a very dynamic process. Every situation is almost different, but like many things in life, where you start is very much related to where you end.![]()
![]()
Arrange the first light fixture idea:
- According to the existing clues of the set: work lights, windows, doors, skylights, fires, etc. From a practical point of view, this means arranging the lighting for the scenery first. For example, when arranging the first light fixture, one of the most frequent choices is a beam of sunlight through the window, whether the beam of light comes from an HMI lamp, Tenner lamp, 5K lamp, or from a strong light reflected into the foam core. Soft light. This scene provides a lot of ambient light, which can immediately show the effect of this lighting and the things that need to be processed. This kind of light is often used as the main light of the actor at the same time, at least for part of the scene.
- First arrange the actor’s main light. This method is usually used when a scene is close-up, or when the scene mainly revolves around a certain actor, or when the set provides few clues.
- Set the tone of the overall environment. It can be obtained with a strong light on top of silk, a pair of open-faced lamps directed towards the white ceiling, or other similar lighting techniques. This technique is clearly the starting point for the overall ambient lighting type. When using this type of lighting, you usually use this method to start lighting, because the basic exposure level is a reference and all other lamps must be balanced with this, so it is important to determine in advance for the progress of the work.
At this point, we start to assume that you have decided to start lighting according to the natural characteristics of the set. For example, a large window in the room setting in the scene setting is the main element. In this way, you can decide where to put the lamps and what lamps to put.
At this time, two factors need to be considered: the characteristics of the light and the amount of light.
The amount of light is determined based on two considerations: the foot-candle level you want to achieve and your overall plan.
- The rated film speed of the emulsion you are using. Remember, you may not be able to set the film at the speed listed by the manufacturer.
- The t-stop aperture you want to obtain. This is determined by the maximum aperture of the lens (that is, whether the lens is slow zoom, normal focus, or fast focus) and the desired depth of field of the scene.
- The distance between the lamp and the subject (limited by the scenery), the soft/hard light effect you want to obtain, and the possible movement of the subject or the movement of the camera.
- Does the front of the luminaire need a regulator? A large amount of diffusion will lose one aperture of light or even more, but the real culprit may be colored gels, especially dark gels, which can lose several apertures of light.
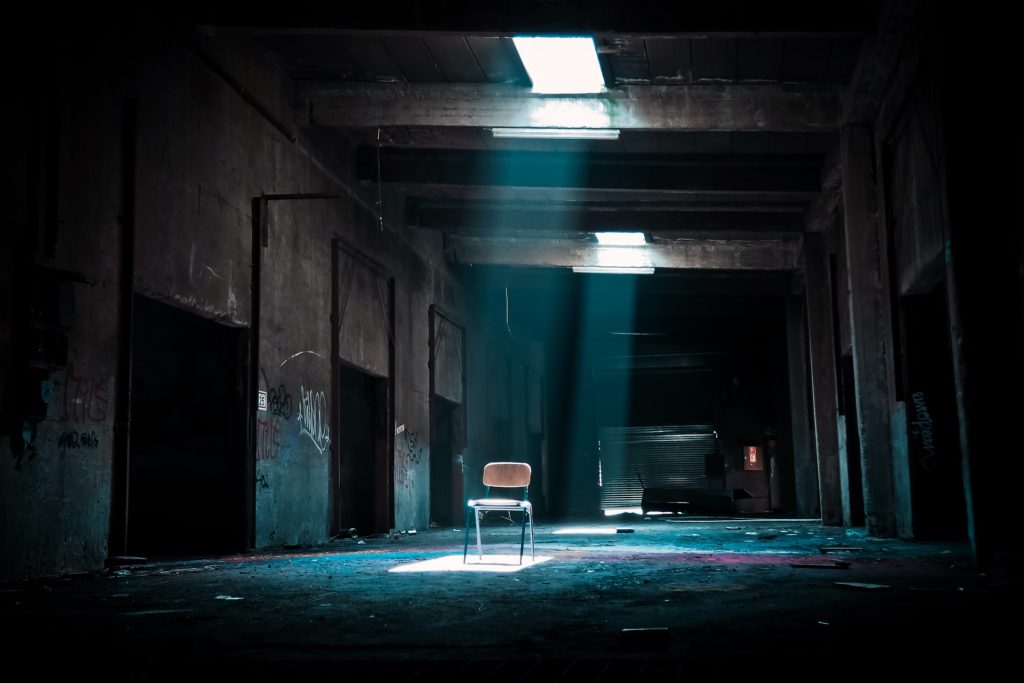
step2: Window lighting:
Scene review: The set is a room in a certain residence. The camera left shots a window and a wood-burning stove, and the camera right shots a bed and some hanging clothes. The plot involves a woman sitting by the fire, a man coming in through the door, and several characters sitting on the bed.
Shooting time: late afternoon
Demand: a light with a harder light makes the actress look more beautiful
Camera settings: The sunlight from the left window of the camera will be the main light source of the scene. Most of the main lighting of the scene must either come from these windows or appear to come from these windows. At this time, the main limitation of the main light of this scene.
We can change the angle of the sunlight so that the sunlight will be projected at a right angle (parallel to the back wall of the set), or even at a more oblique angle, so that the beam can move towards the angle of the camera. But both methods have problems: first, the sunlight at a right angle becomes more like a side light rather than a main light; second, a more oblique angle becomes more like a backlight. Both methods are visually vivid, but they happen to not fit the intent of the scene. In addition, neither of these two angles can light the wall. You have to illuminate both the actors and the set. The light refracted by the wall is an important part, they will make the boring room come alive.
Other options: We are shooting a scene that is first established by a character early in the story. Is there a truly dramatic and climax scene in the later stage of the story, and for this need stronger and more intense lighting? If such a scene does exist, then it would be perfect to use progressive lighting to enhance the story clues Plan. The photographer needs to discuss with the director, but don’t forget to tell the script staff, because the script staff is responsible for coordinating the script in the time of day, weather conditions, and consistency. If, when shooting the later climax scenes, you find that they have just walked in from a scene at noon, then your whole idea will become worthless. Now, we should make sure that everything is seamless.
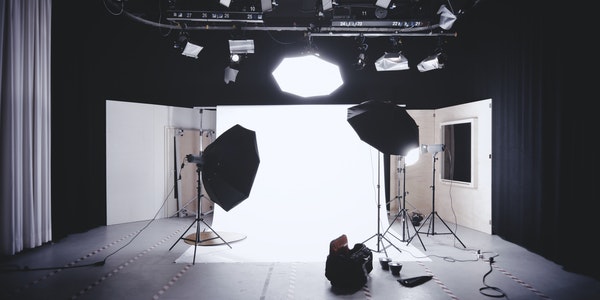
All questions point to: Bring the light in, as if the sun is on the left shoulder of the camera.
Question: The window is deep in the setting, in the corner. Sunlight coming in through this window will cover the fireside and door side well, but not the front half or the front half of the bed. Because there will be some performances in this area, and the camera is here, the performances here will be a lot of close-ups, and these close-ups require a lot of facial lighting.
Solution: Assume the existence of another window, just to the left of the camera. This will cover the main performance area and give us more flexibility in adjusting the light. Because it is daylight, a 10K lamp would be a suitable lamp. We will do some tricks to make the light falling on the actor’s face softer.
In this way, the first light we set up is a studio 10K light with a lot of diffusion through the frame. After installation and opening, we can check its effect. What matters is the effect of the light on the face of the actor, not how the light itself looks.
step3: The next logical step: bring in sunlight through the window
This had a great impact on the set, and began to define the space and establish the atmosphere. Because we get the total daylight effect in the future, this is a dramatic scene. Therefore: First, we want this light to be hotter than other lights in the scene, because from a psychological point of view, sunlight will be stronger than other light sources; second Fluorescent lamps are a strong focus, because the sun is a point source of light 93 million miles away. We should make the device as far back as possible, so that the shadows will be more clear and concentrated, the beam will not spread, and it will not look unnatural; in the end, it is unlikely that we will diffuse on it.
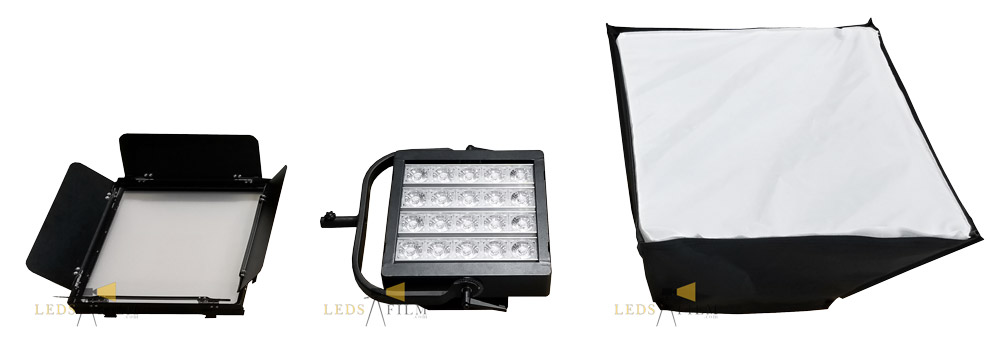
The first window is a 10K lamp, so this method must also be the same. The luminaire must also be placed as far back as possible to provide as clear and concentrated shadow as possible. In this case, it does a good job because our 10K lamp is very close, it passes through a large diffusion layer, and therefore loses about one aperture of exposure. As a result, the balance between the two lamps is very appropriate.
Turn on the light, and the scene immediately has some vitality and depth, and it looks more convincing and realistic.
step4: add a second fixture
Purpose: Extend the sunlight to the corner
If you don’t have 5K, you can use a studio 2K light in a full-point state to complete it. This light should be as close to the wall as possible to reach the position we need, spraying a small amount of light on the scene, which can add depth and a sense of space sculpture to the scene. But this is not what Sunshine does. This is the effect you want to get with two independent light sources at different distances from the window.
