If you shoot night scenes, you may have encountered the problem of not releasing the shutter when you press the shutter. One of the reasons is because the camera fails to focus, and the shooting function is automatically locked, so that the camera cannot complete the shooting. So, what is the solution to this situation? Let’s take a look!
Table of Contents
Look for Glowing Objects to Autofocus
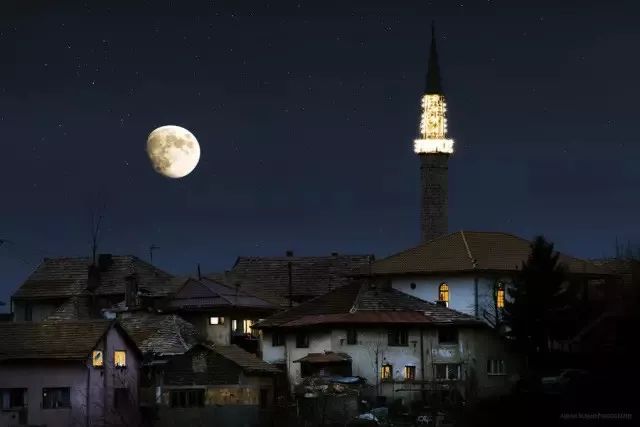
Focusing is possible as long as there is light. Although sometimes luminous objects (such as street lights, moon, etc.) do not fall exactly on the focus point, at this time we can adjust the camera’s focus point to focus on the luminous object. But be sure to note that the illuminated object needs to be at the same distance from the subject that you want to focus on. For example, you originally wanted to focus on the top of the mountain (infinity), but it was too dark to focus. At this time, you can focus on the sky with the moon (luminous object), and the result is infinite, and you can shoot successfully at this time!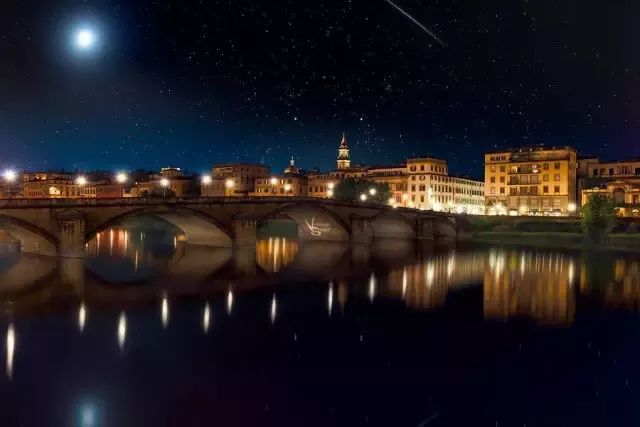
Assists Autofocus with External Light Sources
Sometimes if the subject to focus on is the foreground, such as a valley at night, the autofocus fails because there is not enough light in the scene. At this time, we can keep the autofocus first, and then turn on the flashlight to illuminate the subject. Half-press the shutter, after the focus is successful, then set the camera to manual focus. After focusing, you can concentrate on framing the shot and setting the aperture shutter. But be careful when using this method, after setting the manual focus, do not move the position of the camera and avoid moving to the focusing ruler on the lens (if there is one), otherwise you will have to refocus.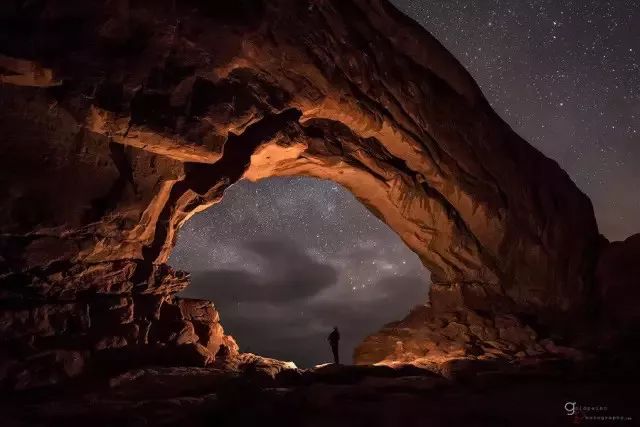
Just Switch to Manual Focus
The easiest way (but more difficult for beginners) is to use manual focus entirely. It is convenient for cameras that have an electronic viewfinder (EVF) or that can use live view. Some can even zoom in on the scene to focus, increasing the chance of success.
Use Preset Focus Points
This method is especially useful for shooting “infinity” scenes, such as taking pictures of stars. The principle is to do the steps mentioned in the second point in advance, but it can be done when there is sufficient light. Focus the lens at infinity, and then mark the “focus at infinity” position on the lens (you can use a sticker), and when you use it, you can directly adjust to manual focus and adjust the focus ring to the mark, which is very convenient and fast.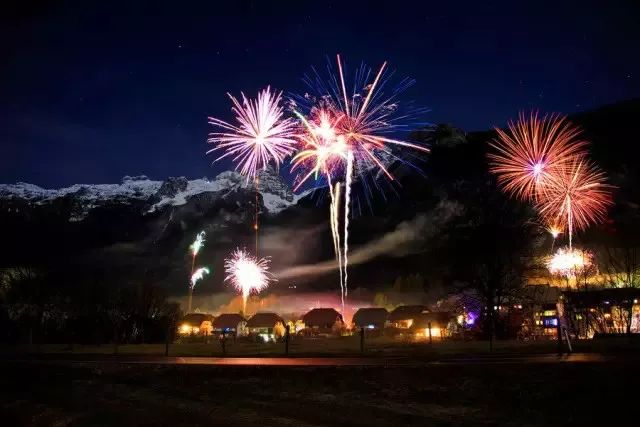
M Mode Shooting in Manual Mode
1. The difference between M gear and other gears
M refers to full manual mode. M-speed shooting can manually control aperture, shutter speed, ISO, exposure compensation, focal length, etc., according to the scene and shooting needs, so as to control the brightness of the photo.
AV: Aperture priority. Manually set the current aperture size and the camera calculates for you how much shutter speed and ISO you need. In most cases, AV files can meet most of your requirements – even sports and scenery themes.
TV: Shutter priority. Manually set your current shutter speed, and the camera figures out what aperture and ISO you need. Typically used when photographing fast-moving targets.
B: Equivalent to M gear. It is turned on when the exposure time needs to exceed 30 seconds, and it generally needs to be used with the shutter release.
2. The relationship between M file and the three elements of exposure
There are three elements of exposure: aperture, shutter, and ISO.
The M file is a shooting mode that manually adjusts the three-element parameters, so it is called the manual mode. That’s why the M file looks complicated. But as long as we understand the three elements, we can easily use it.
3. Advantages of M gear
(1) Let you think about the composition and theme of the picture
Using the full manual mode, you can decide to use the aperture to adjust the shutter first according to the different shooting subjects. Such a decision-making process will train your observation and creativity, and make your work more diverse. At the same time, it will also improve the ability of independent creation.
(2) The exposure value is fixed
In full manual mode, the set aperture, shutter, and ISO value will not change with the composition and framing. That is to say, other shooting modes require exposure lock after metering before secondary composition shooting can be performed. Therefore, the full manual mode can make the photographer more directly grasp the light and shadow.
4. M file shooting application
When shooting sunrise and sunset, light painting, milky way, aurora, slow door and other landscape creations, you need to adjust the photo brightness independently. Using the M file is the best choice for shooting, to ensure accurate exposure. Learned that you can also shoot the Milky Way star blockbuster.
M file to shoot the Milky Way
When shooting with professional flash in the studio, or in complex light and strong backlight situations, it is difficult to get the correct exposure in the ordinary automatic mode. We have to shoot in M mode and make precise adjustments to the parameters.
