Table of Contents
Camera Placement
Crouching or lying down, handheld shooting can already meet the shooting needs in most situations.
Of course, you can also put on some smaller and fresher poses, like the picture below, which is very cool.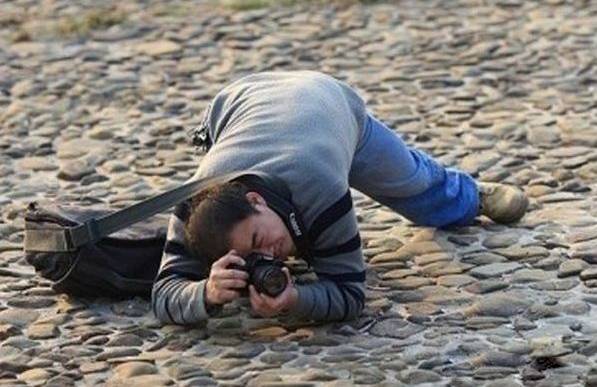
Need to go lower? You can put the camera directly on the ground. Need to shoot up? Adjust the elevation angle and put a small pad on it.
In some special cases, the above two methods may not be applicable.
For example, the ground is wet, muddy, rough, and there is no flat place to put the camera. Or if you need to shoot night scenes at a low angle, long exposure of vehicle tracks, etc. that cannot be done by hand, you cannot lie down and hold it.
In this case, you can try flipping the tripod head upside down.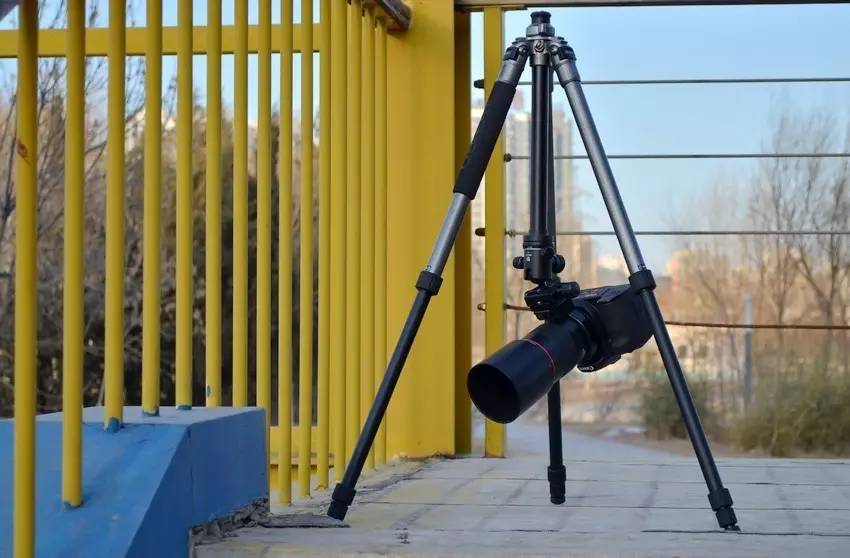
Using this method requires that the tripod head has a high bearing capacity and locking force, otherwise your camera will “nod” or simply fall off.
Alternatively, you can buy a tabletop tripod designed for low-angle shooting.
A tabletop tripod has the exact same construction as a regular tripod, but with very “short legs”. It is often used to shoot macros and scenes, and it is an artifact for low-angle shooting.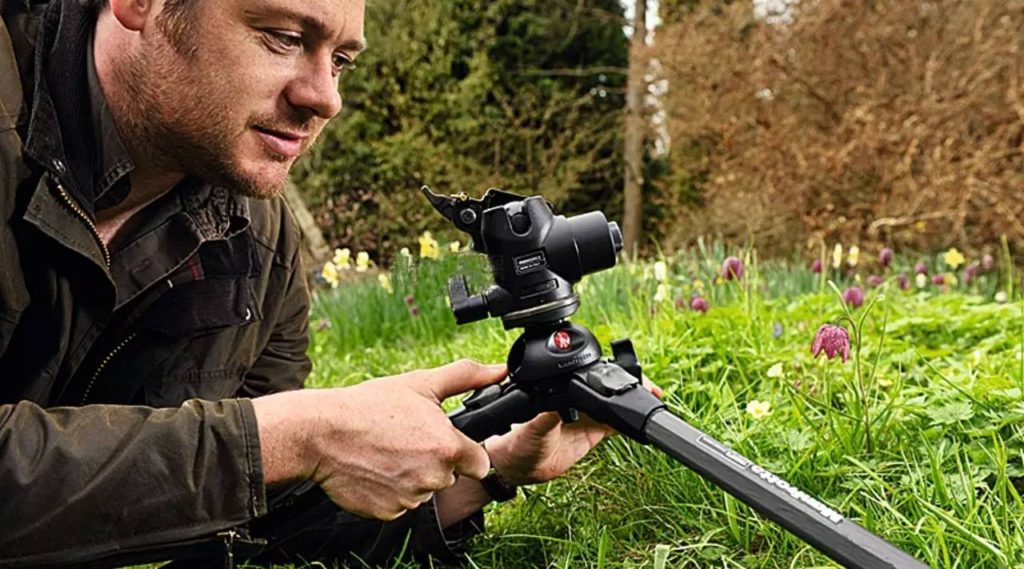
The one in the picture above is already a “giant” in the tabletop tripod. There are also smaller miniatures for tabletop tripods.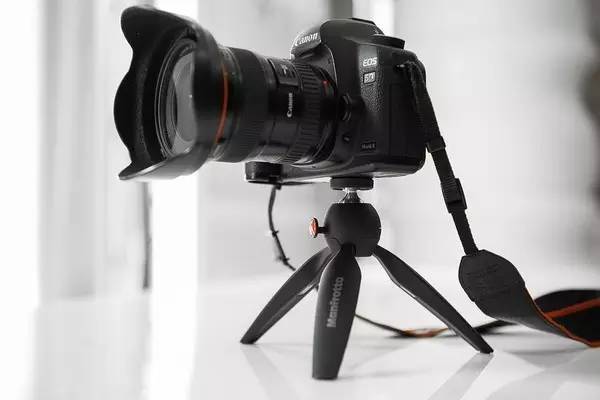
Mini Tabletop Tripod
There are “soft foot” versions for rough terrain.
Of course, this type of tripod can’t use a lens that is too large, and it probably won’t be able to hold a cannon.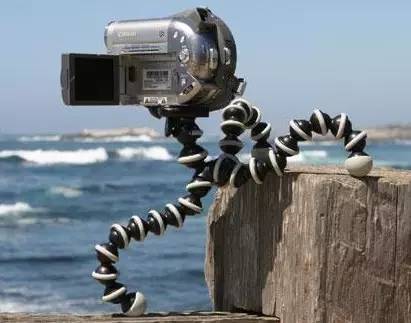
If you don’t want to buy a desktop tripod, you can make do with it and DIY yourself with various tools, as shown in the picture below.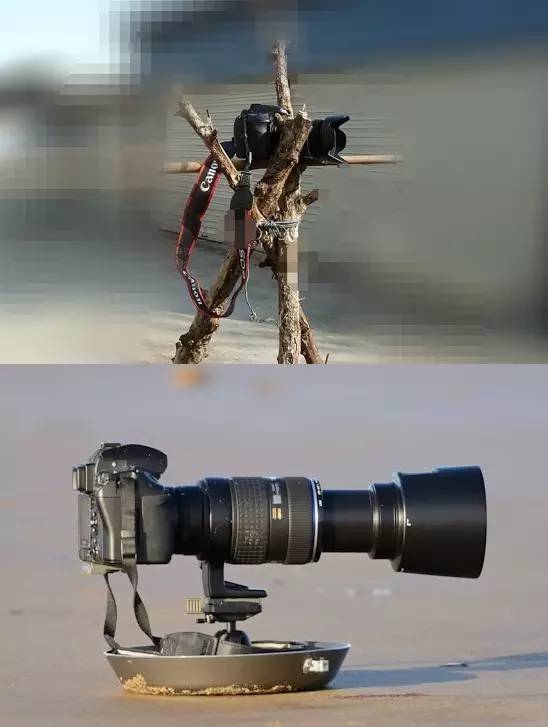
Framing Problem
Some of the newer cameras will have a flip-up LCD screen. That can be flipped up when shooting.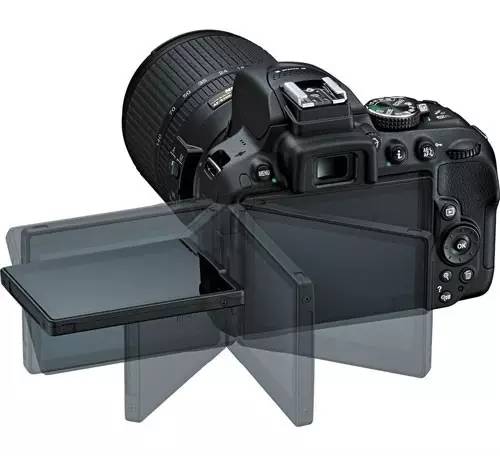
Some camera models do not have a reversible LCD screen, but have developed a reversible viewfinder.
Some cameras do not have a reversible LCD screen or a reversible viewfinder, but have developed a supporting external device: an external viewfinder.
The external viewfinder is generally matched with the model or brand, and needs to be purchased separately, and the price is generally not low. We do not recommend buying it if it is not professionally needed, or if you often want to shoot at a low angle.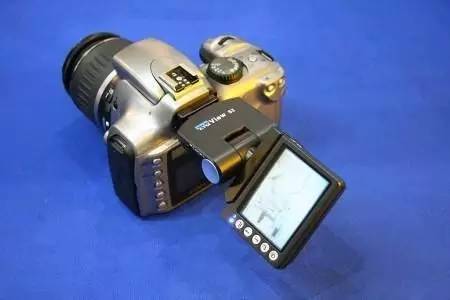
If your camera doesn’t have a flip-up LCD screen, doesn’t have a flip-up viewfinder, and isn’t worth buying an external viewfinder, then you’ll have to learn to “forget the viewfinder” and improve your blind shots.
Take a good picture first, pick up the camera, take a general look at the composition, think about how to adjust the shooting angle, then put it down and take a blind shot, pick it up and adjust it.
This is a great exercise for your blind shooting and screen control skills. Perhaps Sai Weng lost his horse, how can we know that it is not a blessing?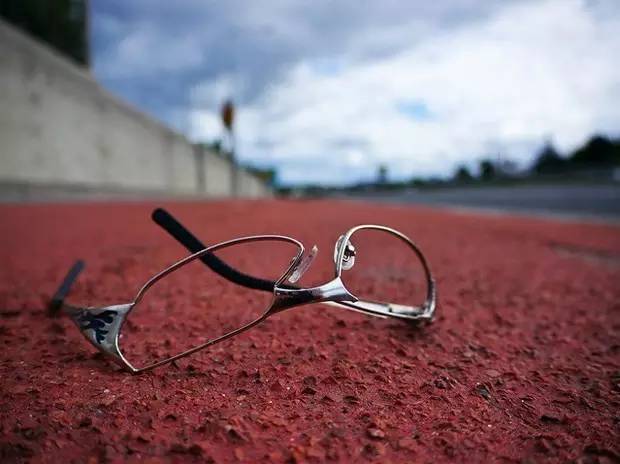
With Wide-angle Lens
Low-angle shots are generally used with wide-angle lenses.
The reason is very simple. Low-angle shooting itself has the problems of limited field of view and inconvenient angle adjustment. There are many problems in composition when using a medium and telephoto lens.
The wide-angle lens has a wider field of view and a larger picture. You can optimize the composition or adjust the level of the picture through post-cropping.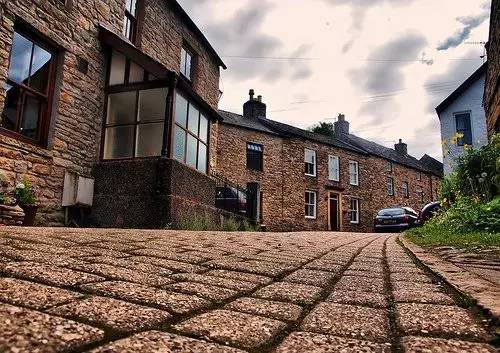
Wide-angle shooting, the picture can withstand post-cropping.
In addition, using the characteristics of the wide-angle lens, it can also magnify and highlight the foreground scene.
Manually focus on the foreground, use a large aperture to create a shallow depth of field, and a very impressive photo comes out.
Try to Keep It Level
If you have a horizon line in your frame, you still need to keep the frame as level as possible.
Some cameras come with an electronic level. After turning it on, adjust the body to be in a horizontal position, and a green line will appear as shown in the figure below. Otherwise, continue to adjust.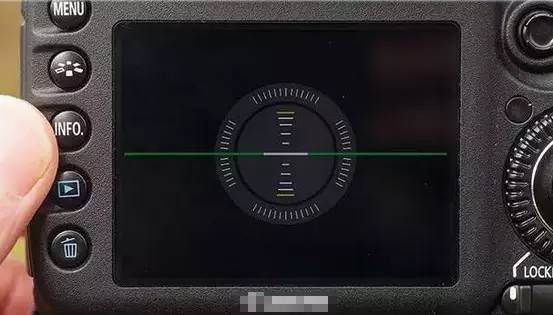
If there is no electronic level, and accurate level cannot be achieved, it can also be left to the later stage for processing.
It should be noted that even if there is processing in the later stage, the tilt angle of the picture should be minimized in the early stage of shooting. The larger the tilt angle, the more the loss of the picture.
Let’s take this photo as an example.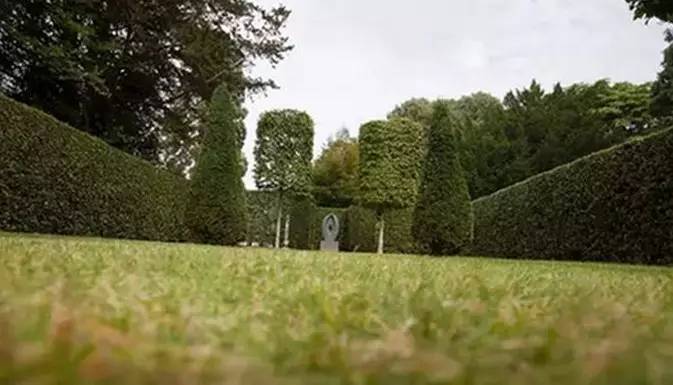
After the photo has been corrected for the horizon angle, a maximum crop is made to preserve as much of the image as possible.
As shown in the figure below, after rotating the horizon to the horizontal, the pictures that can be kept and used are the parts in the red box, and the pictures outside the red box are all wasted.
Obviously, the larger the tilt angle, the more wasted parts of the picture and the greater the loss of picture quality. Therefore, in the preliminary work, try to make the fuselage as close to the level as possible.
Another, more convenient solution is, instead of shooting the horizon, play upside down. Or a large aperture, blur the distant horizon, and reduce the unnaturalness of the picture caused by the tilt.
As shown in the figure below, although the horizon is slightly inclined, due to the extreme blur, the impact on the picture is not great.
Control Exposure
When shooting upside down at a low angle, with the sky as the background, you need to consider exposure.
While the light is very strong, you need to consider lowering the light ratio. When there is a lack of related equipment and equipment to reduce the light ratio, you must accept a large light ratio, make trade-offs and adjust the exposure according to the needs of the picture.
For example, if your photo wants to highlight beautiful blue skies and clouds, consider lowering the exposure compensation, even if the foreground is darker. If you want to highlight a beautiful foreground scene, overexposed the sky slightly.
To accentuate the flowers, it doesn’t matter that the sky is slightly overexposed.
