Table of Contents
1. Brief Introduction
Before the advent of digital imaging technology, there were two ways for people to take panoramic photos: to rotate and shoot with a dedicated panoramic camera, or to stitch them manually by a professional darkroom engineer. Either way, it is difficult for ordinary photographers to do it. The “panorama” boasted by the APS camera only utilizes the large angle of view of the ultra-wide-angle lens, and strictly speaking, it is more appropriate to call it a “block-frame photo”.
The popularity of digital cameras and digital image processing technology has made panoramic photography easier. Anyone with a digital camera and a computer that can run image processing software can try to create panoramic photos with amazing perspectives.
2. Types of Panoramic Photos
Panorama Pictures in a broad sense refers to all photos with a large viewing angle. In traditional photography, pictures taken with an ultra-wide-angle fisheye lens are also called panoramas. But that kind of photo has a strong perspective effect, and the image is completely distorted.
The panoramic photos we discuss here refer to large-view photos formed by stitching, which can be one-dimensional stitching (the most common, horizontal or vertical), or two-dimensional stitching (all horizontal and vertical stitching). According to the relative position of the photographer and the subject, it can be shot by rotating the camera, or by panning the camera (similar to the scatter perspective in Chinese painting), and it can also be shot around the subject.
Rotating the camera is the most common panorama shooting method. It is used to express the scenery around the open area, and it is easy to obtain good results. Vertical stitching can be used to represent tall buildings that are difficult to capture in one shot. Through two-dimensional stitching, it can also break through the bottleneck of digital camera resolution and produce large-scale pictures with super resolution.
For continuous distribution of shooting objects, such as a street scene, you can pan and shoot, and then stitch and stitch to form a long street view. The surface of a large circular subject can also be shot around and then stitched together, just like how a world map is represented.
Not all subjects are suitable for panoramas. The production of close-up scenery is more laborious, and moving objects are almost impossible to shoot.
3. Shooting points
Photos used for stitching panoramas have certain requirements, such as similar exposure values, similar tones, arranged in sequence, slightly overlapping each other, and so on. There are some precautions when shooting.
(1) Selection of focal length
Some people think that when taking a panoramic photo, the angle of view should be as large as possible, and therefore, the shortest focal length (wide-angle lens or the wide-angle end of a zoom lens) should be used. In this way, the number of photos that need to be stitched is small.
This is actually a kind of misunderstanding. Save trouble when shooting and trouble when stitching. Because the wide-angle lens has a strong perspective effect, especially the edges of the picture are prone to distortion. It is difficult to be seamless when splicing.
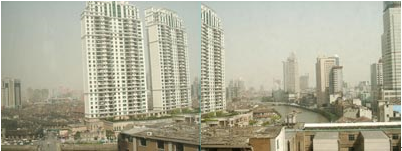
For example, in the following two films, the originally vertical buildings are distorted and skewed due to the use of a wide-angle lens equivalent to 35mm. Stitching is not possible at all unless corrected by hand in Photoshop. Therefore, when shooting, you should use the medium or telephoto end with less distortion. And it is not appropriate to change the focal length in the middle of shooting.
(2) Exposure parameters
Most digital cameras now have a dedicated panorama mode. In this mode, the camera will automatically set the exposure parameters as required for taking panoramic photos. We should note the following points for cameras without panorama function:
- Use average metering when metering, and use manual exposure or AE lock to lock exposure parameters when exposing. We can`t change the aperture, speed, ISO, resolution and other settings during the shooting of the same group of panoramic photos.
- Use a fixed white balance, and the use of automatic white balance may cause inconsistencies in the color tone of different photos.
(3) Shooting method
Shoot in a certain order (from left to right or from top to bottom, etc.). It is best to use a tripod to rotate smoothly. And pay attention to the vertical axis of rotation when shooting. When shooting in rotation or panning point by point, pay attention to the same height and angle of the camera. Generally do not use the flash, because the flash will cause near bright and far dark.
There should be some overlap between two adjacent photos when shooting. Some brands of digital cameras have auxiliary prompts on the LCD display in panorama mode. Avoid shooting when the lighting conditions change drastically (such as clouds obscuring the sun). So that we can avoid too much difference in exposure between frames. Also take care to avoid moving objects (such as vehicles and pedestrians) at the junction when shooting.
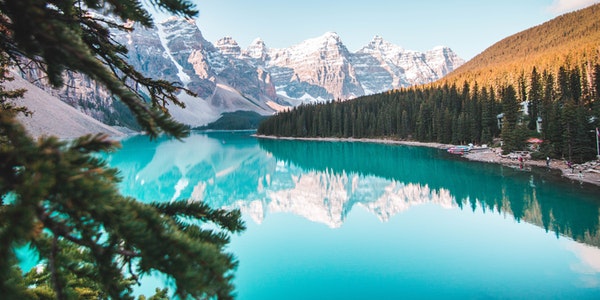
Although it is helpful for some automatic software to identify and splicing a position with a clear mark as the connection point, we still recommend choosing the part with no obvious mark and easy to mix as the joint, such as the water surface and distant mountains. So that it is not easy to see the seam when splicing .
