Table of Contents
Lighting Techniques for Photography
Light is the life of photography, and photography cannot exist without light. The art of photography is the art of light and shadow. The appearance, texture, shape and color of all scenes need to be illuminated by light to be expressed. There are two functions of light in photography: one is to fully illuminate the subject and meet the light required for exposure. The second is to meet the photographer’s requirements for the shape of the subject.
Type of Light
1. According to the source of light, it is divided into natural light and artificial light
Natural light: refers to the light emitted by the light source originally existing in nature, such as sunlight, sky light (sky light), moonlight, etc. Natural light is relatively stable, but cannot be controlled by humans.
Artificial light: refers to the light emitted by the light source of luminous objects, such as candle light, match light, incandescent light, tungsten halogen light, flash light, metal halide light, fluorescent light, darkroom light, etc.
Artificial light is divided into solid light source (heat radiation light source) and gas light source.
The advantages of solid light sources: low cost, good electric startability, and good luminous performance. Disadvantages: glows and heats up at the same time.
Gas light sources include fluorescent lamps, electronic flash lamps, mercury vapor, xenon lamps, and metal halide lamps.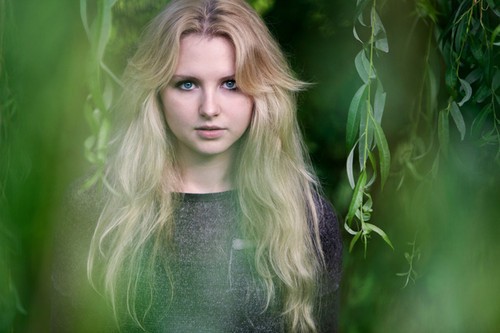
2. According to the nature of light, it is divided into hard light and soft light
Hard light (is a direct form)
The so-called hard light (also called direct light) refers to strong direct light. Under hard light (direct light) illumination, the subject has a light-receiving surface, a backlight surface and a shadow. This is an effective effect of forming a three-dimensional form of the subject.
The brightness distance between the light-receiving surface and the backlight surface of hard light illumination is relatively large, that is, the contrast of the scene is large. It can create a modeling effect with strong contrast between light and dark, which is suitable for expressing rough surface texture. Such a modeling effect makes the lifted body form an image of a clear outline shape. This light effect can achieve a “power” and “hard” artistic effect.
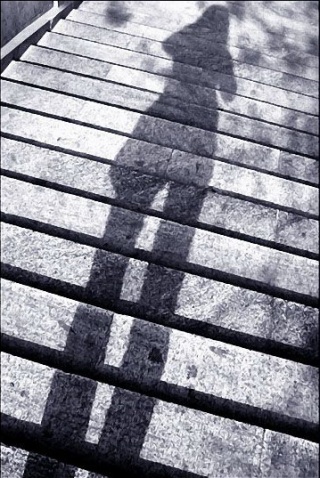
Shadows can be formed under hard light (direct light). The shadow of some scenes is very expressive, it can not only increase the depth and perspective of the picture, but also form a rhythmic rhythm with the light and dark interval of the bright part, increasing the beauty of the picture.
Shooting portraits with hard light (direct light) as the backlight will produce a beautiful rim light around the subject. The character’s face is supplemented with soft light to form a harmonious lighting effect. When taking this kind of photo, pay attention that the auxiliary light on the front should not be too bright. If it is too bright, the light effect of the backlighting will be weakened, and the light perception will be unreal.
Disadvantages of Hard Light
Due to the large contrast between light and dark, the hard light lighting is too hard, especially the color, quality and even shape of the dark part will be damaged to a certain extent.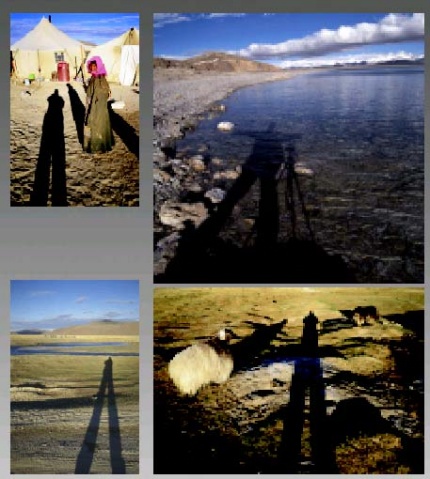
▲ Examples of hard light shooting
The above set of shadow-themed photos were taken using direct sunlight from the sun. The strong sunlight widens the contrast between light and dark of the picture, and the shadows cast are clearer. Generally, the light intensity is high, the light direction is single, and the light and shadow effect is relatively hard. The light intensity is weak, the light source is scattered, and the light and shadow effect will be relatively soft.
In addition, under strong light irradiation, the distribution of light and shadow is also closely related to the irradiation angle of the light source. The length of the shadow cast by the scene varies with the illumination angle of the light source.
Soft light (scattering form)
Also known as “scattered light”. Outdoors generally refer to sunlight passing through clouds, or being reflected by the ground, walls, etc. The characteristic is that there is no clear directionality, and the relationship between light and shade is not very obvious when it is illuminated on the subject. The intermediate transition is rich in layers, and the image is softer. This kind of light is ideal for shooting portraits, and the performance of the skin level of the characters is very rich.
Position and Lighting Skills of Various Lights
1. Use of natural light
In natural light, direct light on sunny days, scattered light on cloudy days, and indoor natural light have different lighting effects and image quality. Photographers should pay attention to their respective characteristics and corresponding lighting techniques.
(1) Various light positions and light skills of direct light
Forward light: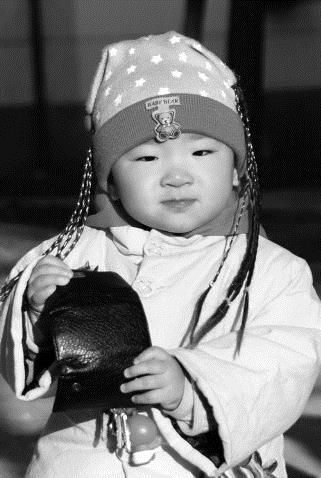
Also called positive light, flat light. The light shines from the front of the subject. The characteristic is that all subjects are exposed to light, and the light brightness is high. The image is flat and the color reproduction is good. But the light is relatively flat, and it is difficult to show a three-dimensional effect. This light is especially suitable for expressing the smoothness of the skin of women and children. The frontal light not only makes the skin appear white and delicate, but also makes the face that is too thin to appear plump. At the same time, its metering and exposure are relatively easy.
Side light: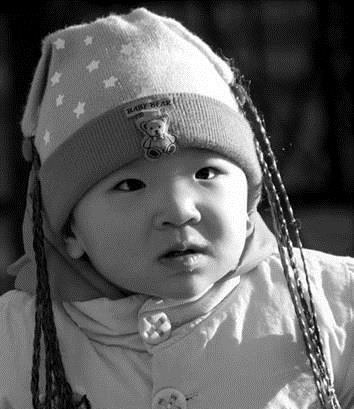
The light comes from the side of the subject. It is usually divided into front side light and rear side light. The characteristic is that the subject has an obvious three-dimensional sense, and the tone levels, line outlines, etc. are more abundant. Can better describe the appearance of characters and facial expressions.
If this kind of picture match with a dark background, it is very beneficial for the representation of men or the elderly. It can highlight its mature and calm personality. However, when shooting portraits with this kind of light, it is possible to form irregular bright spots of semi-darkness and half-darkness on the face of the subject. For this reason, the light can be properly supplemented from the backlight side, and the above-mentioned situation can be avoided by reducing the contrast.
Front side light: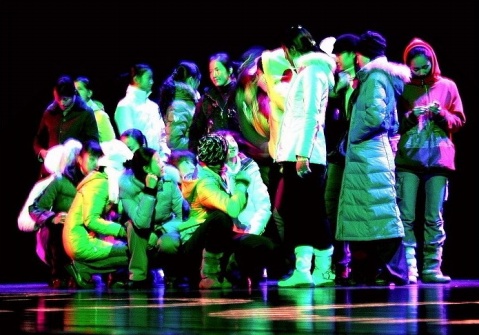
(2) Lighting tips on cloudy days
Generally people do not think that cloudy days are a good time to shoot, but only on cloudy days with thick clouds or cloudy days with rapid climate change will it really pose a big technical challenge to photographers.
On cloudy days, since clouds block the sun , the light on cloudy days has no obvious directivity, and the light belongs to diffuse light. In an open place, the light is too bland, and there is no layering of light and shadow. Therefore, it is best not to shoot subjects that want to express texture and three-dimensionality on cloudy days.
The brightly lit, cloudy and cloudy days are just right for portraits. Soft light, especially soft tones when shooting portraits. It is suitable for expressing the texture of the skin, but the whole picture is easy to appear dull. If you want to take good portraits on cloudy days, you must pay attention to at least three important factors: correct exposure, correct white balance, and good use of color.
If you need to shoot a contrast between light and dark on a cloudy day, you will need some auxiliary tools, such as using a light-absorbing plate (the opposite of the color of the reflector, which is black).
(3) Indoor natural light
Indoor natural light refers to the light that enters a house from a window. Although indoor natural light is not as strong as outdoor natural light, the contrast of light and dark is also very large, and the directivity of light is also relatively strong. The farther away from the window, the lower the intensity of the light and the lower the brightness of the subject.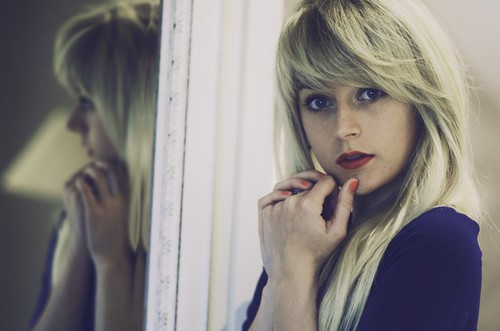
And if the distance is too close to the window and the light is too strong, it is difficult to grasp the exposure when shooting. Therefore, when shooting in indoor natural light, pay attention to the control of its light ratio. You can hang a layer of gauze white curtains on the windows, so that it will not affect the light effect too much, and the light will be softened by the blocking of the curtains. In this way, you can control the exposure effect very calmly when shooting again.
2, the use of lighting
The use of indoor lighting is relatively simple, and we can adjust it more flexibly and conveniently to obtain a richer picture effect. We should notice the following points when using lights.
(1) Mastering the color temperature of the light source
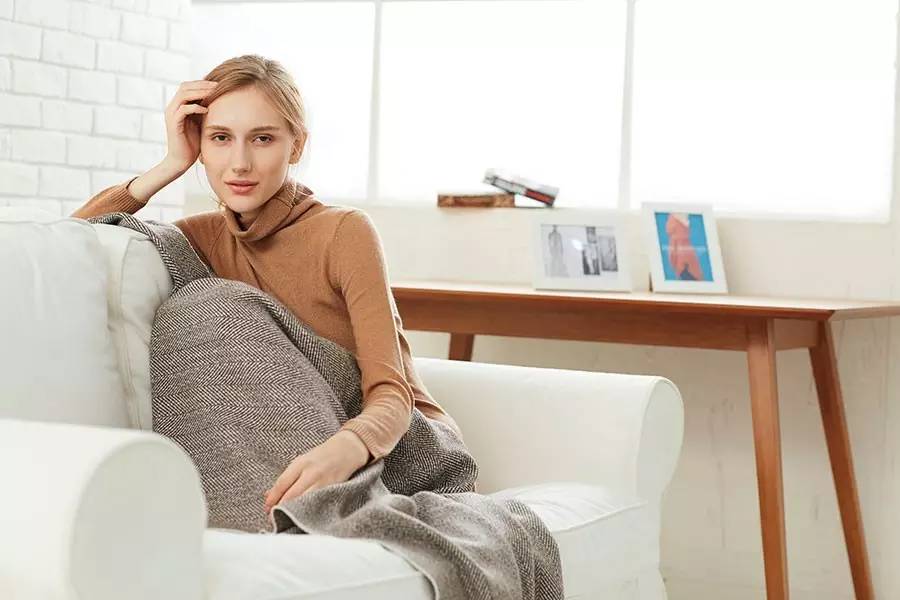
When discussing the problem of light in color photography, photographers often refer to the concept of “color temperature”. We know that the light human eye usually see composes of a spectrum of 7 kinds of light. But some of the light is bluish and some is reddish.
Color temperature is a method specifically people use to measure and calculate the color components of light. The specific standard sets on the wavelength emiting from a black body radiator. Color is actually a psychophysical effect. All color impressions are produced by the intermittent response of the spectrum on the eye. So the industry only use color temperature to express the visual impression of color.
Color temperature is a physical representation of various types of light. It is the human eye’s perception of a luminous body or a white reflector. People can artificially change color temperature on TV (illuminators) or photography (reflectors). For example, in photography we use a 3200K incandescent lamp (3200K), but we add a red filter to the lens to filter out a little red light to make the photo look a little higher in color temperature.
The color temperatures of some common light sources are:
A standard candle is 1930K (a unit of temperature in Kelvin).
Tungsten filament lamps are 2760-2900K.
Fluorescent lamps are 3000K.
The flash is 3800K.
Sunshine at noon is 5400K.
Electronic flash is 6000K.
Blue sky is 12000-18000K.
(2) Effects of different light types
The effect of different light types
| light type | effect |
| key light | Responsible for illuminating the main subject to display the texture and shape of the subject |
| fill light | We use it to illuminate the places where the main light cannot be illuminated. It can show the detail level of the shadow and reduce the contrast of the subject. |
| Contour light | The light that can illuminate the outline of the subject, the backlight and the side backlight belong to the outline light |
| background light | Light exclusively responsible for illuminating the background |
| Grooming light | Specially add lighting to local effects of the subject to enhance the picture effects, such as catch light, glow, etc. |
(3) Precautions for using light
To learn to use light to shape, that is, to use different light to shape different picture effects. Highlighting the edges with backlighting and illuminating the subject with forward light are all essential techniques. At the same time, we should also pay attention to the use of different fill light methods for different light.
Note the changes brought about by changes in different light levels. For example, for the same subject, you should pay attention to the intensity of the light when shooting at noon, and pay attention to the direction of the projection and the atmosphere of the whole picture at dusk.
The use of light should not only pay attention to the light itself, but also pay attention to the effect of light and shadow. When there is light, there is shadow. While shooting, you can use projection to balance and modify the picture. When applied properly, shadows can also be highlights in the picture, as shown in the picture.