The following are some suggestions for the parameters of the scene. Remember, these parameter suggestions are only suggestions, and beginners can use this to get started quickly. However, it may not be suitable for specific situations. Everyone should be familiar with photography theory and use it flexibly.
Table of Contents
When Aperture Priority
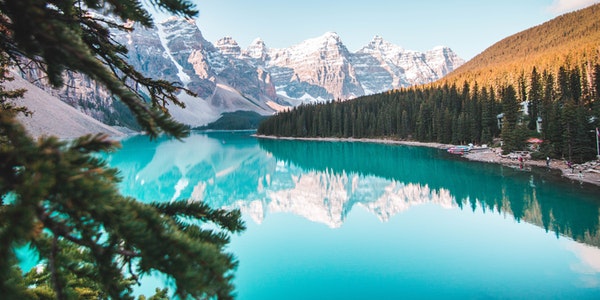
Take a landscape photo in the front light – F8-F11, exposure compensation 0.
Generally speaking, a small aperture can help us more easily get clear photos near and far. But now shoot, try not to use a particularly small aperture. On the one hand, there are more and more pixels on the sensor, and the density is getting higher and higher, and the small aperture is prone to diffraction effects. Simply put, the picture quality is not good.
On the other hand, in the design of the current lens, the image quality of the large aperture will be guaranteed as much as possible, so the very small aperture will actually deteriorate the image quality from the lens point of view.
F8-F11 have very good picture quality, F16 is okay, but F22 is really bad.
When shooting with forward light, generally we can keep 0EV for landscapes.
When taking portraits
——The maximum aperture or the maximum aperture is reduced by one stop, the face of the model is spot metered, and the exposure compensation is 0.
When shooting portraits, many times we need to blur the background. A wide aperture would definitely help.
So if you have a wide aperture lens, don’t waste it, just use F8. Now the lens design, is to try to take care of the image quality of the full aperture. So please rest assured to open the aperture. For older lenses, a stop down is fine.
If you don’t want the bokeh effect, of course don’t use such a wide aperture.
As for exposure compensation, for portraits, it is generally enough to spot the model’s face at 0EV, unless you shoot blacks or particularly white whites.
Macro shooting
Since you’re going to be shooting so close, you’re going to be very easy… I should say you’re going to get a very shallow depth of field image. If you don’t want the depth of field to be a shallow line — only this line is sharp, the rest is blurry — then try to use a smaller aperture.
When it comes to small apertures, the first thing that comes to your mind is F8-F11.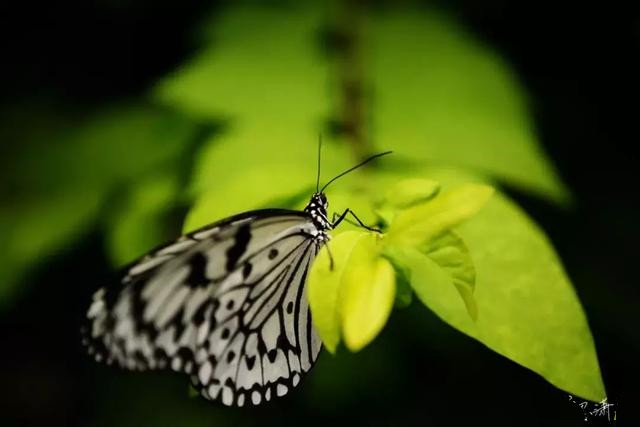
Shooting starburst effect – F8-F11
When shooting night scenes, we hope that the lights will show the starburst effect. In fact, a small aperture can be achieved.
Small aperture? F8-F11 you should blurt out.
However, please note that the starburst effect cannot be captured by mobile phones.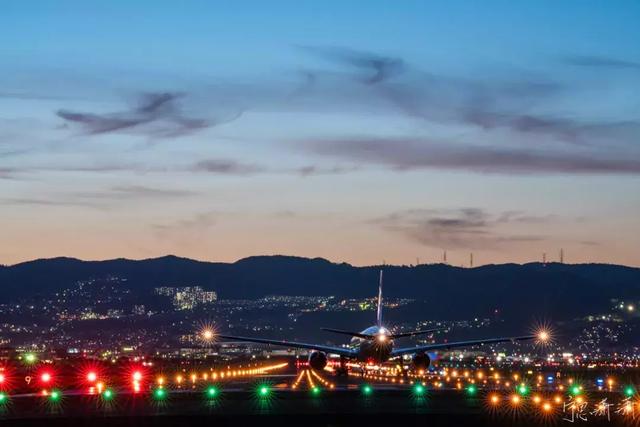
When Shutter Priority
General body movements
——more than 1/60 second
As long as the movement is not very violent, more than 1/60 of a second can freeze the moment of body movement. For example, the following picture of the uncle holding seafood was taken in 1/60 of a second. His movements ranged between vigorous and non-violent. So we see that the uncle’s arm in the picture is slightly empty.
But especially violent movements, such as the white hat uncle who auctioned seafood in the picture below, because the movements on his hands are very fast, even if the shutter speed of 1/125 second is used, it is still false.
Walking
——1/125 second or more
For walking slowly, the movement of the character can be frozen for more than 1/125 second.
The movements of the two people in the picture are completely frozen, and the shutter speed at this time is 1/250 second.
Fast moving portrait
——1/500 second or more
But if the character walks fast, or the walking person is very close to you, then the character moves very fast in the picture. Then obviously 1/125 of a second won’t work. We need shutter speeds above 1/500 of a second.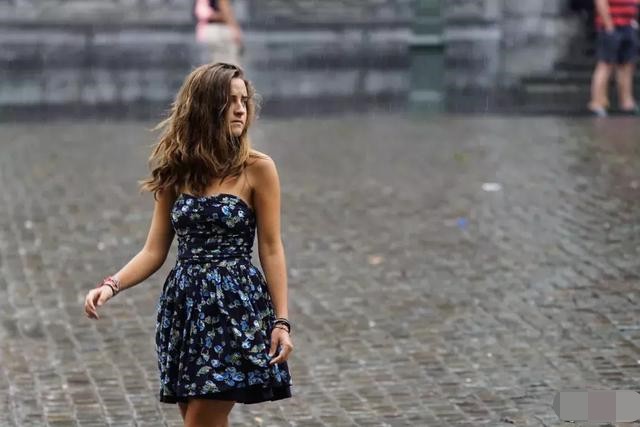
Of course, if you want to blur the walking characters, naturally as long as your shutter speed slows down, it will be blurred. This photo was taken at 1/20 of a second. The characters who walked were very vain. Then all I have to think about is the highlights. One is that the monk facing me can stay still during this exposure time, and the other is that the camera in my hand can be held steady.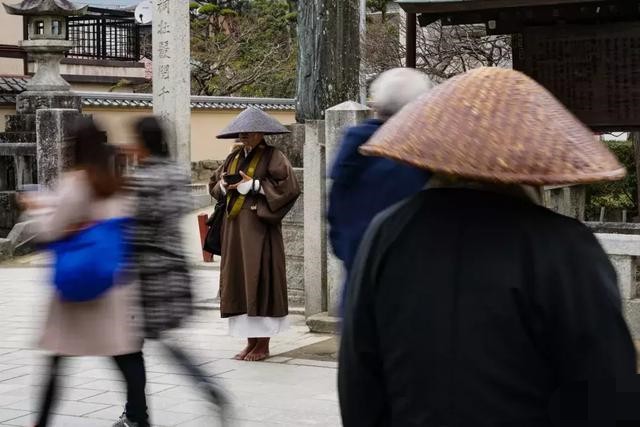
At the same time, we should also be able to see from this photo that the monks in the vicinity are a bit phantom, while those in the distance are very clear. In fact, at that time, on the one hand, the monks in the vicinity might move more than those in the distance. 1/20 of a second, he couldn’t hold on.
Running
——1/1000 second or more
If you want to freeze the running person, I recommend using a shutter speed of at least 1//1000 second. And it is recommended to turn on continuous shooting.
This is because the running person moves erratically, not only moving back and forth, but also ups and downs. At the same time, the movements of the hair on the hands and the movements of the feet are very fast.
Fast shutter speeds freeze the moment, and continuous shooting helps you capture good moments.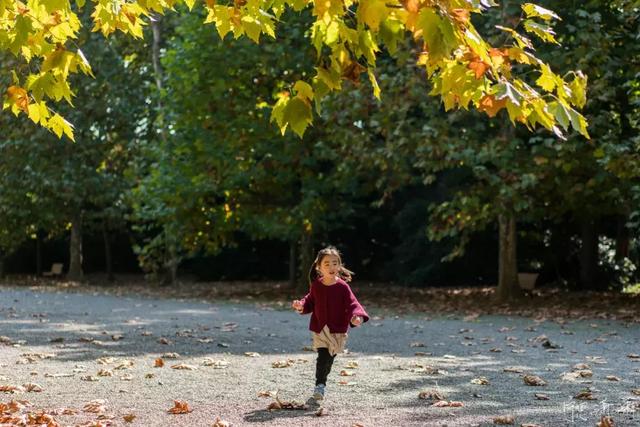
Car is driving at normal speed
——More than 1/4000 second (the same when you shoot the ground scene in the car)
So how do you photograph cars? The shutter has to be one stop faster when shooting. And I don’t recommend photographing fast-moving cars that are particularly close to you, because of the danger.
This double-decker bus I photographed in London is not very fast when turning, but it will also have a speed of about 20km/h. I even used a shutter speed of 1/8000th of a second just to be safe.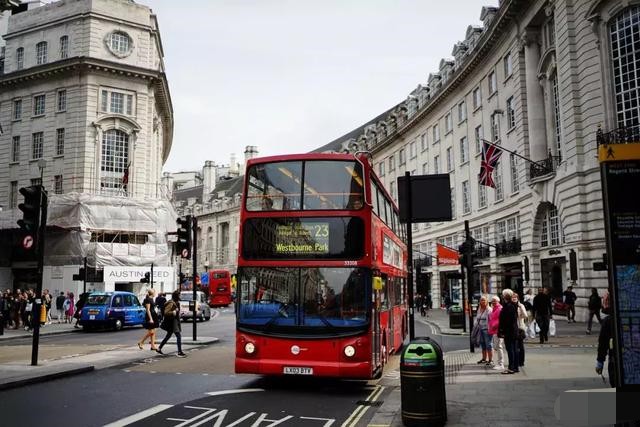
Of course, if the car is moving very slowly, the shutter speed may not necessarily be so exaggerated. This Porsche slowing down to turn at the Champs-Élysées intersection is actually slow. So a shutter speed of 1/1600 second is enough to freeze.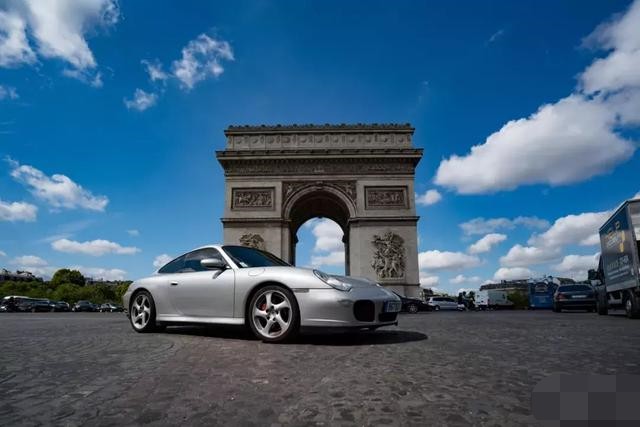
Follow Photography
——1/4 second ~ 1/60 second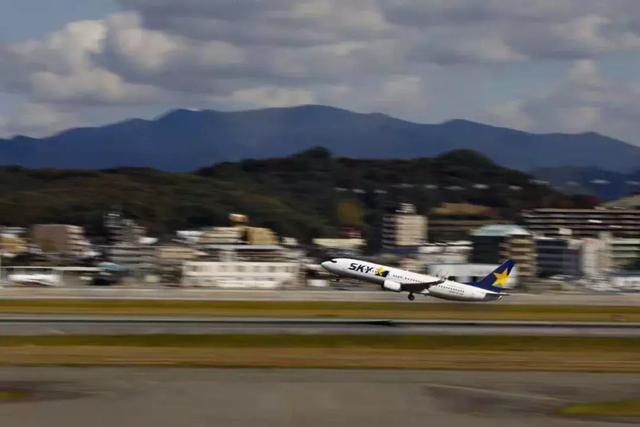
The choice of shutter speed is based on tangential movement speed and distance from you. So if you shoot bikes, just go to the sidewalk and practice. If you’re photographing cars, I recommend staying away. If you’re shooting airplanes…then go further.
How far is appropriate? According to the shutter speed of chasing photography, 1/4 – 1/60 seconds, you can take a shot and try to catch up. If the subject is particularly virtual in the picture, it means that the subject is too close or the subject is too fast. Find a way to stay away. If not, then give up.
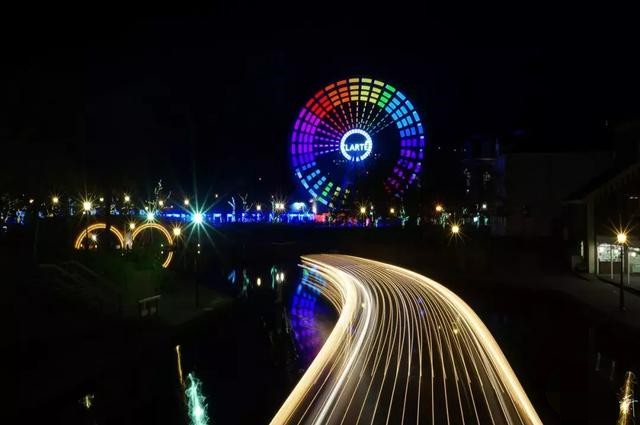
Street car light line and surface boat light line
——The exposure should be as long as possible, ISO 100, F8, and the exposure compensation will be reduced by about 1 stop.
Although it is M file, we still have to refer to exposure compensation for such a scene. Since it is a night scene, consider reducing the exposure compensation a bit. If the street is bright, reduce it a little or not at all. In the case of the river, it is generally darker, so it needs to be reduced a little more.
By how much? Take a picture and see.
Then according to the reciprocity rate, we set the aperture and sensitivity, adjust the shutter speed, and make it as long as possible while satisfying the exposure compensation. If you find that, oops, the shutter speed is still not slow enough, then adjust the aperture a little bit smaller. If you find that the shutter speed reaches 30 seconds, it is still not bright enough, you can consider increasing the sensitivity or opening a large aperture.
Summary of Elements in Photography Concept:
1. The camera controls the three elements of exposure
Aperture, Shutter, Sensitivity
The larger the aperture, the brighter it is.
The slower the shutter, the brighter it is.
The higher the sensitivity, the brighter.
2. Four elements of exposure
Scene Brightness, Aperture, Shutter, Sensitivity
The stronger the scene brightness, the brighter
Others are the same as above.
3. Five elements of flash exposure
Power, distance, aperture, sensitivity, focal length
The higher the flash power, the brighter it is.
The closer the flash is, the brighter it is.
The larger the aperture, the brighter it is.
The higher the sensitivity, the brighter.
The longer the focal length, the brighter.
4. Three elements of depth of field
Aperture, focal length, focus distance
The larger the aperture, the shallower the depth of field.
The longer the focal length, the shallower the depth of field.
The closer the focusing distance, the shallower the depth of field.
5. Four phrases for blurring the background
Background far, camera close, large aperture, long focal length
6. Three characteristics of light
Intensity, direction, color temperature
Intensity – that is, whether it is bright or not.
Direction – is where the light comes from.
Color temperature – is what color light is.
7. Three types of light
Natural light, scene light, artificial light
Natural light is generally the source of sunlight.
Scene lights are often other light sources indoors.
Artificial light is studio lights or flash.
8. Three characteristics of color
Hue, Purity, Lightness
Hue – what color
Purity – is saturation
Brightness – how bright or dark the light is
9. Four bad performances of sensitivity improvement
Loss of sharpness, loss of detail, increased noise, color shift
The loss of sharpness and loss of detail results in unsharp photos – the first thing to do.
Increased noise makes the picture unclean – but that’s the least of the matter.
Color shift is when there are a lot of dirty patches, the hue of the color changes – it’s bad.
10. The three major problems of shooting unclear
Focus is not accurate.
The relative displacement of the camera and the subject during the exposure time.
Mechanical or electronic problems.
11. Three elements of flash parameters
GN index, maximum flash sync speed, sync method
The GN index expresses the power of the flash and is equal to the aperture multiplied by the distance.
The maximum flash sync speed indicates the fastest shutter speed at full power output.
The synchronization method includes high-speed sync flash and slow flash, and slow includes front-curtain sync and rear-curtain sync.
12. Four elements of lens parameters
Focal length, maximum aperture, minimum focusing distance, magnification
The focal length represents the framing size and variable range.
The maximum aperture represents the light transmission capability of different focal lengths.
Closest focus distance means, uh, the closest focus distance.
The magnification indicates how much the object to be photographed can be enlarged on the sensor.
13. Three elements that determine image quality
Lenses, Sensors, Image Processing
The quality of the lens has an impact on the quality of the image, and the light enters the photo through the lens.
The sensor is mainly manifested in the pixel density. The lower the density, the better. This is the process of converting light signals into electronic signals.
Image processing is the process of finalizing the electronic signals collected by the camera into photographs.
