Table of Contents
Use the Light Correctly and Talk to the Light
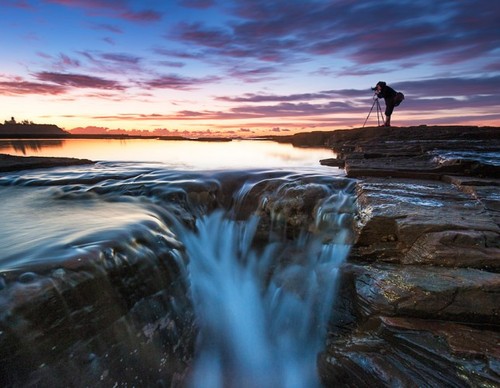
Light is the soul of photography, so we must pay attention to the changes in light. Not only the intensity of the light, but also the direction of the light, talk with the light attentively. Such as: the sunset dyes the sunset red, symbolizing romance. The gloomy sky takes on a cool gray tone, symbolizing melancholy. A ray of sunshine was removed from the shade of the tree, and a joyful and pleasant mood was transmitted…
Resolving the intensity of light
Hard dimming is usually emitted by a single light source, such as the sun, a spotlight, a flash, or a single light bulb. In this lighting, subject contrast is high, and details and textures are highlighted. You can use this light for a documentary effect.
In contrast, diffused light produces softer light. This is the case for indoor indirect lighting, outdoor shade and cloudy days. It’s ideal for portraits and quiet outdoor landscapes in this light.
Pay attention to the light angle
Depending on the angle of light used, the texture of the subject will be enhanced or weakened accordingly. And the shape of the subject will be highlighted or faded. Whether the tone of a photo is cheerful or melancholy will also vary depending on the angle at which the light is used. Light cast from above or behind the camera (often referred to as frontal light) can reduce the depth of the subject because frontal light is not good for creating highlights and shadows. A better choice is to place the light source on one side. And the side light at an angle of about 45° with the subject can express the shape and details of the subject well.
Backlight occurs when light comes from behind the subject and is facing the camera. The subject appears dramatic in the backlight. When shooting portraits, the backlighting produces a nice contour light on the edges of the subject’s hair. Contrasting backlight can produce a silhouette effect.
Focus and Metering Settings
Focusing is the most basic operation of photography, and it can be said that everyone can do it. But when we review the reasons why some photos are not taken well, sometimes the problem happens to be the focus.
If you are using the automatic photography method, please be sure to lock the focus at half distance. Otherwise the subject may be blurred due to out-of-focus. If you are using program control, the situation is different. programnormal, a semi-automatic photography method. It features that aperture and exposure time are automatically selected by the camera. While metering, focusing and white balance conditions can be manually selected. This digital photography-specific method and function, optical cameras do not have. If you are not good at using its characteristics and treat it like fully automatic photography, you may be self-defeating and be dragged down by it.
Try to Keep the Camera Steady When Exposing
For newbies and senior photographers, sometimes the blurred photos are not due to inaccurate focus, but because the camera is not stable.
Under normal circumstances, for beginners, when the exposure speed is lower than 1/60 second, it may affect the clarity of the image. For veterans, if the exposure time is longer than 1/30th of a second without relying on it, it is also possible to have problems.
To keep the camera stable, the first is to hold the camera correctly and the strength is correct. And the second is to press the shutter button with appropriate strength. To practice this basic skill seems to be very simple, but it is not achieved in a day.
then what should we do? I have several methods: One of the simplest is to find a support for the body or hands. Second, hang the camera strap around your neck and stretch the camera forward until the strap is taut, forming a 3-point support. This greatly improves the stability of holding the camera. The third method is the tripod to speed up the door line (wire-controlled shutter trigger). However, some cameras do not have a shutter release interface, and the shutter release is quite expensive. The corresponding effective alternative is to use the delay function. If your camera has a 2-second delay function, it would be best. “Tripod + 2-second delay” is the most stable and convenient method. It doesn’t matter if there is no 2-second delay function, just use a 10-second delay, just waste a little time, and the effect is just as good.
Make Good Use of Flash
Some articles say that photojournalists use flash at all times. It seems that flash is indispensable and an indispensable condition for taking good photos. But I’ve been frustrated over and over again. Thinking about it carefully, I may have swallowed it whole. Maybe people are using an external high-power auxiliary flash?
As far as the built-in flash is concerned, the power is so limited, and the lighting distance and range are so small, it is impossible to illuminate the scene in a wide range with balanced lighting. So it is only suitable for use when you need to highlight a specific theme. This is my first experience. Second, when taking pictures of people indoors with flash, the images are often flat, lacking in layers, or the contrast is stiff due to a single light source, and sometimes red-eye is also captured. For a friend who wears glasses, it’s even more difficult to do. I often shoot him with “silver glittering” and expressionless eyes, which makes him and I annoyed.
To Take a Good Photo, You Must First Compose the Picture
Regarding composition, there have been many articles teaching us how to apply the principles of the golden section, “#” grid focus, etc. I just want to emphasize one point, that is, there is a principle: pay attention to “white space”. That is to say, don’t fill the frame too much, which is just as useful for photography.
For composition, some friends like to take photos with strong symmetry. For me, unless I want to highlight the symmetry of the subject itself, I prefer to shoot at a slightly offset angle, because too much symmetry can easily give people a rigid feeling.
Lines that are too horizontal and vertical are easy to become stereotyped. You must learn to use another set of lines to break the control of the main line.
The use of color is very important, but I think the light and shade and their contrast are more important factors that affect the mood.
Shutter Speed
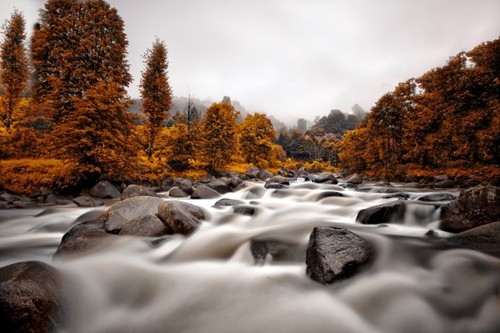
When you’re shooting still mountains and buildings, shutter speed doesn’t matter much. But when it comes to capturing the subtle movements of the subject, such as a picture of a flower swaying in the breeze, a poorly tuned shutter can be a mess.
The faster the object moves, the higher the shutter speed is required. In addition, the angle at which the object moves also affects the determination of the shutter speed. You should use a slower shutter speed for motions moving toward or away from the lens than for motions moving past the camera.
If you want to use a shutter speed of 1/1000th of a second or faster to capture the moment when the football is flying through the air, then the medium speed film, lens and light are all essential factors when shooting. This reveals an obvious rule: to freeze an action, there is a direct relationship between the speed of the action, the speed of the film, the size of the lens aperture, and the intensity of the light on the subject.
