Table of Contents
Brief Introduction
Clouds are flowers blooming in the sky and the most beautiful scenery in the sky. It is also a subject that landscape photography enthusiasts are happy to shoot.
There are many people who take pictures of clouds, and there are more cloud photography works. But the level is not uniform. One of the important reasons is that everyone lacks a unified understanding and clear norms about what is a good cloud photo and how to take a cloud.
Based on this question, this article is about to sort out a clear idea for you. From exposure to composition, from ground to sky, we have a clear answer: clouds should be shot like this!
1. Different Shapes and Beats
Clouds come in many shapes and shapes. It is important to adjust the way you shoot according to the shape of the cloud.
For large continuous clouds, you can consider using a wide-angle lens to shoot the big scene, reflecting its majestic momentum: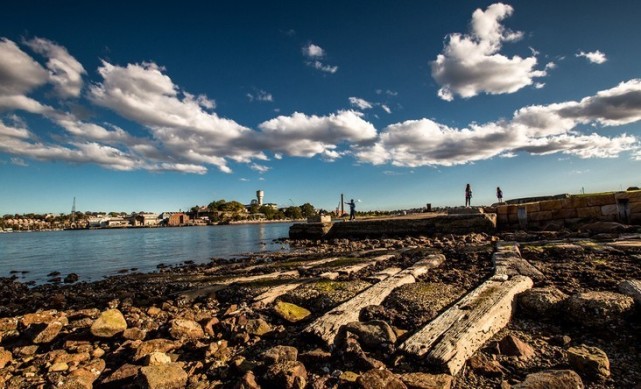
If the clouds in the sky are discrete and separate into blocks, you can use a telephoto lens to select the interesting and beautiful piece as the protagonist, and use the other clouds as a foil.
It is recommended to adopt a central composition and appropriately increase the proportion of the “protagonist” to better express its shape.
When framing, you also need to pay attention to keep the “body” of the “protagonist” as complete as possible, and don’t let the edge of the viewfinder frame cut it off: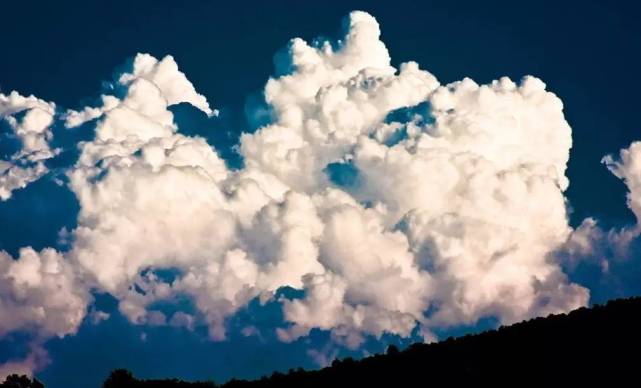
The most taboo thing about cloud photography is that there are many incomplete clouds in the picture at the same time, which makes it difficult to distinguish which one is the main body.
Let’s look at a bad example: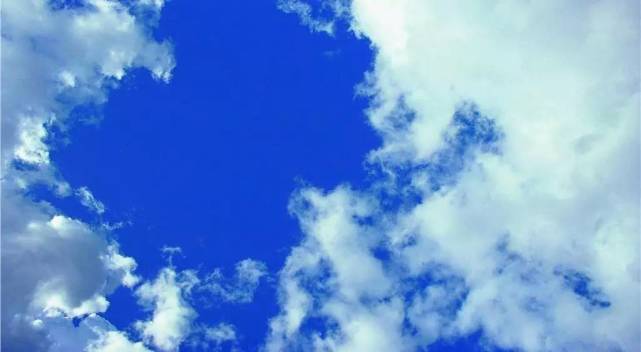
The center of the picture is relatively empty, and there are many clouds on the edge that have been cut off by the viewfinder. The picture lacks focus and appears cluttered.
Even if the sky is blue and beautiful, it can’t save this photo, so everyone should take this as a warning.
2. Correct Exposure
There is a certain light difference between the sky and the clouds. If the picture also contains a large number of ground scenes, the light difference will be even greater. How to correctly expose has become a problem that must be considered.
If you don’t want to shoot silhouettes, but need to preserve the details of the shadows, the first thing to consider is to balance the light difference. If possible, install a neutral gray gradient filter.
When using it, align the gradient of the neutral gray gradient mirror with the dividing line between light and dark on the screen, so that the sky can be darkened without affecting the ground scene:
The effect of using the neutral gray gradient filter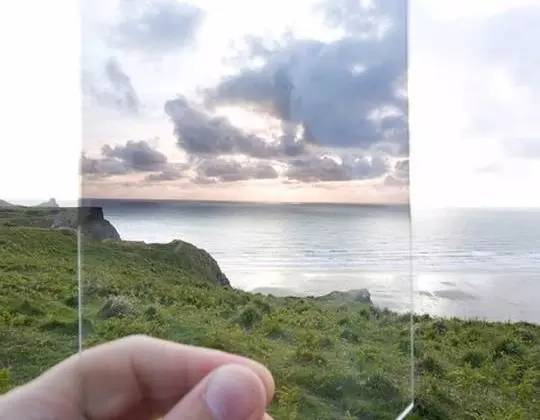
If you lack the relevant equipment, then shoot in HDR mode. Or try to choose to shoot in the early morning or dusk, avoid the fierce sunlight at noon, and avoid shooting in the backlight to reduce the light difference.
Sunset is perfect for taking pictures of clouds. Not only is the light soft, the light difference is small, and the exposure control is convenient, the bright warm sunlight often dyes the clouds with gorgeous colors, which is very beautiful: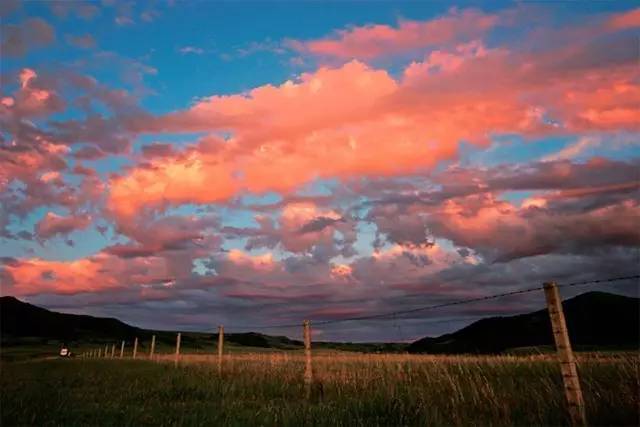
In terms of specific operation, friends who are confident in their own technology or who need precise control of the picture effect can use the spot metering mode.
In the spot metering mode, the basic principle of selecting the metering point is to aim at the “midtone” of the screen, that is, the bright part is darker or the dark part is brighter. The darker part of the cloud layer is a good metering spot.
With the live view function, you can see the picture effect you will get under the current metering value on the LCD screen, and adjust the metering point based on this.
The red dot is the appropriate metering point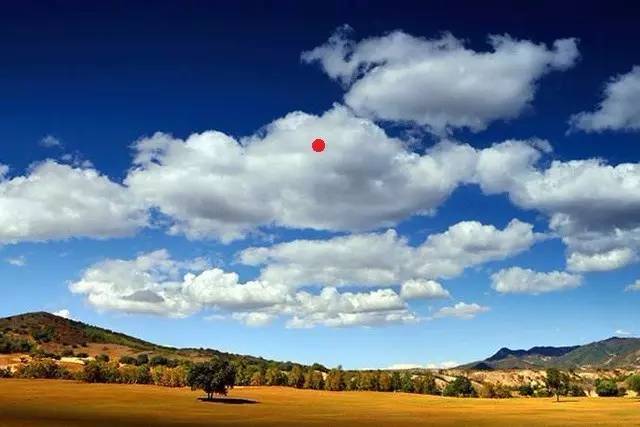
After selecting the metering point, press AE-L to lock the current exposure value. And then you can move the viewfinder to recompose the shot.
If you are not confident in the technique of choosing the metering point, you can try to take a picture with the average metering first. And then slowly adjust the exposure compensation. This is not accurate enough to control the screen, but it is more convenient.
In addition, you can also turn on the “Highlight Warning” function.
Highlight warning function
When the highlight warning function is turned on, the overexposed parts of the photo will turn into flashes of bright white. According to the amount of this part, reduce the EV appropriately and shoot again.
3. Ground Scenery and Composition
If you only shoot clouds, the picture will look boring. Appropriately adding some ground scenes can effectively enrich your picture.
When shooting a panorama of large clouds, it is appropriate to add ground scenes such as mountains, seas, plains, and extended roads as a foil to make the picture more magnificent: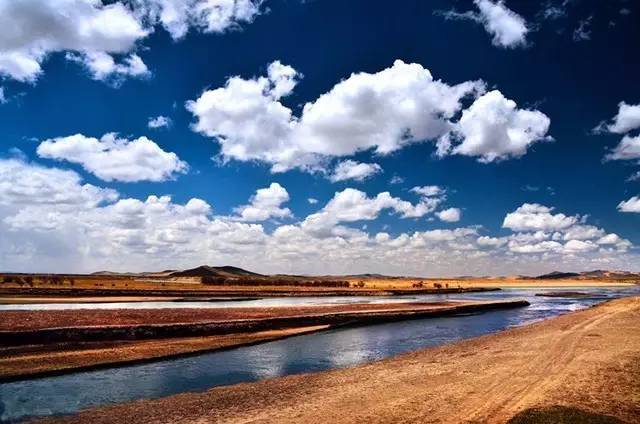
Try to avoid placing the horizon/sea level in half of the frame when taking this type of photo. This balanced composition can make the image look old and uninteresting.
Instead, place the horizon in the upper and lower thirds of the screen according to the rule of thirds. You can choose to highlight the sky clouds or ground scenes according to the actual situation.
Because the ground scene is very beautiful, let the ground scene occupy 2/3 of the picture.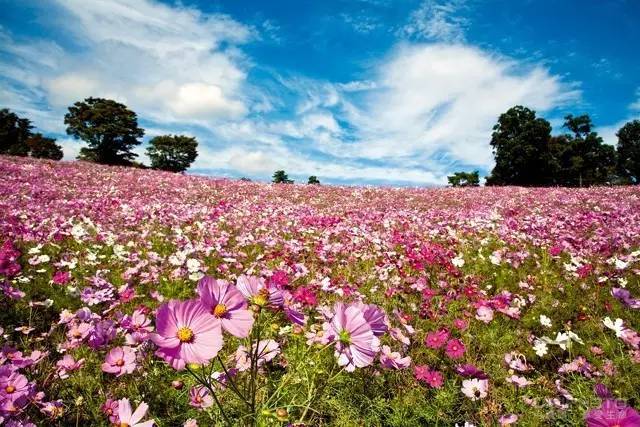
Of course, you don’t have to apply the “rule of thirds” rigidly. If the ground scene is really boring and the clouds are beautiful, it’s okay to put it on the edge of the frame, or even not take it at all: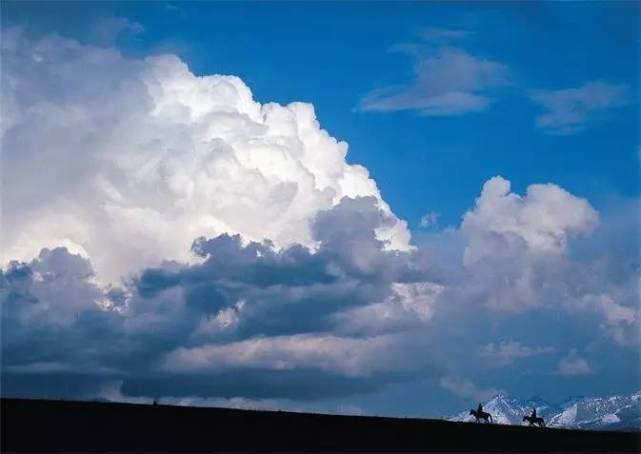
It is also a good choice to place isolated trees, houses and other sceneries with the significance of size identification in the front and middle scenes. And adopting a contrasting composition is also a good choice.
Individual trees and houses, large clouds form a sharp contrast between less and more, small and large. And the picture has more impact and connotation.
A solitary tree that contrasts beautifully with the thick clouds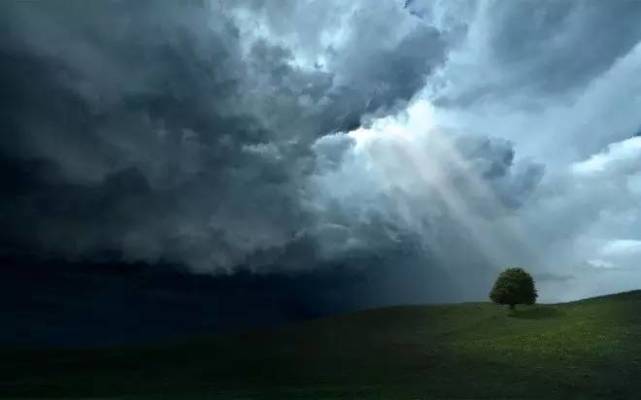
If there are more trees, the contrast effect is weakened a lot.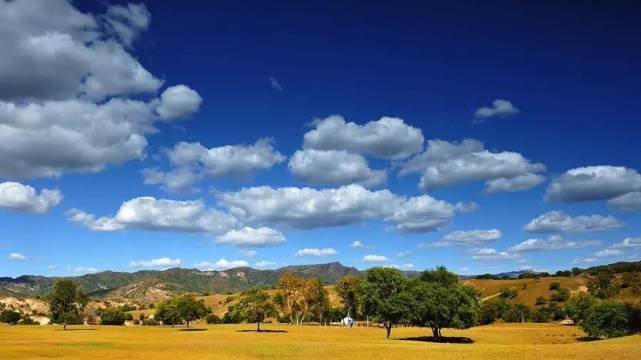
It is also a good choice to try a framed composition by zooming in on the foreground scene.
Subject and foil
The branches and leaves of the trees are the best frame, with a naturally extended posture and rhythmic silhouette, and the contrast of green and blue sky and white clouds is quite high: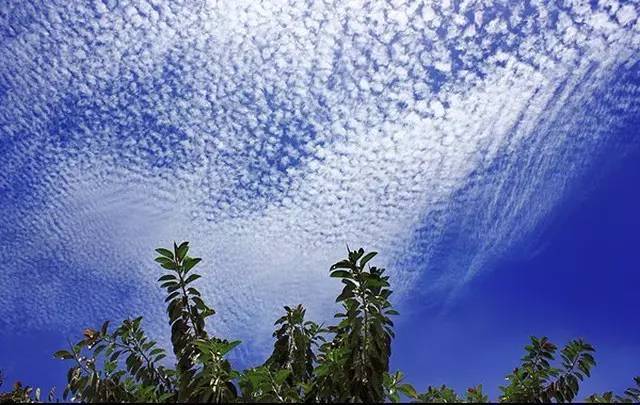
What needs to be paid attention to is the proportion of the framed scene in the picture.
The frame is too small to attract attention and does not “provide a sense of occlusion” as the frame should. In fact, some people complained that the frame in the picture above is not big enough, but I think it is enough.
If the frame is too large, it will attract too much attention of the audience. Which results in a cluttered picture, regardless of priority.
It’s nice, but the subject becomes a tree branch instead of a cloud.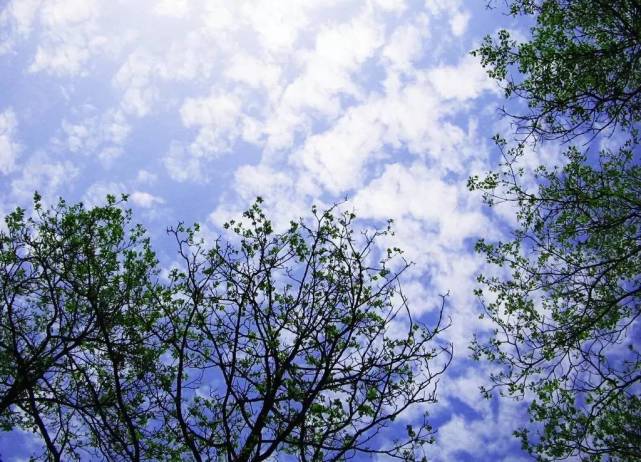
4. Try Special Tricks
For photos with clouds as the main body, it is very important to capture the three-dimensional effect and texture of clouds. In addition to using polarizers, you should also try some special techniques, such as shooting in black and white.
Black and white photos remove the interference of colors, are more “sensitive” to light and dark levels, and have a miraculous effect on expressing the three-dimensional effect of clouds: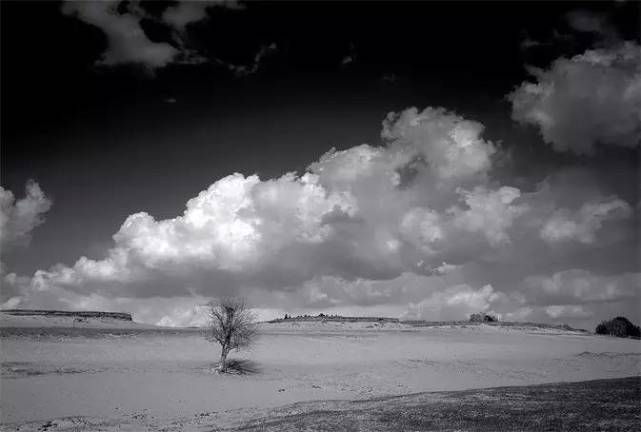
Another way to shoot is a long exposure. Fix the camera with a tripod and set a longer exposure time to make the clouds look flowing.
The exposure time is generally set to about 30 to 40 seconds. After all, clouds move very slowly (unless it is windy), so long exposures are generally used at dusk.
If you want to take a long exposure in the daytime, please add an ND lens to prevent overexposure. The higher the value of the ND filter, the better the light reduction effect. An ND 1000 will allow you to expose for a few minutes during the day!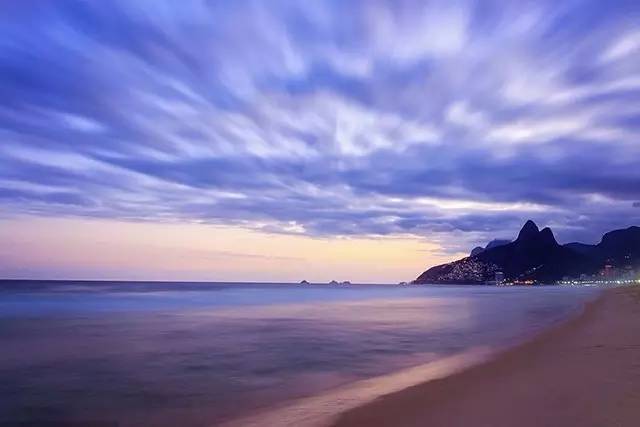
There was a rumor in the photography industry that “long exposure cannot be used often and will burn the shutter”. I also heard people say it when I was new to photography.
Now I want to solemnly refute the rumor. Now the new camera, the shutter curtain is metal, no longer afraid of high temperature like earlier cameras. This rumour is out-of-date, so feel free to expose it as long as you like.
