Table of Contents
Preparation
To determine the position of the moon at a certain time, the easiest way is to use a mobile phone APP, which can easily check the exact position and time of the moon every day at any position. For example, on April 08, 2020, the moonrise in LA is At 19:27 in the evening, the altitude was -8.59°.
The camera position can be selected according to the following: there is a certain height, avoiding the occlusion of the buildings on the ground. Far from the foreground, it can reflect the relative size of the moon and compress the sense of perspective. The foreground lines have rhythm, ups and downs, and convergence points. Special reminder here, pay attention to your own safety!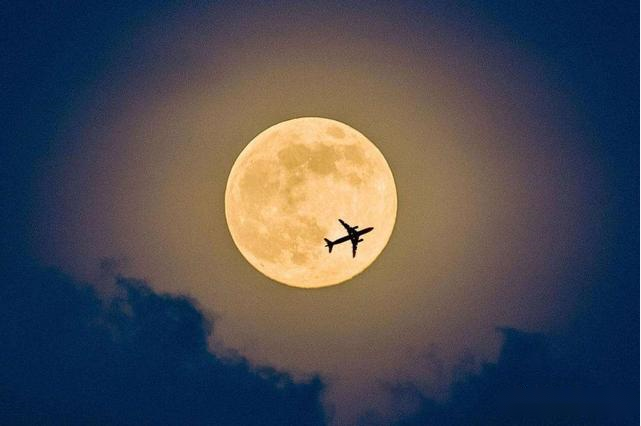
▲Choose a certain height to avoid the blockage of buildings.
Camera Settings
1. Use full manual mode
When photographing moonlight, we are usually in a dark environment. Therefore, if you are shooting in semi-auto or preemptive mode, the camera may be misled by the surrounding darkness and mistakenly think that there is insufficient light to slow the shutter or open the aperture. In the end, the photo will be overexposed as a result. Therefore, when shooting moonlight, it is best to set the camera to full manual mode, take a few test shots and then fine-tune it according to the environment.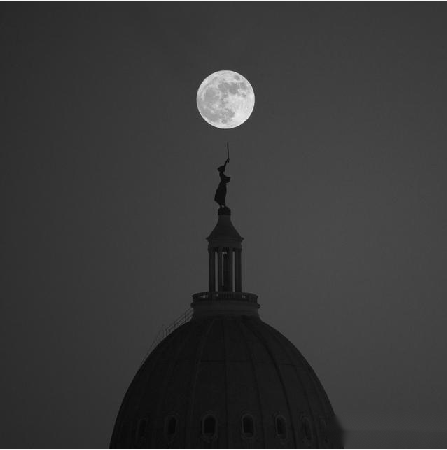
2. Spot metering mode
The moon is in a dark environment, so it’s perfect for spot metering. When shooting, aim the metering point at the brightest part of the moon, so that the exposure parameters obtained will not be affected by the dark environment.
3. Manual focus
Because autofocus is difficult to work in low light, manual focus is recommended for shooting. If you only shoot the moon, you can adjust the focus distance to infinity.
To shoot the foreground, such as a tree or building in the foreground, focus on the foreground and use the hyperfocal distance to ensure that the foreground and the moon are clear.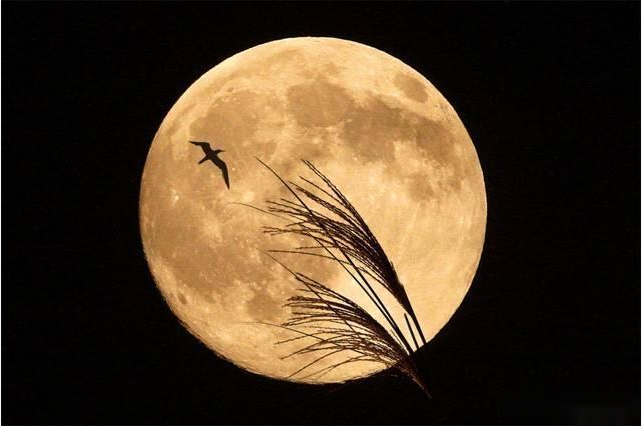
▲Focus on the foreground plant and use the hyperfocal distance to ensure that the foreground and the moon are clear.
In this way, the foreground may be a silhouette. If you want to take a clear picture of the foreground, you can consider using a light source such as a flash to fill in the light.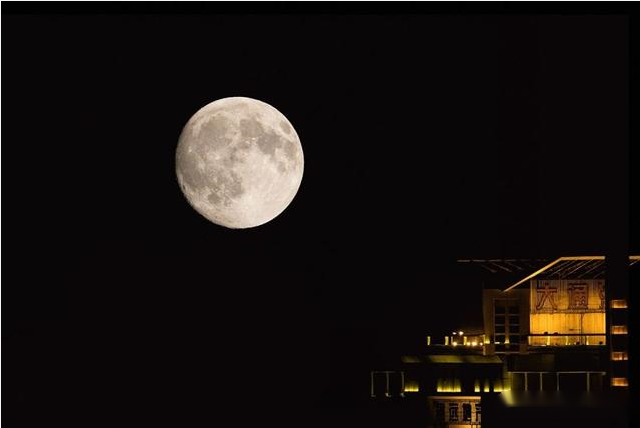
▲The lighting of the building itself fills in light independently.
4. Shutter speed
When shooting the moon, the shutter speed of the camera is not as slow as many people think. First of all, the brightness of the moon in the sky is actually very high, and the shutter speed is too slow to cause overexposure. Second, the moon, like the stars, is in motion in the sky, and a shutter speed that is too slow will make the moon appear ghostly in the photo.
Generally speaking, when the shutter speed is slower than 1/15s, there will be a more obvious ghost image when shooting the moon. When the shutter speed is faster than 1/30s, you can take clear photos of the moon.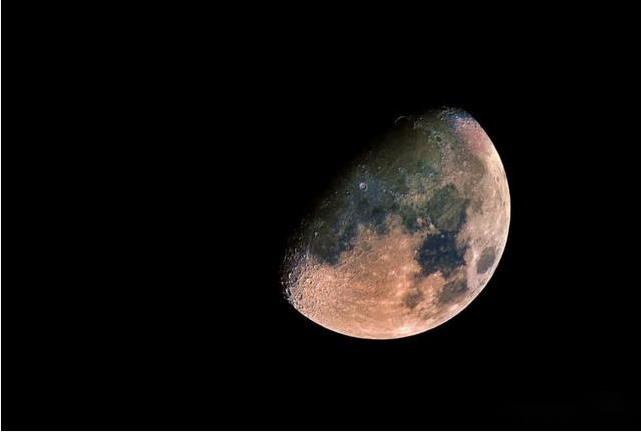
▲ The shutter speed is 1/30s, and the moon shot is relatively clear.
In addition, the shutter speed also needs to consider landscape elements, such as traffic flow, pedestrians, etc. For example, in the picture below, to ensure that the pedestrians on the road are not false, then a fast enough shutter speed is needed to freeze the moment, so the photographer took a shutter speed of 1/3000s.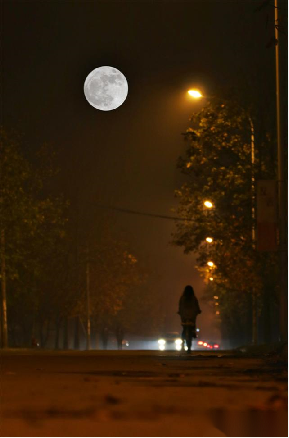
▲f/2.8, 1/3000s, ISO500
5. Shoot with a tripod
Shooting the moon is the same as shooting the night scene, and shooting in the dark. Although it is said that the brightness of the moon allows the camera to obtain a higher shutter speed, don’t forget that the lens is a telephoto lens, which is itself heavyweight and needs to be very stable to take clear images. Also, the moon is so far away from us that even the slightest shake will blur the picture. Therefore, it is recommended to use a tripod to keep the camera steady when photographing the moon.
Creative Shooting
Use the foreground: Clever use of the foreground can often make a photo more artistic than a big, bare moon.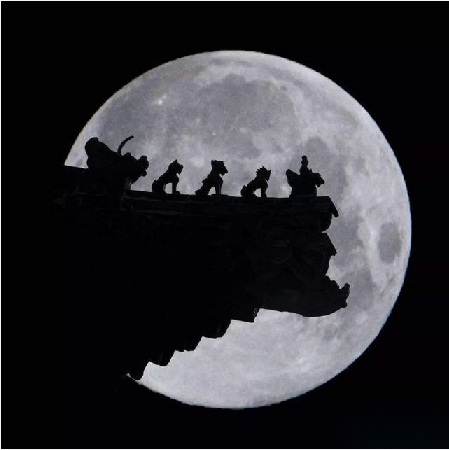
▲Use the foreground to make the picture more artistic and layered.
Visual misalignment:
You can use front and back, up and down, left and right to create illusions. To put it simply, according to the visual principle of “big in front and small in the back”, on a plane, two subjects of similar size are placed in tandem. Distant subjects will appear small in the photo, and close subjects will appear larger.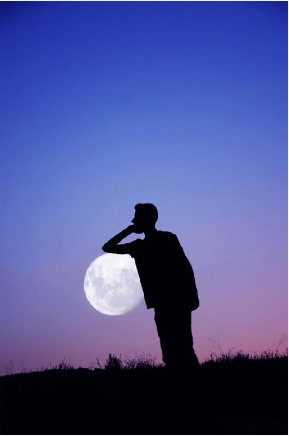
▲Using visual dislocation to increase the interest of the picture.
Multiple exposures:
Using multiple exposures to photograph the big moon is the way most people use it today. Use the wide-angle lens to take a picture of the ground night scene first. The dark night sky needs to make room for the moon. Then change the telephoto lens and shoot the moon with the telephoto lens. The position of the moon should be similar to the position reserved for the moon in the first picture just now, so that the shooting can be completed.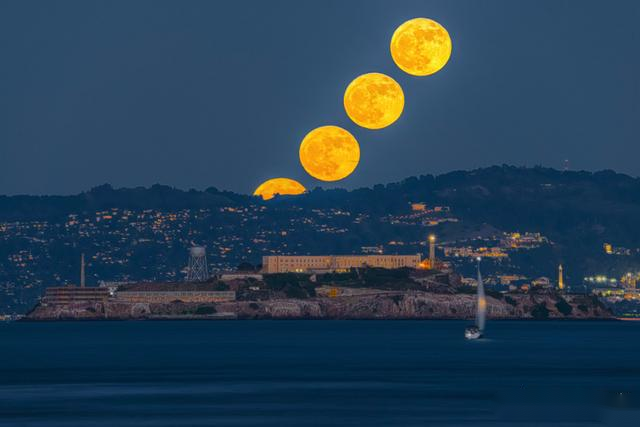
▲ Multiple exposures record multiple positions of the moon
In addition, the parameters of the mobile phone to shoot the moon are presented. First of all, you need to use the professional mode of the mobile phone to shoot the moon. Adjust the ISO value to 50, S to about 1/200, and EV to -4.0.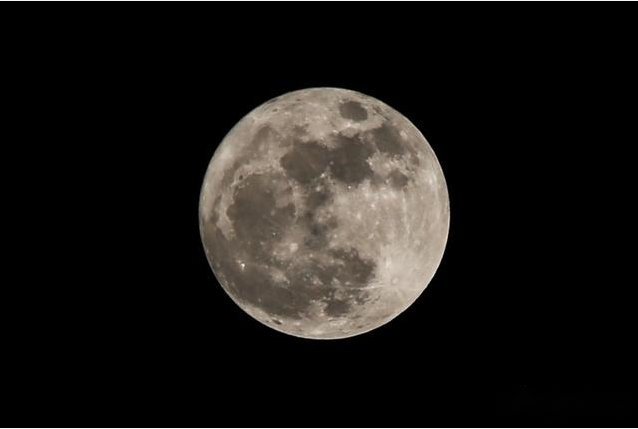
▲f/11.0, 1/125s, ISO100
Finally, I remind everyone that when photographing the bright moon, you should choose sunny weather. When the weather is cloudy, the moonlight is refracted by the clouds, forming a halo around the moon called a halo.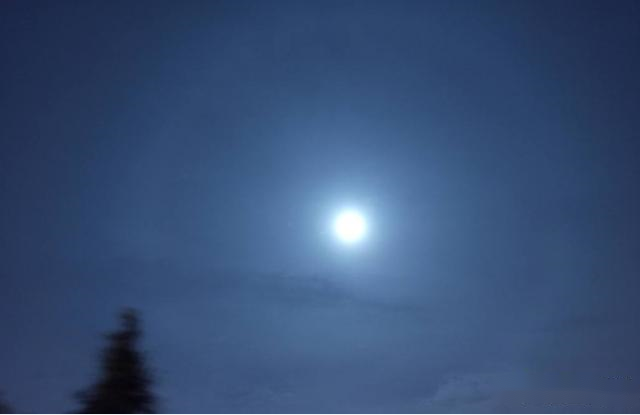
▲ There is a halo around the moon, and the moon shot is not good.
