Table of Contents
Brief Introduction
When it comes to “wide-angle lens”, many people immediately think of “big scenery” and “panorama”. Well, that statement is not correct either.
Granted, the wide-angle lens has a wide field of view, making it ideal for capturing big, imposing scenes. But if you only shoot big scenes, you will inevitably get bored after watching it for a long time, and it will not help you improve your own level.
It is not wrong to say that “wide-angle lenses are suitable for shooting large scenes”. But if you say that “wide-angle lenses can only capture large scenes”, it is a big mistake.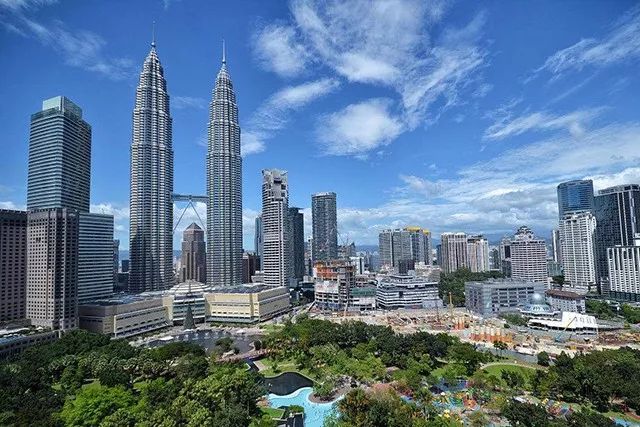
In fact, you can try to use a wide-angle lens to shoot medium and small scenery, portraits, buildings and even still life, and the effect is also very good – as long as you understand the characteristics of the wide-angle lens, and correctly exploit its strengths and circumvent weaknesses, to maximize its role.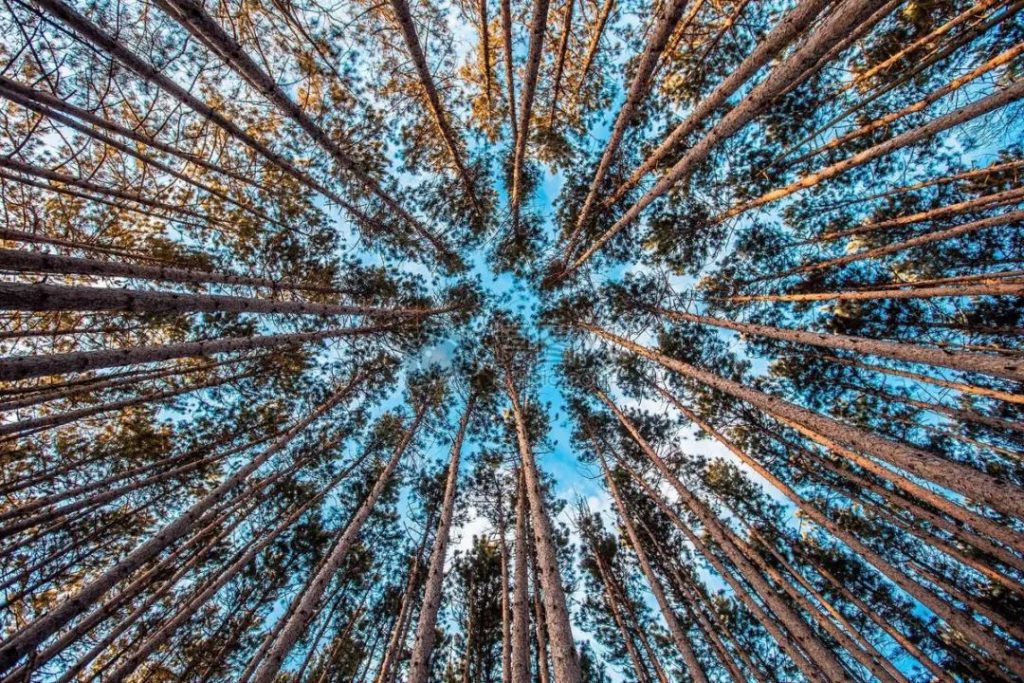
1. Watch out for vignetting
Filters will bring special visual effects to the picture and are important auxiliary equipment. For some themes, you can try to use multiple filters superimposed, and the effect will be more outstanding.
However, when using wide-angle and ultra-wide-angle lenses, the filter has an additional “side effect”, which is vignetting.
The so-called vignetting is actually a phenomenon in which the brightness and color saturation brightness are significantly reduced at the edge of the screen: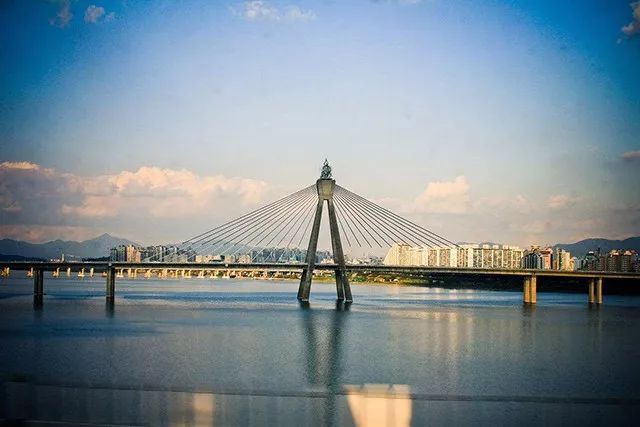
Vignetting phenomenon
Whether the vignetting phenomenon is obvious or not often depends on the focal length of the lens and the actual thickness of the lens. The shorter the focal length of the lens, the more pronounced the vignetting. The larger the actual thickness of the lens, the more obvious the vignetting.
After the filter is installed, the “actual thickness” of the lens will increase in disguise, which may cause vignetting. If multiple filters are used in combination, the vignetting may be more obvious.
Loading polarizer, vignetting is more obvious
Before using a filter with a wide-angle lens, first weigh the benefits of using the filter and the side effects of vignetting, and then make a decision whether to use a filter or not.
In fact, vignetting is not necessarily a bad thing. It can provide a sense of gradient from all sides to the center, and the picture has a psychological feeling of focusing on the center, but it also has a different flavor.
LOMO style often enhances vignetting in the later stage
2. Control deformation
In addition to a large viewing angle and a wide field of view, another feature of wide-angle lenses is edge distortion, that is, the closer to the edge of the screen, the stronger the deformation and stretching effect of objects.
Let’s look at an example: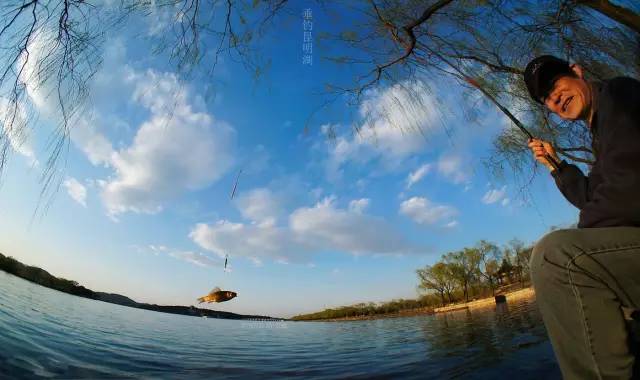
As shown in the image above, the horizontal plane near the edge of the picture has a pronounced arc. The head and legs of the figure on the right side of the screen are also significantly larger.
Another law of wide-angle lens distortion is that objects closer to the lens are more distorted. As shown in the picture below, the barrel of the nearby cannon has become extremely huge. And the distant cannon, although it is located at the edge of the picture, the deformation effect is not obvious.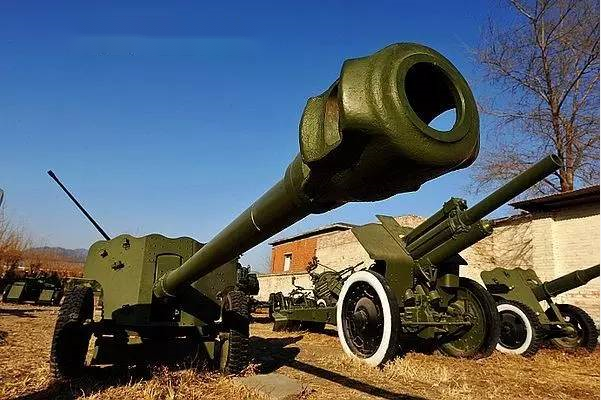
You can reduce these unnatural distortions by changing the angle, adjusting the composition, or moving away from the subject.
3. Take advantage of deformation
The edge distortion of the wide-angle lens is not entirely negative. In fact, making good use of the deformation effect of the wide-angle head can add a lot of points to your picture.
You can enhance the depth of the picture through reasonable composition and spatial layout.
When the same scene exists in the current, middle, and distant scenes, place the foreground scene at the edge of the screen, use deformation to make it larger, and enhance the size contrast between the foreground and the medium and distant scenes, and the sense of depth is naturally stronger: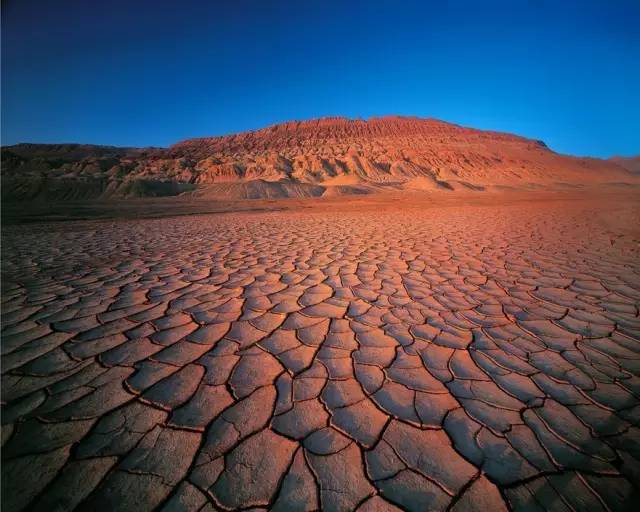
The tortoise crack decreases sharply from near to far, and the picture has a strong sense of depth
Choose a strip-shaped, linearly extending object as the foreground scene, and the picture effect will be better.
In addition to enlarging the foreground scene and enhancing the size contrast, the edges of such objects are themselves a set of convergence lines, which have a very strong “eye-catching” effect: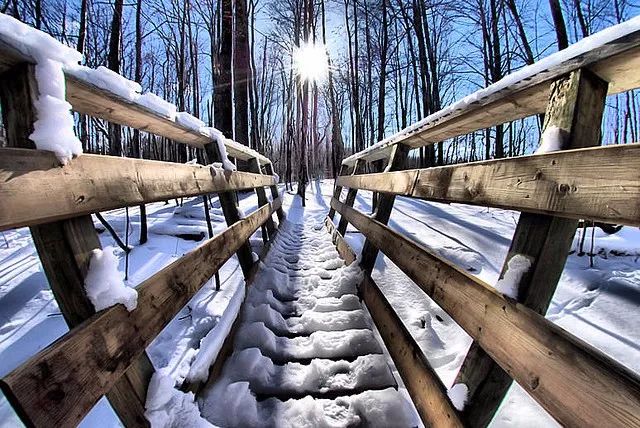
In addition to enhancing the sense of depth, the edge deformation of the wide-angle head can also create many interesting creative effects, such as the classic “big head animal”: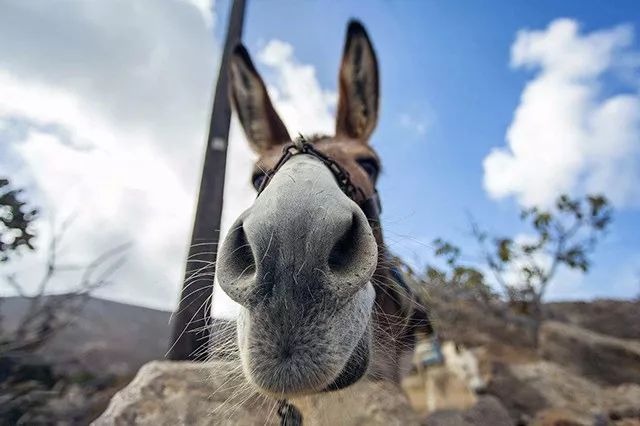
Briefly speaking, please actively develop your brain holes. Just keep in mind that the object that needs to be enlarged should be closer to the lens and placed on the edge of the screen, and that’s OK.
4. Add highlights
Due to the large angle of view of the wide-angle lens, many scenes will be included in the picture, and the further the distance is, the proportion of the scene will become very small.
A large piece of small-scale scenery is crowded into the picture, and the picture is likely to lack the main body and have no bright spots: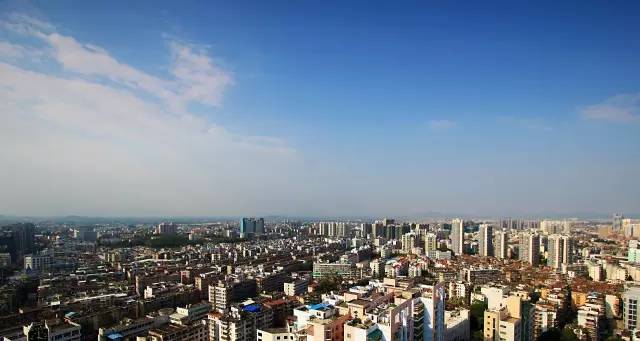
When shooting such a large panorama, you need to add some distinctive and super-existent scenes to the picture as “highlights”, so that the audience has a clear focus.
For example, when taking a panorama of a city, choose to have magnificent clouds in the sky, or shoot at sunset: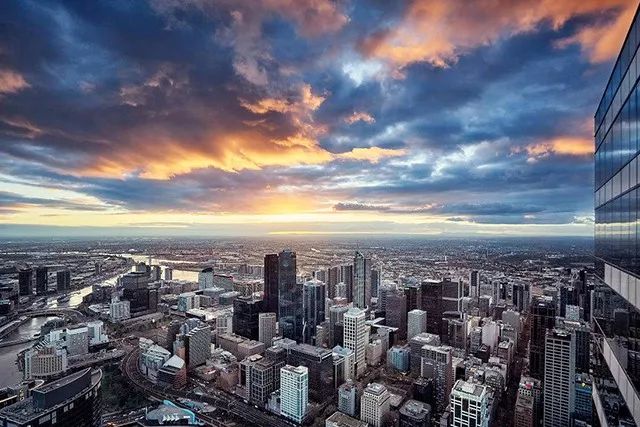
You can also choose some scenes that are more distinguishable from the surrounding environment as the subject when framing.
As shown in the figure below, in the gray-yellow tone environment, the green building is particularly conspicuous: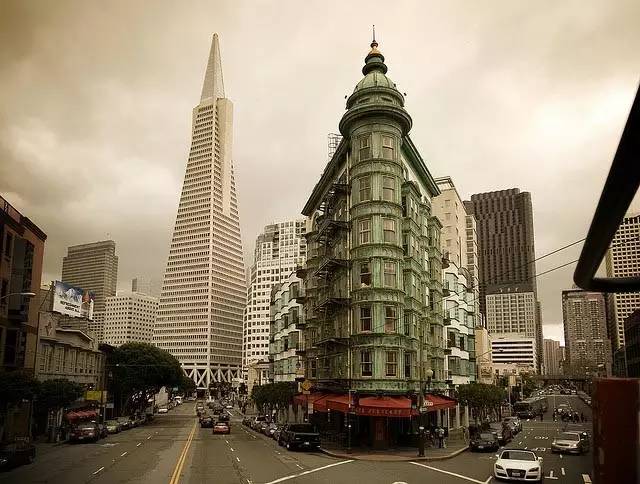
Selecting some foreground objects and shooting at a low angle is also a good way to add highlights to the picture.
Low-angle shooting, the foreground scene is very close to the lens, coupled with the “zoom-in” effect of the wide-angle lens, it will become extremely present, and the texture and texture are even more outstanding: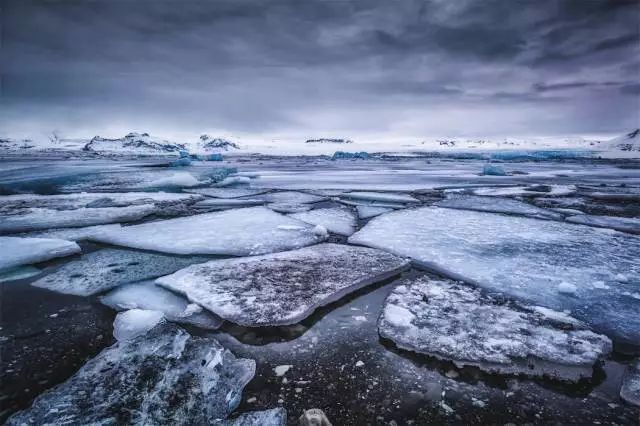
5. Try vertical shots
In addition to the advantages of the angle of view, the wide-angle lens is also very suitable for shooting vertical landscapes, allowing the camera to shoot from an angle higher than the foreground, bringing a large amount of ground into the foreground of the picture.
Ordinary lens to shoot like this, the whole photo may be all the ground. The large field of view of the wide-angle lens allows the picture to incorporate more medium and long shots.
The proportion of the ground scene is controlled to about two-thirds, and the magnification effect of the wide-angle lens on the close-up scene makes the audience feel more immersive and presence, which is in line with the theme of the vertical composition.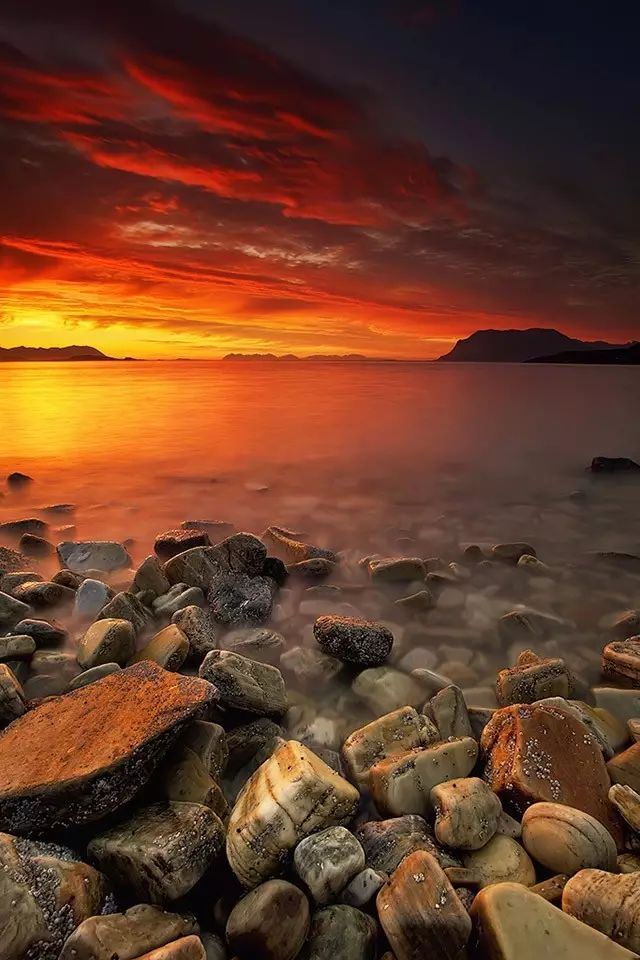
6. Do a lot of upside down shots
If you ask me what shooting angle is best for a wide-angle lens, I’ll tell you: upside down. Why do you say that?
Because of the edge distortion of the wide-angle lens, not only will it not look unnatural in the upside-down shooting, but it will maximize the charm of the work.
You can photograph buildings taller and more majestic: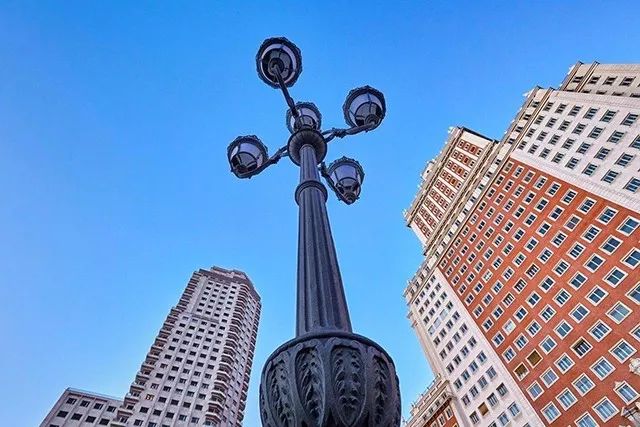
Shooting trees upside down can not only make the trees taller and more majestic, but the dense and slender trees will converge in the center of the picture, which has a great visual impact: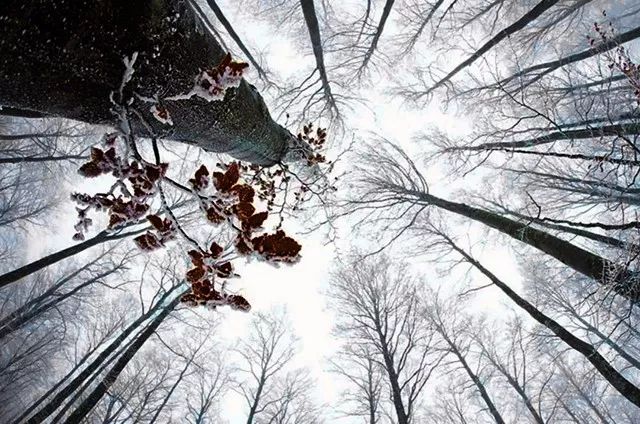
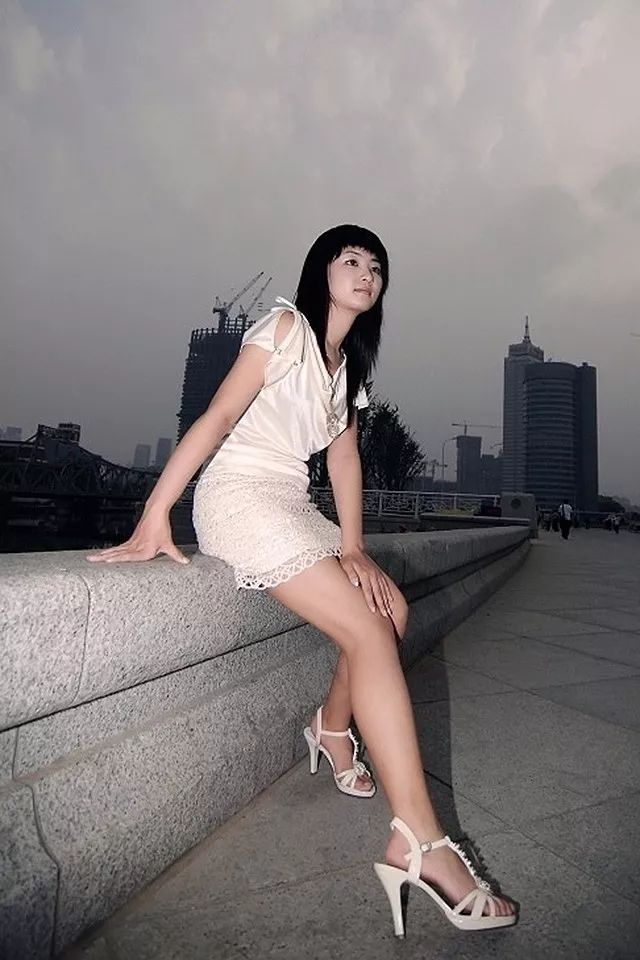
When shooting people, shooting upside down from a small angle can make people’s legs look longer.
It should be noted that wide-angle distortion may make the calves and feet larger and thicker, and it is necessary to coordinate the posture and control the elevation angle to mitigate this negative effect: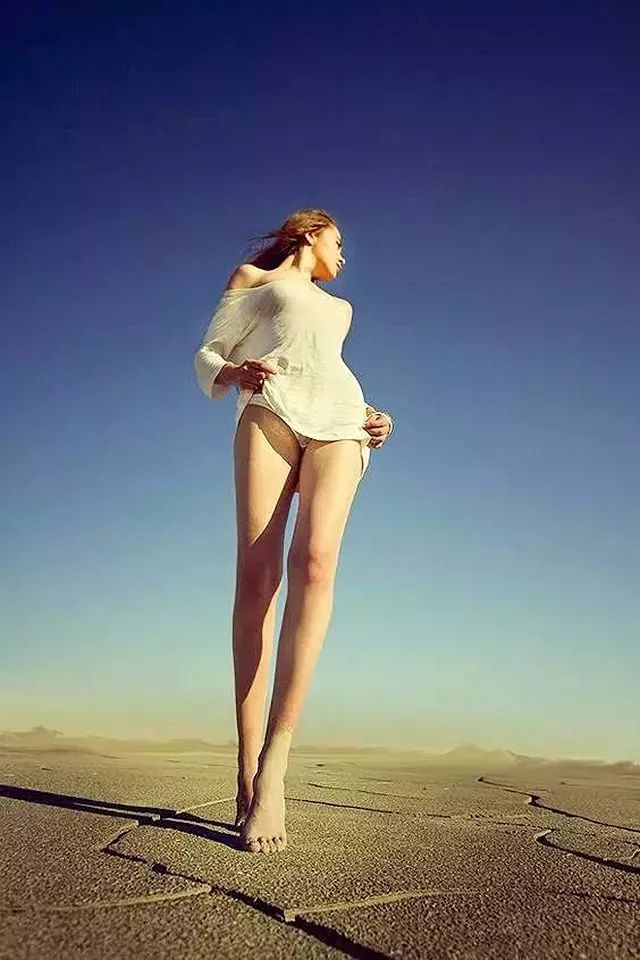
When shooting profile portraits, if both legs are relatively complete in the picture, you need to pay special attention to the placement of the legs, otherwise it is easy to shoot a funny effect of “two long legs and one short”.