Table of Contents
Outdoor Light
Nature provides every kind of light you can imagine, which explains why so many pictures are taken in natural light. We can find beautiful natural light everywhere, and it requires little post-processing.
For example, I used to work for a major publishing company that specialized in automotive publications. One of the studios we used to shoot cars was huge, with ceilings 3-4 stories high. Under the ceiling, huge diffusers are suspended from cables, and any of the four corners can be raised or lowered. A large group of incandescent lamps (12 to 16 in a group) reflects the light on the diffuser, forming a creamy white highlight on the entire body – this is the signature lighting in car photography.
We shoot in studio when outdoor public places are not suitable for shooting, or when the vehicle is only briefly lent to Motor Trend magazine. Despite the availability of this handy studio, the magazine’s dedicated photographers would prefer to photograph cars in dawn or twilight if time or weather gave them face.
When the sun is just setting or seconds after it has set, there is a brilliant skylight in the western sky. No matter how big a studio is or how much equipment it has, they can’t compete with natural light in both quality and quantity.
Find the Right Light
Shade: To take advantage of natural light, you must be aware of its different properties. It’s not like working in a studio, where you manipulate the lighting to get the desired effect. Under natural conditions, you can only find and use ready-made light, at most with a little trick to adjust a little to suit your needs. It is currently recognized that the best scene for outdoor shooting is to find a shady place away from direct sunlight.
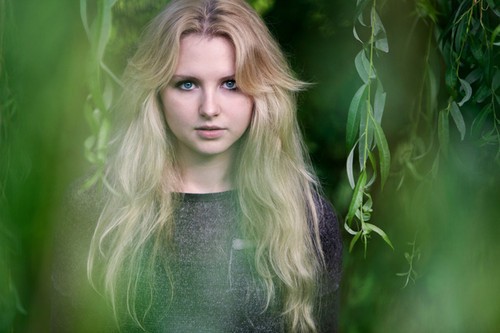
Shade light is actually scattered sunlight. Contrary to what one can usually imagine, the light in the shade is not without direction, on the contrary, it has a very clear direction. A shady place suitable for almost all subjects, especially portrait photography, is an open space with shade in the woods.
The shade hangs over the subject’s head, blocking the sunlight. In shaded places, scattered light shines in from the sides through the gaps in the leaves, which can shape the face more than the light in the open field. With open light coming down from overhead, the resulting shadows are naturally the most unflattering. For example, the midday sun will leave a heavy shadow on the subject’s eye sockets, under the nose and chin. If you must shoot in such a situation, you must compensate for sunlight exposure with a flash or reflector in the front.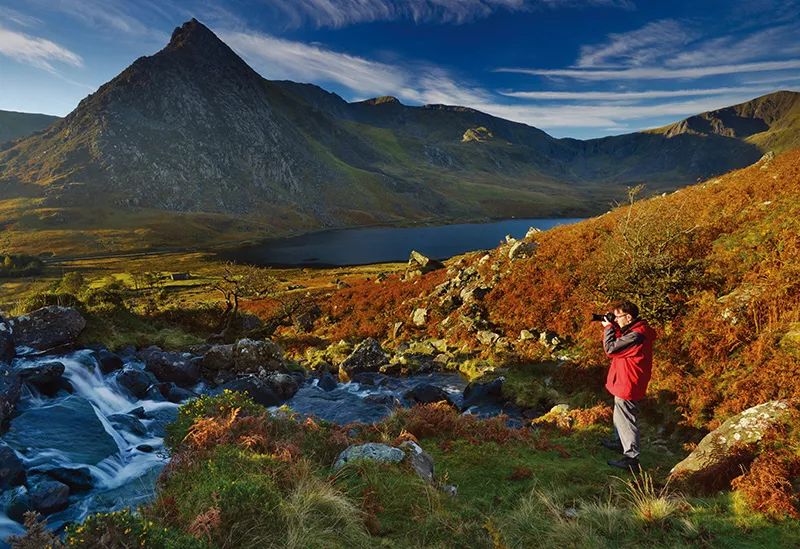
Three Elements of Light
To master light, we first have to understand how different properties of light affect our photos.
The degree of hardness, direction and color of the light are the three basic elements that determine the performance of our photos. To learn how to control light, you must first learn to judge the three elements of light, and then continue to improve the lighting of photos.
It is easier to judge the properties of light from shadows than from highlights.
Hard, directional light will leave shadows with sharp edges and strong tones in the frame, while soft light will soften the shadows. Shadows are always on the other side of the light, so they reveal to us the direction of the light source.
Location of the Light Source
The degree of softness and hardness of light depends on the distance and relative size of the light source and the subject. The smaller the light source, the harder and more concentrated the light. The larger the light source, the softer and more diffuse the light will be.
Remember, the size referred to here is not the actual size of the luminous object, but the relative size of the object we are photographing.
For example, the sun itself is huge, but because it is so far away from the subject, it is seen as a point light source when photographing.
The direction of the light determines the position of the shadow, and the combination of the two determines the texture and form of the subject. Light from the direction of the camera or from behind the camera will leave shadows behind the subject, making it appear flat in the frame.
Such light is great for detailing, but not the texture or shape of an object. Light from the side of the subject creates more interesting results. We call this kind of light as side light, and the shadow is on the other side of the subject, which can fully show the texture and outline of the subject.
When going out to take pictures at noon, the most common situation is that the light source is directly above the subject. Taking pictures in these conditions, the results are not ideal. Portraits in particular, where the eyes are completely in shadow, and there is also a thick shadow under the nose and cheeks.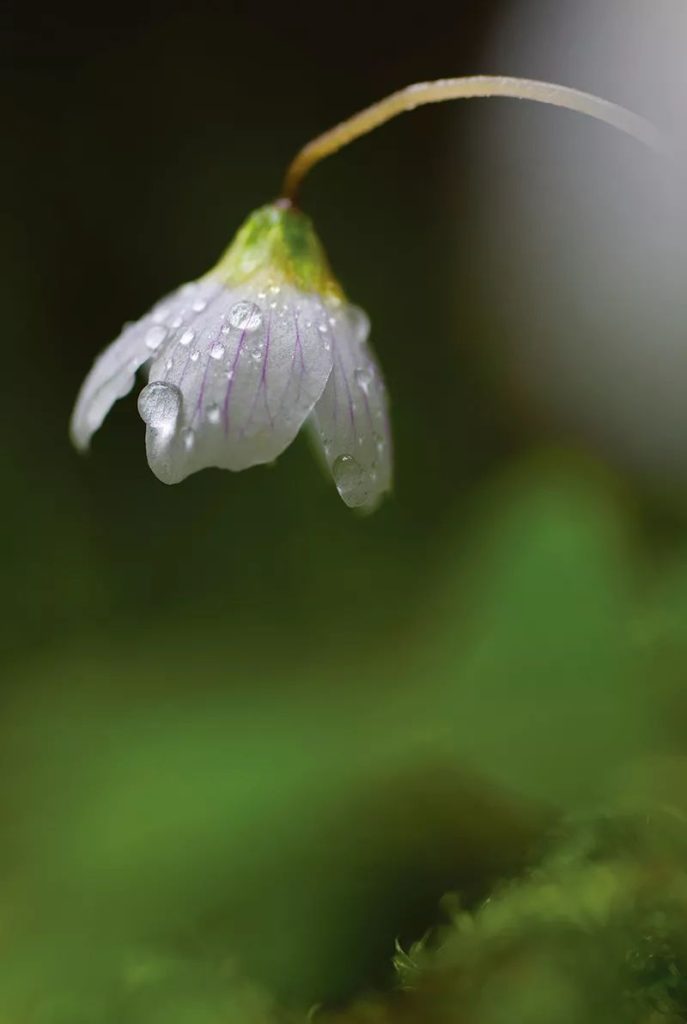
The soft light of cloudy weather is perfect for detailing in macro photography.
Fill Light for the Dark Part
There is another way to reduce the overall contrast of the picture when taking pictures in bright sunlight. Use a reflector to reflect sunlight onto the subject of the frame, increasing the brightness of its shadows. Unlike diffusers, reflectors do not soften the light, but reduce the contrast between the brightest and darkest parts of the subject.
The use of the reflector is as simple as placing it on the other side of the light source and adjusting the angle so that the reflected light just brightens the shadows of the subject.
There are many types and specifications of reflectors on the market. We can also use white cardboard to make our own, and even cover the surface of the cardboard with more reflective gold or silver foil.
Using reflective materials of different colors can bring different picture effects. The white reflector has a natural fill light effect, the silver reflector has a strong fill light effect, and the gold reflector can make the shadows appear warmer. 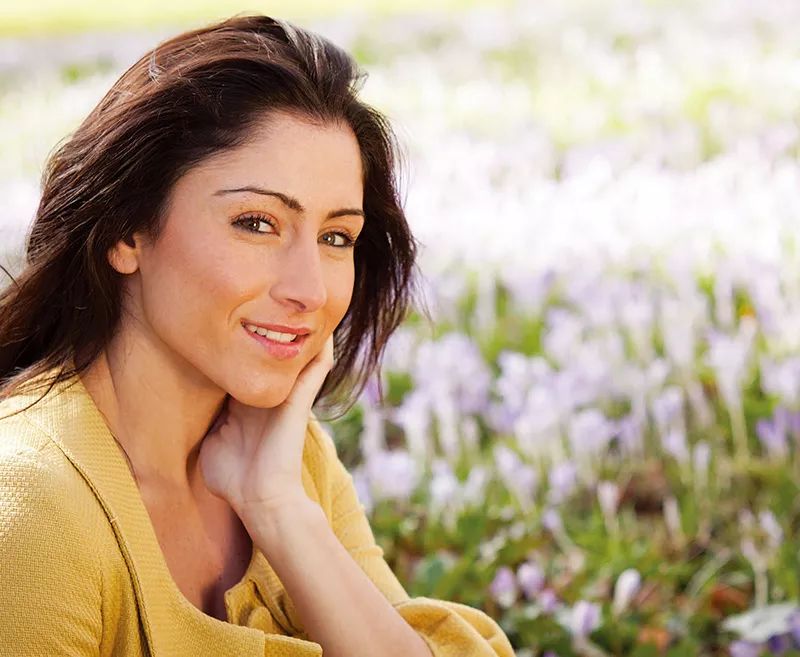
Use a reflector to fill in light on subjects in the shade for great outdoor portraits.
Use flash
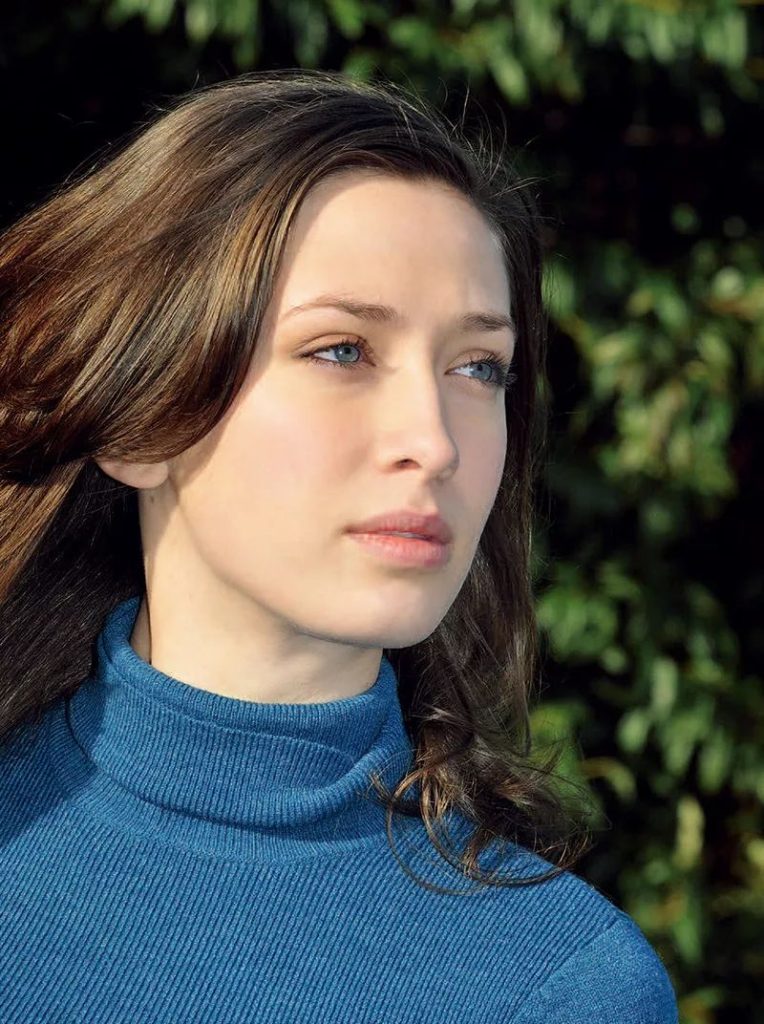
Another way to brighten shadows in strong sunlight is to use a flash instead of a reflector. When the subject is close to the camera, the built-in flash can do the job, but it can’t reach the subject two or three meters away.
In this case, we have to use a higher-power standalone flash. Use flash fill light to improve ugly shadows created by direct sunlight.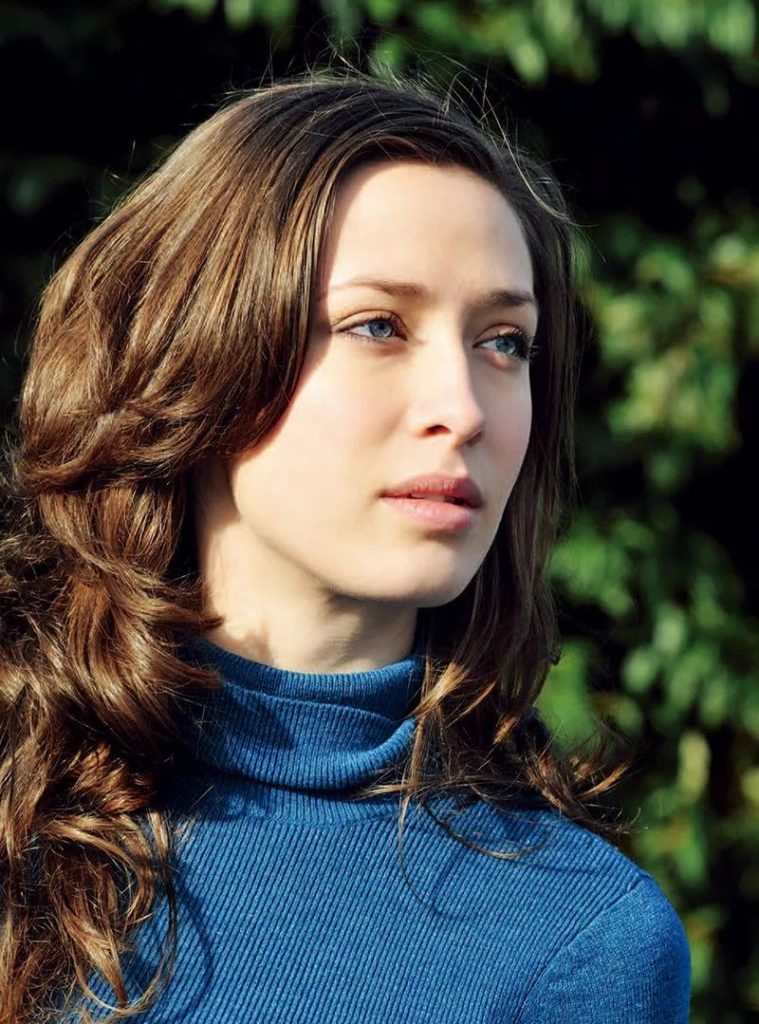
No fill light
Flash fill light
