Table of Contents
Spot Type Backlight
The light spots under the backlight have various appearances such as round, rhombus, dotted and atomized, very beautiful!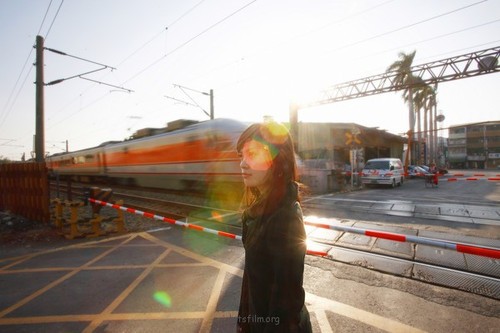
Shooting Timing
To produce the effect of the spot, a relatively strong point light source is required. At this time, it will be beneficial to have a light source with a relatively hard light quality and a strong amount of light. Such as when the sun is in a relatively high position, or the light from the light directly on the lens belongs to this. Sometimes the low-angle sun also has the opportunity to form light spots. But the amount of sunlight close to sunset will be weaker, and it is easy to weaken the light spots into white fog.
Shooting method
The flare effect produced by the backlight can be roughly divided into two types. Like a circle of bubbles, I call it “bubble type”. The light spots that look like a grid, I call it “rhombic pattern”. Whether it is “bubble type” or “rhombus pattern”, the shape of the light spot has nothing to do with photography skills. But is absolutely related to the equipment.
The fixed-focus lens has a relatively strong ability to suppress the flare effect. So no matter how you shoot, you can’t get the flare. The zoom lens is easier to produce. This will vary depending on the lens coating and material of each lens.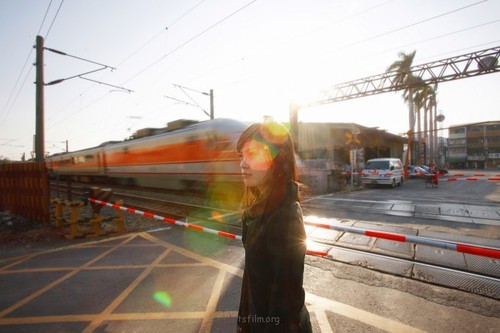
The “bubble” and “rhombus” light spot shapes are formed by the mechanical blades in the lens that control the aperture. The difference between the two lies in the size of the aperture. If we open a large aperture, a “bubble-shaped” light spot will be produced. And when the aperture is narrowed, a “diamond-patterned” light spot will appear.
But it does not mean that there will be a “bubble type” when the aperture is fully open, depending on whether your lens aperture is large enough. Only when the mechanical blades are opened to a nearly circular shape has the opportunity to form a bubble. Otherwise, it will be a “diamond pattern” or a slight bubble spot in the corner. And the “rhombus pattern” also has so-called octagonal and hexagonal shapes. That depends on the number of mechanical blades of your lens.
General Type Backlight
Generally, there are two types of backlighting, one is “front backlighting” and the other is “side backlighting”. In any case, when the sun is directly behind the model, I classify it as general backlighting. If the sun is shot directly into the picture, it is called “front backlight” And if the sun is not shot into the picture, it is called “side backlight”.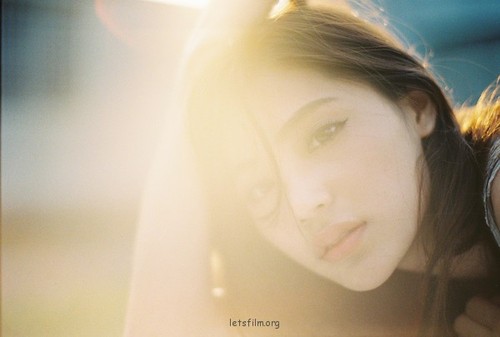
Shooting method
The general type of shooting method is relatively simple, as long as you shoot against the light. At most, the “shading method” is used for metering, which is almost not difficult. And this type of backlighting effect will easily produce contour light and silky light. The more difficult part is that the position of the sun in the day is high and low. It will affect the effect of shooting. And how we should judge and choose the picture we want is the main point of consideration for general backlighting.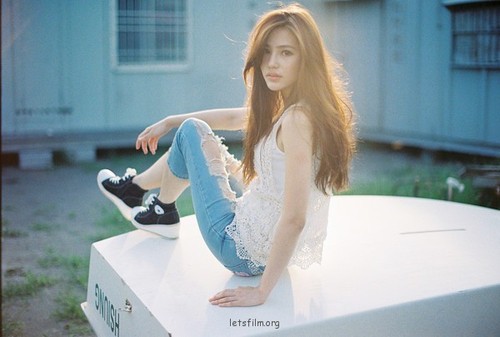
Shooting Timing
When the sun is still high, if you want to be backlit, you must kneel lower. But sometimes the low-angle picture is not so ideal, and the atmosphere is not easy to control. If you wait until the time for the oblique light to appear, it will be much simpler and easier.
Side backlight shooting method
Although it is called “side backlight”, it is not necessary to put the sun on the side. But no matter which side the light is on, as long as the sun is not taken into the photo. The application of “frontal backlight” and “side backlight” is that if the contrast between the front and backlight is too large, the subject will be too dark. If you insist on shooting the subject very bright, it will cause the background to be completely overexposed and dead white. At this time, you can use the “side backlight” to control the contrast to avoid overexposure of the picture. In addition, the side backlight does not need to be too obsessed with avoiding the sun in the picture, but simply hopes to reduce the excessive contrast between light and dark caused by direct sunlight.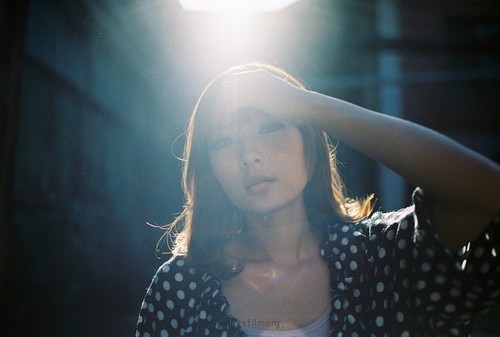
When the sun is too strong, although the “light reduction method” is used to control the amount of light, the contrast between the front and back light is still very large.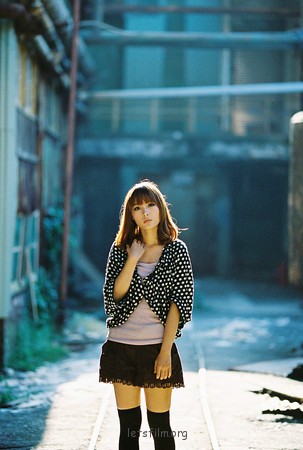
At this time, you can consider using “side backlight” to control the contrast.
White Fog Backlight
The white fog phenomenon under backlight is also divided into two different presentation conditions. One is under strong light and the other is under weak light. The effect of the fogged light spot taken out is slightly different.
Shooting method
when under bright light
The strong light white fog is also related to the equipment. But it is not the lens itself, but the difference in focal length. Because this type of backlight is the result of diffraction in the lens when the light source enters the camera, the longer your focal length, the more chances and times the light is diffracted in the lens, the easier it will be.
At this time, the greater the degree of opening of the aperture blades, and the best effect of letting the light source directly into the lens. As a result of using 35mm, 50mm, and 85mm prime lenses, the 35mm lens is not easy to shoot, the 85mm lens is prone to fog. And the 50mm lens is easier to produce under direct strong light.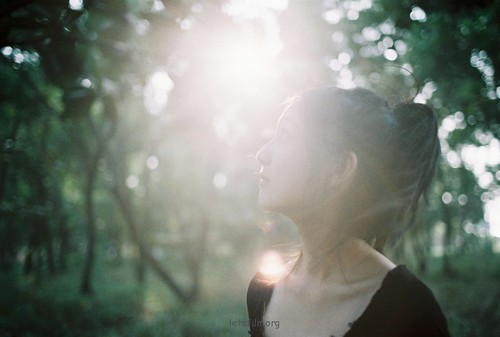
When shooting in low light
When the light source is too weak, or the indoor window light is used to create a large contrast, the result will also be fogged. However, the effect is different from that under strong light. The fogging under weak light is generated when the light penetrates into a black object with excessive contrast, so there is only a faint white fog, which is different from the situation where the strong light completely fogs the picture. too the same.
The white fog under strong light actually requires a black object as the substrate to be more obvious. Therefore, you can choose a background with high contrast, or use the model’s body as the substrate, which are all techniques for using white fog backlighting.
Shooting Timing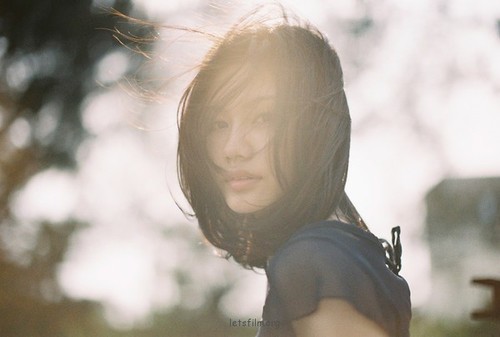
Low light or weak indoor window light also often has edge fogging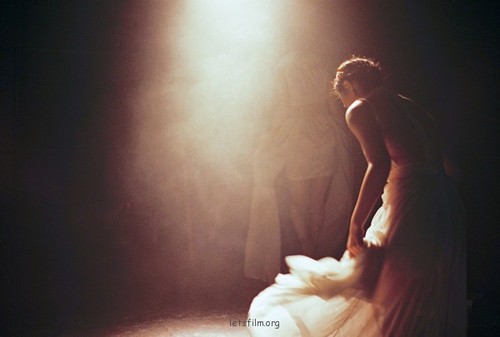
Strong light or weak light fogging requires a black substrate to be more obvious
This type of backlighting has nothing to do with the time of shooting, nor with the quality of the light. But the color of the light will have different fogging effects. For example, white light will produce white fog, and yellow light will produce yellow fog.
Sunset Type Backlight
Shooting Timing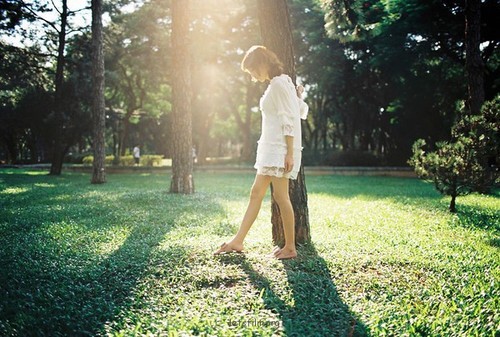
Since it is said to be sunset, it must be taken at sunset. Sunset backlighting is actually a type of general backlighting. But why is it necessary to separate it out? This is because sunset backlighting focuses more on shooting timing, and sunset backlighting is probably the most beautiful of all backlighting types, and it is also the type of backlighting that photographers love to shoot.
Before the sun has completely set, there will be a period of time when the light is softer and has a slightly golden color temperature. At this time, the contrast will become smaller, so the shooting process is also easier to control. This golden hour lasts for about an hour, and the time point and duration of it will vary depending on the season. It’s around 5pm in summer and around 4pm in winter. There is also a soft light quality in the morning, but this golden hour occurs earlier, around 5 or 6 in the morning in summer, and around 7 or 8 in winter.
Shooting method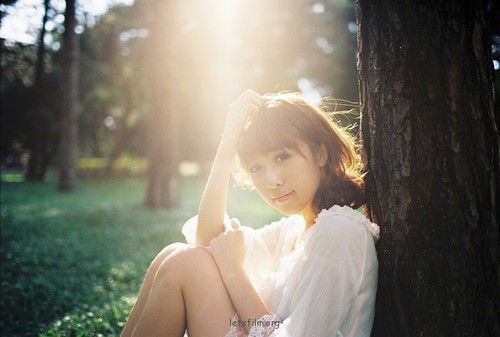
Sunset-type backlighting is the same as the general backlighting method, and it is not too difficult. Especially when the prime time comes, the situation will be better controlled. Just want to shoot a good-looking sunset-type backlight, scene selection and scouting become very important. But if you’re the go-anywhere type, that’s another story.
It’s just that sometimes if we want to shoot a subject, the content is to use the sunset backlight to create some kind of comfort, then we must pay special attention to the issue of time. On the day of the shooting, we waited at the shooting location before the prime time, so that we did enough preparation and homework, and the result will be the picture that we imagined in our hearts.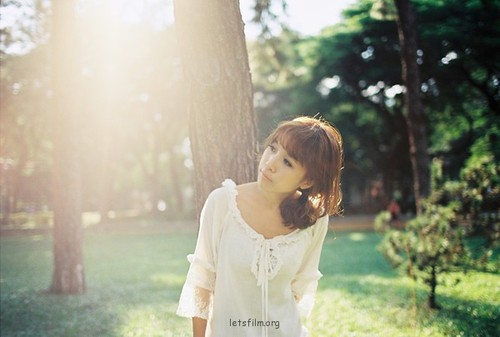
TIP:
As the sun gets closer to the horizon, the color temperature will become more and more yellow, and the skin tone will gradually darken. And this complexion is difficult to handle with any powerful software. If you don’t want to stop shooting at this point, you don’t need to be too deliberate about how bright the person is, and it’s also great to change to a beautiful silhouette.
