Table of Contents
(2) Animal Photography Skills
B. Use fill light to reflect your pet’s demeanor
It is not advisable to shoot in the light of pets. Shooting with side light or side backlight can enhance the texture of the fur, making the fur look rooted and detailed. Control the depth of field with a wide aperture to blur the cluttered background.
When photographing pets, you must first understand their living habits. Grab their special demeanor and shoot with appropriate props, arrange a more elegant and clean environment, and wait patiently. Induce his demeanor and let nature take its course, in order to take vivid and interesting pictures.
C. Snapshot skills of moving characters and animals
The movement mentioned here refers to the rapid movement. Therefore, in order to freeze a fast-moving picture horizontally, in addition to using AI Servo AF for follow-focus shooting, a high shutter speed must be guaranteed. Shutter priority exposure mode should be used.
As the shutter speed increases, the aperture will automatically open accordingly to ensure exposure. However, the shallow depth of field brought by an excessively large aperture is not good for photographing moving objects, especially those that move vertically. Properly reducing the aperture to increase the depth of field can prevent the subject from blurring due to the shallow depth of field.
If you cannot narrow down the aperture, you can reduce the shutter speed appropriately when shooting people moving in front of you, or you can make up for it by increasing the ISO sensitivity.
For complex backgrounds, use a large aperture to blur the background. When it is not possible to reduce the aperture to increase the depth of field, you can use manual focus and preset focus. Take a close-up photo with the wide-angle end to meet the needs of blurring the background. Although this is more difficult, it can be selected after taking more shots, such as when shooting pigeons.
Macro and Subject Photography Tips
(1) Macro photography of flowers
The most characteristic shooting in digital camera shooting is the macro. The key to success in macro photography is high definition of the subject. To achieve this, the accuracy of focusing is very important, because the depth of field of macro photography is very shallow, and the camera will be out of focus with a little movement. If possible, use manual focusing as much as possible. The accuracy of manual focusing is often higher than that of automatic focusing. At the same time, be careful not to exceed the shortest focusing distance of the lens, otherwise the focus will not be achieved.
In addition, since the objects of macro photography are very small, in order to be beautiful in the environment, spot metering should be used. For stationary subjects, use aperture priority mode. For moving subjects, shutter-priority exposure mode can be used.
Depth of field
Macro photography has a shallow depth of field. For larger flowers, the focus should be on the stamens, but the rest of the flowers are a little hollow. If the background color of the flower is relatively simple, you can increase the depth of field by narrowing the aperture, so that other parts of the flower will be clear.
For a single flower, try to make the optical axis of the lens perpendicular to the plane formed by the flower. This will try to make more parts of the flower equidistant from the lens, and will also form a larger area of the real image. When shooting a single flower, you need to pay attention to the composition, the full composition has a stronger visual impact.
Background
When shooting flowers, you can place a black background behind the flowers, so that the flowers you shoot will appear more prominent due to the strong contrast with the background, and the charm will be greatly enhanced. When taking photos with side light, the petals have texture. It is not advisable to take pictures with forward light, as it will lose detail.
All kinds of flowers have all kinds of flower qualities. Familiarity with various flowers will help when creating ideas, such as lotus, which should be photographed to express its purity, not showy. Therefore, choosing a light-colored lotus is more conducive to expressing this theme.
(2) Macro Capture of Flying insects
Early in the morning or after rain, because the wings of insects are relatively wet, their movement is not large, and this is the best time to photograph insects. The difficulty of photographing flying insects lies in how not to disturb the insects. You should try to use the telephoto end of the lens to shoot, and you should move lightly when shooting. Also do not wear brightly colored clothes, preferably green clothes.
Familiar with the habits of insects is good for photographing insects. Many people think that flying bees are difficult to capture. In fact, when bees find a desired flower and are ready to land, they will “stop” in the air for a few seconds in front of the stamen. This is a great time to capture bees in flight. Sometimes even using autofocus is enough.
In order to increase the luster of insects in macro photography, you can use flash to fill in light. Due to the short distance, in order to control the output power, you can put a napkin on the flash, because the light intensity required for fill light is not large.
Butterfly is a difficult insect to photograph, because it is constantly flying, rarely staying, and even if it stays, it will fly away quickly. If you encounter a butterfly parked on a flower, you should quickly “catch” it with continuous shooting.
(3) Several Subject Shooting Techniques
A. Lower the shutter to capture waterfalls and rain
If the motion trajectory of the water flow is photographed with an extremely slow shutter speed, countless motion trajectories are intertwined, creating a dreamlike effect like gauze, fog and silk. At the same time, due to the long exposure time, the water flow track recorded on the screen is the result of superposition. Even a small flow of water can create a powerful effect.
The flow rate of the water determines the selection range of the slow shutter. Use a tripod to ensure that everything except water is very clear.
When you lower the shutter, the aperture narrows accordingly. When shooting flowing water in sunny weather, it is often the case that due to the strong light, even if the aperture is narrowed down, the speed cannot be lowered any lower. If you want to use a slower shutter speed at this time, you can add an ND filter in front of the lens. The ND filter can block without affecting the color reproduction or other functions of the photoreceptor. An ND8 filter can reduce tertiary exposure. If you don’t have an ND mirror on hand, you can use a polarizer to reduce the exposure from 1.5 to 2.2.
Do not use a shutter that is too fast to shoot rain. Because the high speed will condense the rainwater, forming a small raindrop, and there is no feeling of being pulled into silk. You should note that when shooting a rain scene, do not use the sky as the background, but choose a dark scene with a larger tone related to the rain as the background (such as a dark green forest). In this way, the bright rain threads can stand out, and the transparent texture of the rain water can also turn extraordinary.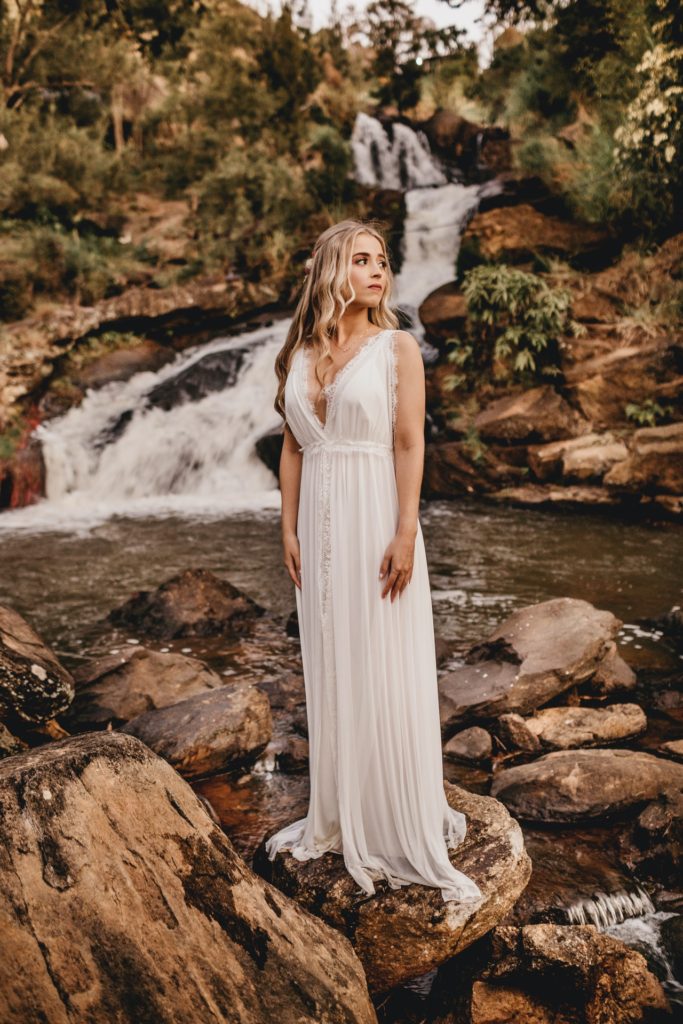
B. Common water drop shot
Shutter speed
Digital cameras have certain manual functions. Such as shutter priority, this is very useful for shooting water droplets. Because you can set the shutter speed to a minimum of 1/300 of a second, so that the moving water droplets can be “frozen” on the photo. Indoor light is often not able to achieve such a high shutter speed, you can use the flash to increase the shutter speed.
If you have a glass basin or a glass fish tank at home, it is better. Use it to shoot water droplets, and the incidence of light will be very even. Put a color drawing board under the glass basin or transparent fish tank, the color will come through, as long as the shooting angle is tilted, the color of the background will be colorful, and the feeling will be different.
speed of dripping
The dripping speed of the faucet should not be too fast, otherwise it will easily cause the ripples on the water surface to end with disorder and lose its beauty. In principle, the ripples formed by the first drop of water should disappear after the second drop of water falls, which is a suitable speed. In addition, the water droplets should not be too large, otherwise the splashed water droplets will be scattered. To control the size of the water droplets, insert a toothpick in the faucet and let the water drip down the toothpick.
Usually, when shooting water droplets, the faster the shutter speed, the better. If it can be controlled at about 1/500 of a second, then the effect is the best. Aperture control is closely related to the depth of field and image quality of the photo – the larger the aperture, the faster the shutter speed, the shallower the depth of field, and the better the effect (especially for SLR cameras). 
However, a large aperture will also degrade the image quality, so you can’t blindly pursue the maximum aperture. Usually we will control the aperture between F5.6~F8, which not only guarantees the shutter speed, but also makes the best picture quality.
C. food texture shot
First of all, food photography should not only choose food with local characteristics, but also pay attention to whether its color is beautiful. Some foods are dark in color and don’t look good when photographed, while some colors are paired with tempting appetites. The point of photographing food is gloss and texture. To highlight the luster of the food, spray a layer of oil on the surface, and then use a lamp to light the side.
When shooting food, in order to highlight the details, the composition can fill the entire frame to maximize the prominence of the subject. If it is a consumer-grade camera, it can be placed in the macro file for close-up shots. If it is a SLR camera, pay attention to shooting outside the closest focusing distance of the lens, otherwise the lens will not be able to focus.
In still life photography, the focus is on using light to enhance the texture of the object, and the light that can best highlight the texture is the side light.
Shooting food is generally indoors, and white balance control under indoor lighting is more critical. Sometimes it is difficult to use automatic white balance to be accurate, so try to use several white balance schemes. If it is still not accurate, you can correct it in post-processing. In short, you can’t make something that was originally white gray or yellow.
