Table of Contents
People and Animal Photography Skills
Here we introduce from the aspects of digital camera settings and composition.
(1) Shooting skills of characters
A. Digital camera settings and lighting skills
Whether it is portrait photography or animal photography, they all have one feature in common: using a large aperture or long focal length to achieve a shallow depth of field (the subject is solid and the background is blurred). Usually shoot with medium and long focal length, the most ideal focal length is 80mm-135mm. However, using the wide-angle end to shoot people, based on the optical characteristics of the wide-angle lens, may be deformed due to improper control of distortion in close-up photography.
Of course, in some occasions where you need to emphasize fun, deliberately shooting people at the wide-angle end may get peculiar visual effects. When shooting static people and animals, use aperture-priority exposure mode more often. Conversely, use shutter-priority exposure mode for shooting moving objects.
The key to portraiture is the use of light. In addition to the front light, the ideal light also has the backlight from the back as the rim light, and its intensity is greater than that of the front light. A rim light can be either a light or sunlight. The front can be illuminated with lamps or reflectors. If there is no light on the front, the eyes will be dull.
If the subject has only one side of the light, it is best to use a side light. For example, on the right side of the character, the facial contour and hair color of the character will be properly framed.
B. people shooting composition
Character shooting is usually divided into three main scenes: head portrait, half body and whole body to form the picture. Portrait photography can best express the facial expression and texture of the subject.
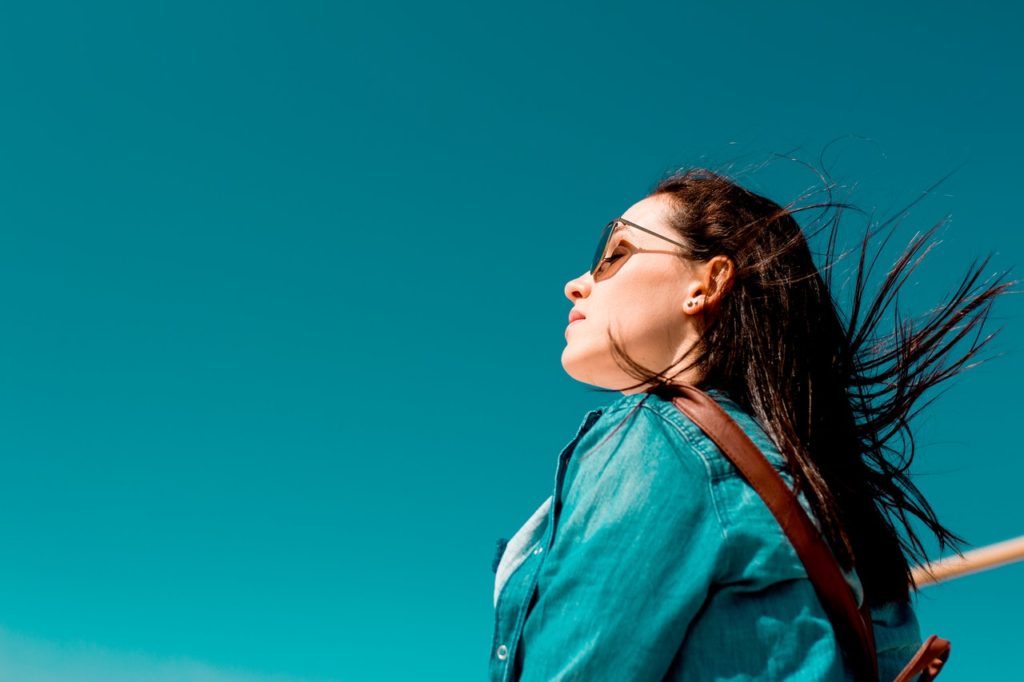
Half-length portraits are most suitable for expressing the character and graceful posture of the subject. Full-body portraits can fully express the environment in which the characters are located, especially the slender figure and graceful posture of women.
When taking full-length or half-length portraits of people, the pose and shape of the subject matter. There are a few important tricks you need to master to make your subject pose beautifully.
The head and body should not be in a straight line
If it is in a straight line, it will inevitably feel rigid. Therefore, when the body is facing the camera, the head should be turned slightly to the left or right, and the photo will look elegant and vivid.
Abs and legs should not be parallel
The proper way is to have one song all the time or both to form a certain angle, so that it can not only create a sense of dynamism, but also change the posture.
Try to make the body shape curve clear
For female subjects, it is necessary to show their attractive curves, and it is better to stand on side legs than side by side. It is usually better to have one leg of the character actually support the whole body weight and the other leg to be slightly elevated.
Sitting posture taboo
The correct way is to let the body move forward, sit close to the side of the chair, and keep the chest and abdomen up. This can avoid the phenomenon of shoulder drooping belly bulge.
highlight a detail
You don’t have to take the whole headshot, you can also take a part of it. It can be the eyes, mouth, nose, and anywhere with bumps.
Snapshots with action
Compared with the common posing, the snapshot with action is more natural.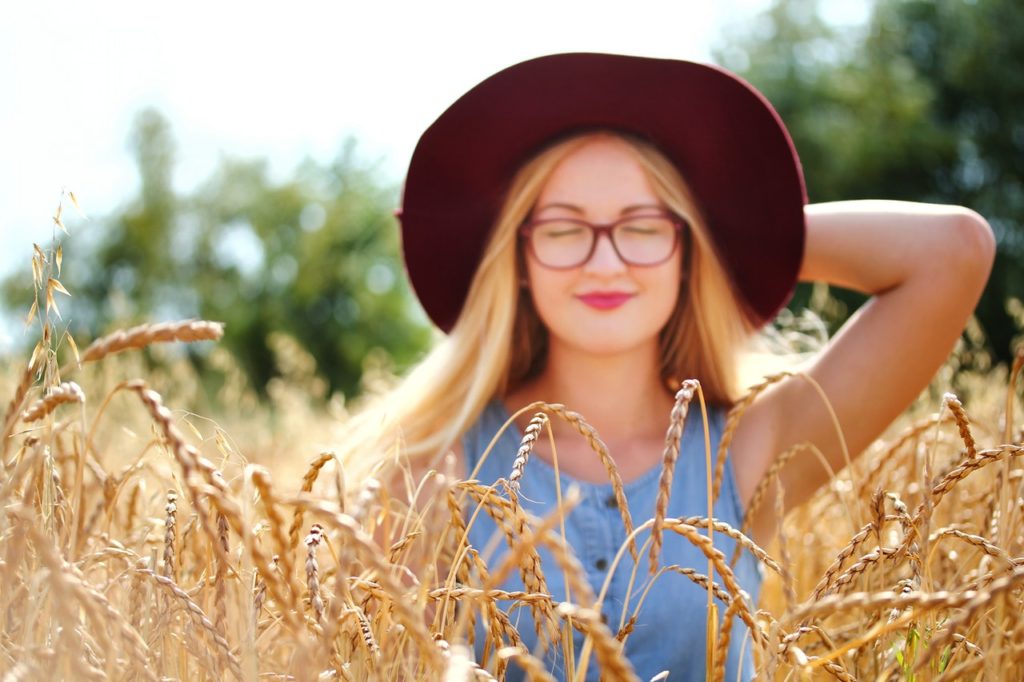
Control of depth of field
The depth of field is shortened accordingly due to the close distance when shooting the head portrait. The aperture should not be opened too large, and the aperture should be appropriately narrowed, otherwise the depth of field is too shallow and difficult to control.
Shooting with specular reflection effect
Looking for different perspectives, such as clever use of specular reflections, can spice up an otherwise difficult-to-compose headshot.
Extreme shooting increases the movement of portraits
Half-body or full-body photos are different from avatar photos, and focus more on the actions and physical effects of the characters. You can also use props appropriately to enhance the vitality of body language.
Using sunlight as the contour light, shooting against the light can make the outline of the person plated with a layer of gold. But at the same time, pay attention to use the flash or reflector to fill in the light, otherwise the facial expressions of the characters will be darker.
In full-body photography, the horizontal camera position is usually a medium-range shooting angle. And sometimes a unique perspective can bring extraordinary effects to the picture. Try shooting up or down and don’t limit yourself to one angle.
C. Small aperture to take souvenir photos
Different from ordinary portraits, environmental portraits do not use a large aperture to shorten the depth of field, but use a small aperture to increase the depth of field, so that the photos taken can ensure the clarity of the environment within a certain range.
When taking travel commemorative photos, you should choose the most easily recognizable local features to shoot. Many people like to take pictures by rivers and lakes, although he himself knows where it is, but when others see photos, it is no different from any river or lake anywhere. When the background is far from the subject, you should use a small aperture to increase the depth of field. At this time, it is different from general portrait photography, which is similar to the requirements of environmental photography (landscape photography), and the clarity of the background is also very important.
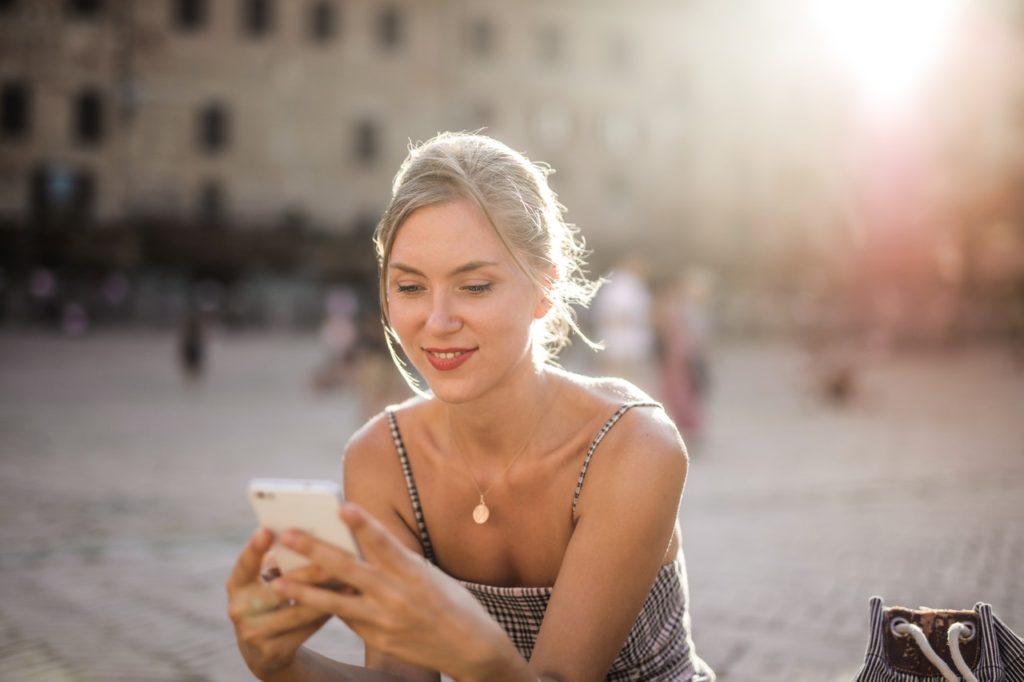
When taking travel photos, people should not run into the scene (this is a common problem for many people taking travel photos). That way the characters will be small and become part of the background. The subject should be close to the camera, so that the characters are bigger and the picture comes with layers.
D. Selection of the best shooting location for fashion models
When photographing fashion models, the best location is not as close to the runway as possible. Because the photo is taken close to the T stage, the model’s body will be deformed due to the excessive elevation angle. The best position is to take a photo with a telephoto a little further away, which can avoid the problem of elevation angle.
Fashion models usually stand down when they reach the end of the runway, and pause for 1 to 2 seconds for each action. This is the best time to take pictures.
If the camera position is very close to the T stage, in order to avoid the model being too close to cause deformation or not being able to shoot at all, you can take pictures while the model is on the move instead of waiting for the model to come close.
Because the frontal light on the catwalk is often very strong, it is easy to overexpose a person by taking a frontal photo. It is best to stand on the oblique side to take pictures to avoid too strong direct light, and you can also use the reflection of the T platform to increase the sense of hierarchy.
E. High-speed shutter to capture stage characters
It is more difficult to shoot on stage because the lighting on the stage is more complicated. Whether it is to highlight the entire stage effect or to highlight the characters, the most important thing in stage shooting is the use of light, and it is necessary to ensure that the characters are clear under strong lighting. To shoot the entire stage, you can use center-weighted metering and appropriately reduce exposure compensation to ensure that people are not exposed.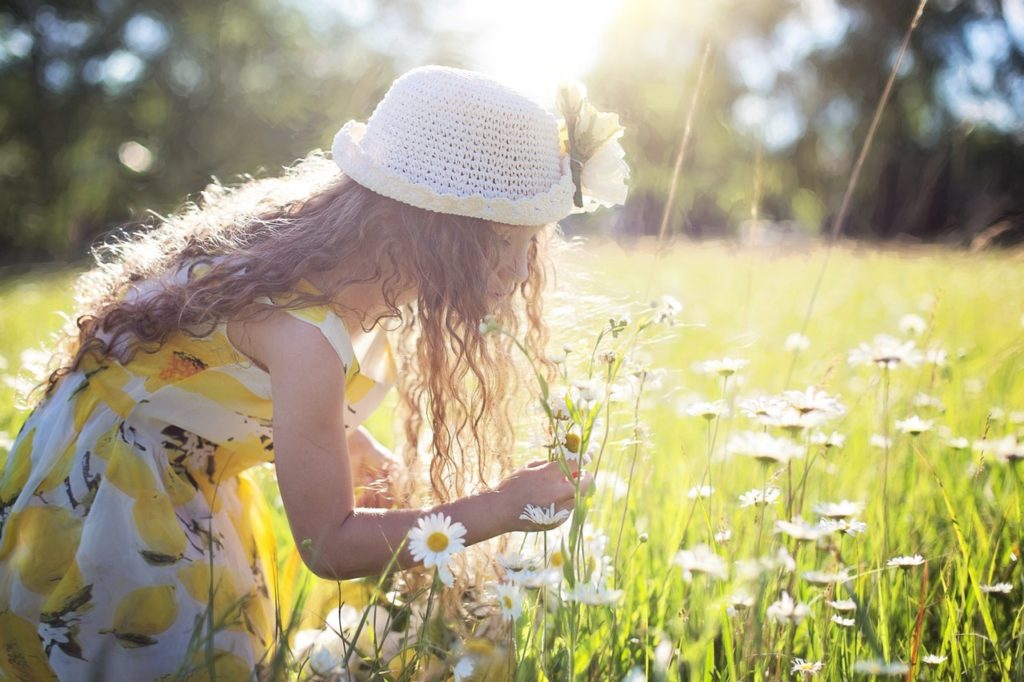
When shooting people under the spotlight, because the background is black, you must not use average metering, otherwise the people will be overexposed under strong lighting. Use the spot metering mode to aim at the people to meter the exposure to ensure the accuracy of the exposure.
Since the actors are moving, a safe shutter speed – not lower than the inverse of the focal length of the lens – is necessary so that the captured image does not become blurred.
When shooting on a large stage, do not get too close to the stage. If it’s too close, the shot will appear too large for the stage effect.
Use a high-speed shutter to capture dynamic pictures. The effective way to increase the shutter speed is not only to open a large aperture, but also to appropriately increase the ISO sensitivity. When the consumer-grade digital camera exceeds ISO400, and the DSLR camera exceeds ISO800, there will be obvious noise, but it is better than blur.
F. Choose the best scene to capture street people
When capturing portraits on the street, the portraits captured not only have very distinct characteristics of the times, but also are real and natural because they are captured. The person being captured is usually walking, so it is necessary to use a relatively fast shutter speed, which is not lower than the reciprocal of the focal length of the lens. For example, to capture at 200mm focal length, a shutter speed of 1/250 sec or above is best.
Street photography is based on the principle of not interfering with the normal life of others. The main purpose should be to express the beauty of passers-by, and we suggest not to vilify others, otherwise it will cause disputes. If others complain about being filmed, they should respect the will of the other party.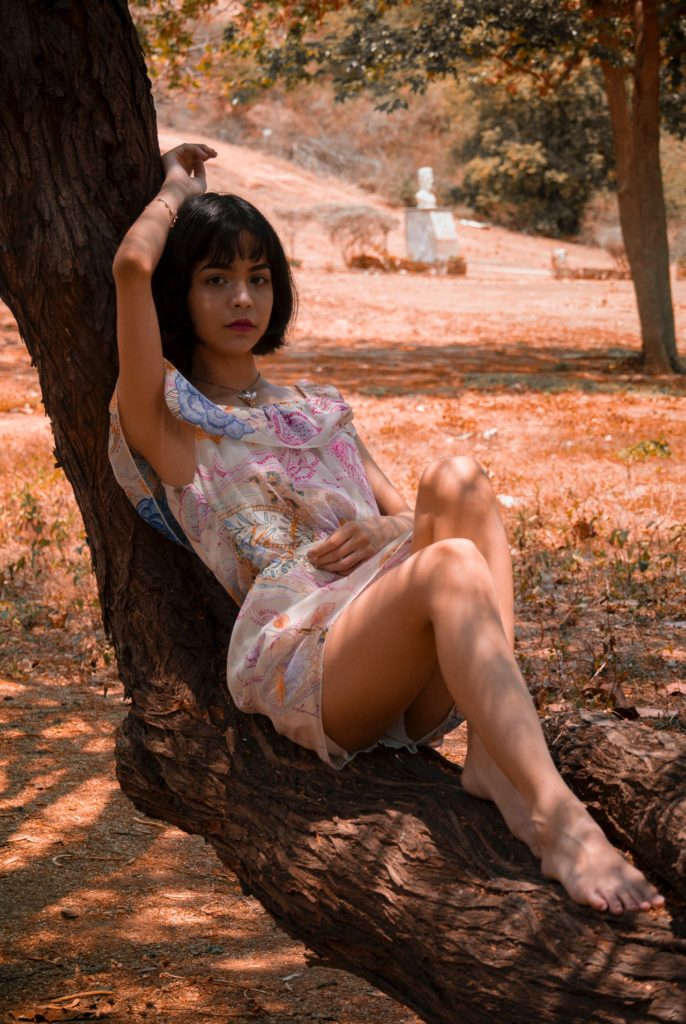
To capture children, it is necessary to show their lively side, and jumping and jumping can show the characteristics of children.
The capture action must be fast. Especially when capturing a group of people, you can shout to attract their attention and take pictures immediately when they come together. Otherwise, it will become a pose shot, and the subject’s expression will be unnatural.
Street photography is often an important part of travel photography. When capturing people on the streets of other places during travel, it is best to have the background on the street, otherwise there will be no local characteristics.
(2) Animal photography skills
A. Telephoto lens to photograph wildlife
Shooting of large animals
For those animals that cannot be approached, a telephoto lens is undoubtedly a powerful tool for shooting. The depth of field of the telephoto lens is shallow, so it is more important to focus accurately. For large animals photographed vertically, the focus is more important due to the longer body. So focus on the head (eyes, nose).
It is advisable to use side lighting and side backlighting to shoot animals. That can make the three-dimensional effect strong and rich in layers. It’s important to show the animal’s eye light when shooting. If used well, the animal’s eyes shine like jewels and appear piercing. Otherwise it looks dull.
Taking more pictures of the movements of animals is more helpful for expressing the characteristics of animals. For moving animals, be sure to focus accurately. You can switch the camera’s focus mode from ONE SHOT mode to AI SERVO mode for follow-focus shooting. It can autofocus as the animal moves.
Be careful when photographing multiple animals, wait for the moment, find the most interesting pose of the animal and press the shutter.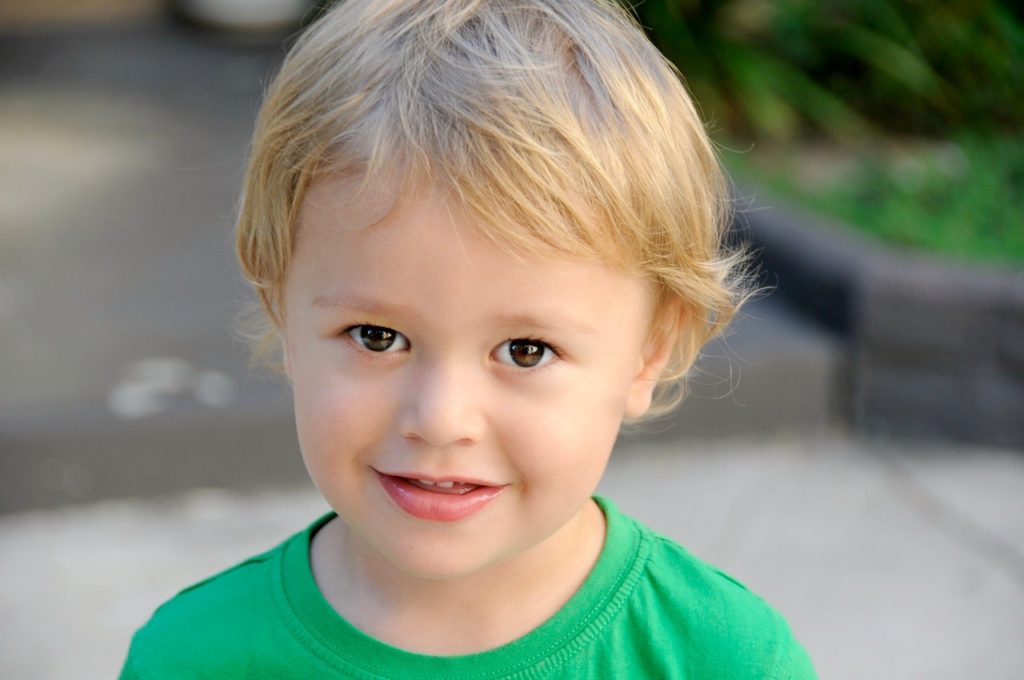
Shooting of birds
In addition, birds are a relatively special kind of wild animals. There are few birds in the zoo, and generally people choose wild birds for photography. Because these birds are very timid and take off immediately when they are frightened, they need the attention of the photographer.
In the wild, when you find a bird to photograph, you should take one to several pictures on the spot. And then consider the light and composition. Slowly approach the bird to photograph, and take another shot at a more ideal location. Take another shot when you are close to the bird, which will make it easier for future selections.
Different birds have different living habits. Understanding the living habits of various birds is the key to taking bird photos. For large birds, the photographer can wait in advance where the birds often appear. And take pictures when the birds appear. Of course, as the title says, you need to use a telephoto lens to shoot.
(To Be Continued)
