Table of Contents
Use Forward Light to shoot Landscapes
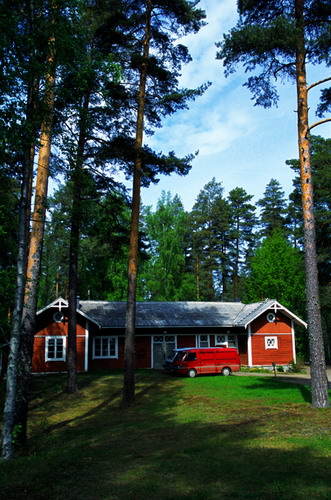
The light in the direction of the light that is in the same direction as the camera is called forward light.
Since the front of the forward light-type subject is uniformly illuminated, and the shadow of the scene is cast behind, there are few shadows in the picture taken by the forward light, and the front is often brighter. The level of the picture is mainly conveyed by the difference in brightness or tone relationship of the subject itself.
The advantage of forward light shooting is that the tone in the picture is soft, which can better convey the color of the scene itself.
However, in some cases, using forward light to shoot landscapes, if the foreground part is in the shadow and the background scene is brighter, the spatial stereoscopic effect of the scene will change. In addition, when shooting with forward light, especially the forward light of low light light, it is easy to leave the photographer’s own figure in the picture. This should be avoided.
Use Side Light to Capture Landscapes
Advantages and Disadvantages of Side Light
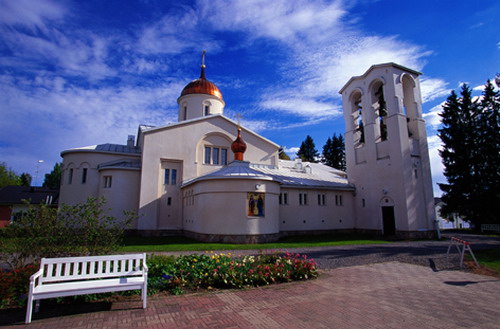
The light radiating in the direction of about 90 degrees from the camera shooting direction is called side light. Scenes that are edge-lit have a clear contrast between light and dark. This light can well represent the shape, three-dimensionality and texture of the scene being photographed. The structure of light and shadow is clear and strong.
Due to side lighting, the backlit side of the scene will leave a shadow shape. The length of the shadow as well as the shadow and the scene itself will constitute a colorful modeling effect.
Shooting with side light also has its downsides. There is a large light ratio contrast between the light-receiving surface and the non-light-receiving surface of the scene, and this gap often exceeds the latitude range allowed by the film. The level and texture of the scene will be somewhat lost.
Accurately grasp the side light
Side light is one of the lights that is often used when photographing landscapes. In order to accurately grasp the light and shadow effects of the scene, the exposure calculation for side-light shooting is very important. Specifically, both the data measured with the spot light and the exposure compensation are taken into account. The general rule is: when shooting in side light, spot metering should be performed on the highlight part of the scene, and a half-level exposure should be added on this basis.
Top light
The direction of the light and the shooting direction of the camera are roughly perpendicular to the light, which is called the top light. This light generally appears around noon.
Top light actually belongs to the category of side light, but the projection direction of the light is bottom-up, the upper part of the scene will be brighter, and the lower part will leave a heavy shadow.
In landscape photography, top light is the more difficult light to use. But nothing is absolute. By choosing the right scene and using the lighting characteristics of the top light, you can also shoot the ideal picture.
Since the top light illuminates the scene from top to bottom, the occlusion of clouds or the natural scene itself will form heavy shadows on the ground, so how to use these shadows becomes the key to shooting. The existence of light and darkness on the ground is also the existence of contrast. The contrast effect of light and dark naturally adds layers to the picture, which is the value of using top light to shoot landscapes.
Photographing Landscapes with Backlighting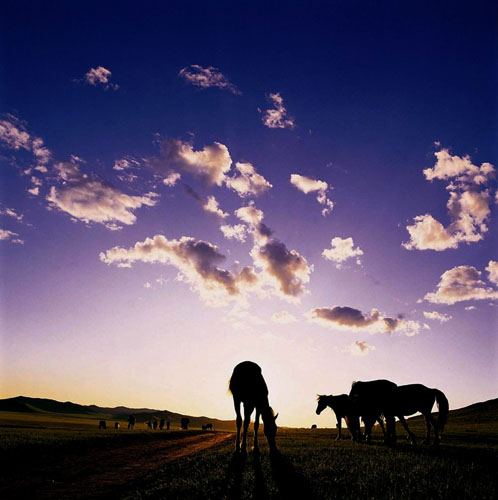
Benefits of backlight
The irradiating direction of the light is opposite to the shooting direction of the camera and the light coming from the back of the subject is called backlight. The edges of the scene illuminated by the backlight are illuminated. Since the light-receiving area is small, only the effect of clear contour light is formed. It is an effective means of expressing the outline shape of objects and distinguishing the boundaries between scenes.
Backlight photography can well express the three-dimensional sense of the scene, and at the same time can express a strong aerial perspective effect, so that the tones and layers of the picture are very rich. Backlight shooting will cause a large area of shadow in the foreground, which is an important factor in the dark effect of the picture, and the dark background is an ideal means of hiding.
The effect of backlight on landscape photography
Backlight photography is also one of the methods often used in landscape photography. In addition to using the light and shadow effects of backlighting, sometimes we also put the light source of backlighting – the sun – into the picture, especially in the morning or evening. At this time, the brightness of the light source needs to be considered.
The best time to shoot is when the sun is not bright and dazzling. And the color is duck egg yellow. The photos taken at this time have warm tones, saturated colors. And the contrast of the scenery is not strong. If you happen to catch the beautiful colorful clouds in the sky when shooting the scenery against the light, don’t miss such a good opportunity. What we want to express is the colorful clouds in the sky. So the area of the sky must occupy the main part of the composition of the picture. And other scenery should obey this theme.
The disadvantage of backlit photography is roughly the same as the disadvantage of side-lit photography, namely the loss of level of detail in parts of the frame. When shooting against the light, put the sun into the picture, and if it is not handled properly, “sun flares” will appear. And the effect of the whole picture will be displayed.
Photographing Landscapes with Diffused Light
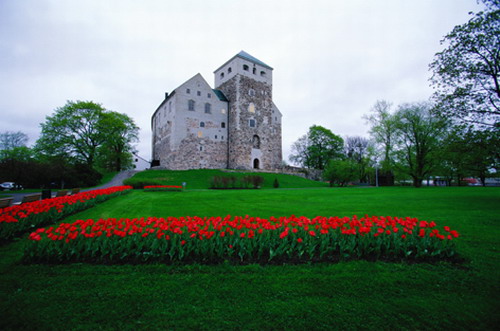
Light scattering refers to a phenomenon that occurs when the light emitted by the light source encounters occlusion and interference before reaching the ground scene. In nature, when sunlight encounters thick clouds in the atmosphere, the sunlight is reflected, refracted and absorbed in the clouds due to the occlusion of cloud materials. And finally the light passing through the clouds has become scattered light.
Scattered light is closely related to landscape photography. In actual creation, we often encounter the daytime when the sun cannot be seen. And the light at this time is scattered light. Some people think that it is impossible to take pictures with strong visual impact in such light conditions. Indeed, under this kind of scattered light, the light perception effect of natural landscapes is not very strong. And the visual beauty and color impact of landscape photography are diluted.
But it is precisely this kind of scattered light that has no obvious direction of illumination that creates a good atmosphere for us to take pictures of landscapes with a soft and lyrical tone. Because the scattered light is relatively soft, the scene can hardly see shadows under the illumination of the scattered light. And the subject is easy to lack the sense of the main body. Therefore, the photographer’s choice of the form of the scene is very critical. Just as there are sonorous and powerful marches and soothing and peaceful serenades in music, scattered light brings us a more peaceful and more realistic nature.
Scenery with area light
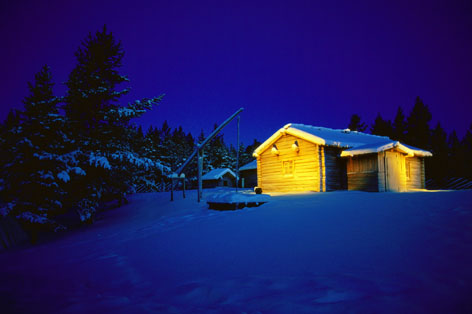
Area light means that a certain area of the scene is illuminated by light.
This kind of light is also called stage light. Because a spotlight on the stage only moves with the protagonist, so it gets this name.
This light is often encountered in nature, especially in cloudy weather conditions. Due to the blocking of the clouds, the sunlight cannot illuminate the earth. But is regionally divided into bunches of “stage lights”. And with the continuous movement of the clouds, the regional light will also continue to move.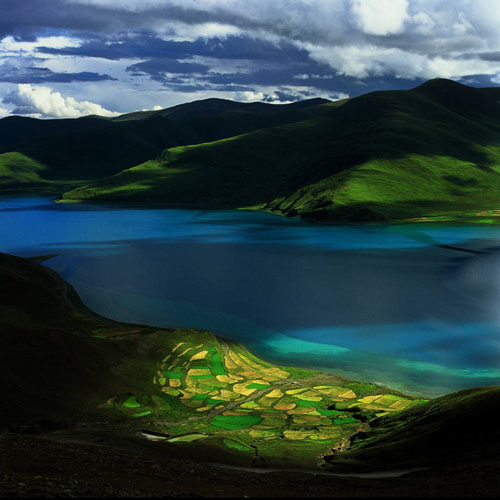
Area lights work best before a thunderstorm. Generally, the cloud layer before a thunderstorm is thicker and the wind is strong. The area projected by the sunlight on the ground has a great contrast between light and dark. And the cloud blocks move faster under the action of the wind. This provides many opportunities for us to capture the desired effect of the picture. But as the opportunities increase, it also increases the difficulty of shooting. The first is to shoot fast, pressing the shutter when the area light hits the desired location. This may be a few seconds. Secondly, it is very critical to accurately grasp the exposure data. The range of metering must be based on the highlight part (the location illuminated by the area light). And then compensated according to the actual situation.
In landscape photography, you need to grasp the movement direction of the area light and predict the light and dark effects of the scene in the picture. Waiting is sometimes the way to go.
Shooting Landscapes in Low Light
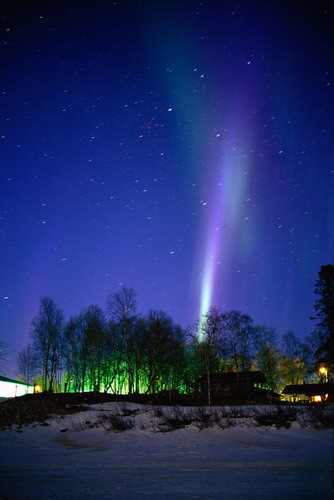
Low light refers to starlight, moonlight, and weak sky lights at night.
The light source of weak light is diverse, and the illumination intensity of the light is very small. The contrast of the light ratio of the photographed scene will be relatively small. And the color reproduction will be very poor. The level and texture of the scene will be greatly affected by the weak light. Therefore, in the creation of landscape photography, low light is often ignored by people.
Shoot the sunrise in the morning, the sunset in the evening, and find a place to rest at noon. This is the creative rule of most landscape photography enthusiasts. Following this unwritten rule, photographers work hard from morning to night to create. Although they have been to many places, in addition to the differences in regions, the single creative method and thinking mode make the pictures taken have many similarities.
Taking pictures of landscapes at night not only extends our creative time, but also the huge difference between the shape, color, and state of natural scenery at night and daytime. That expands a new perspective for our creation. The scenery shot with low light as the main light source has a strong sense of mystery. It is very beneficial to the expression of artistic conception.
In landscape photography, using weak light as the main light source for shooting, the difficulty lies in the accurate grasp of exposure time. Inexperienced people often get twice the result with half the effort, or even work in vain.
Only by mastering the rules of night and daytime landscape photography can we achieve all-weather landscape photography in the true sense.
Four Heights of Landscape Photography Art
If learning landscape photography is compared to a high jump, there are at least the following four heights:
The first height: mastery of technology
The second height: the use of skills
The third height: the discovery and creation of photographic beauty
The fourth height: the formation of a unique artistic style
There is a close relationship between the four heights of landscape photography art. It can be said that technology is the foundation, skills are the means. And the creation of photographic beauty is the goal. And the formation of a unique style is a sign of a photographer’s artistic maturity and the pursuit of a higher level of photographic beauty.
There is no skill without technology. Without technology and skills, there is no photography creation. Without a long-term and extensive creative practice, there will be no formation of a personal unique style.
