Table of Contents
How to Use Reflector for Photography
The role of the reflector
Reflectors are one of our most useful photographic aids, both economically and practically. It is convenient to manufacture, low cost and flexible to use.
The reflector reflects the “lost” light onto the subject. So that the light quantity of one lamp can play the role of two to three lamps. It also reveals layers and details in subjects, softening strong light. The general light technology can not play this role. Whether you’re shooting at home, in a studio, or anywhere else, and whether it’s illuminated by natural light, tungsten, or flash, reflectors serve the same purpose.
Select the reflector correctly
The reflector can be flexibly controlled in size, as large as a wall, and as small as a palm. We can make it according to the needs of the subject size. When taking color photos, it is generally necessary to use a reflector with a neutral surface (white, dust, or silver) to ensure that the light reflected by the reflector has the same color quality as the original light source. Gold and other brightly colored reflectors are only used where special effects are required.
When taking black and white photos, any type of reflector can be used, and black materials can also be used as a kind of “anti-reflector” that absorbs light to prevent unwanted and uncontrollable reflections.
In fact, there is no one-size-fits-all reflector. We should choose reflectors of different sizes and colors according to different themes. Therefore, after deciding on the subject of shooting and the use of reflectors, when selecting reflectors, you need to pay attention to the surface, size, color quality and weight of reflectors, as well as coordination with other cameras.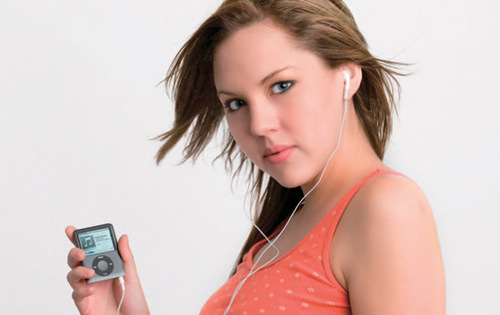
Of course, there is a wide range of reflectors to choose from, from professional large, folding reflectors with brackets, down to homemade ones, and even a blank sheet of paper.
Material and color of reflector
White reflectors are generally made of paper, cardboard or polystyrene. This matt reflector diffuses light beams, resulting in a very soft and even lighting effect. But that means a lot of light is wasted.
To create an effective illumination intensity, we need to place a white reflector near the subject. When fine, low-intensity reflectors are a must, the reflector surface is preferably gray. Matte silver reflectors are available from silver-coated paper, cardboard, fiber cloth and sheet metal.
You can also make homemade reflectors from cigarette-packed tinfoil, crumple it first and then evenly attach it to the support. The light reflected off the matte silver reflector surface is semi-diffuse. Compared with the white reflector, the light intensity reflected by the silver reflector is larger and the reflection angle is narrower.
A mirror with a flat surface reflects light close to the quality of the main light source. Unlike white or matt silver reflectors, we can use it to reflect light from a mirror when shooting still lifes for a tightly controlled lighting effect.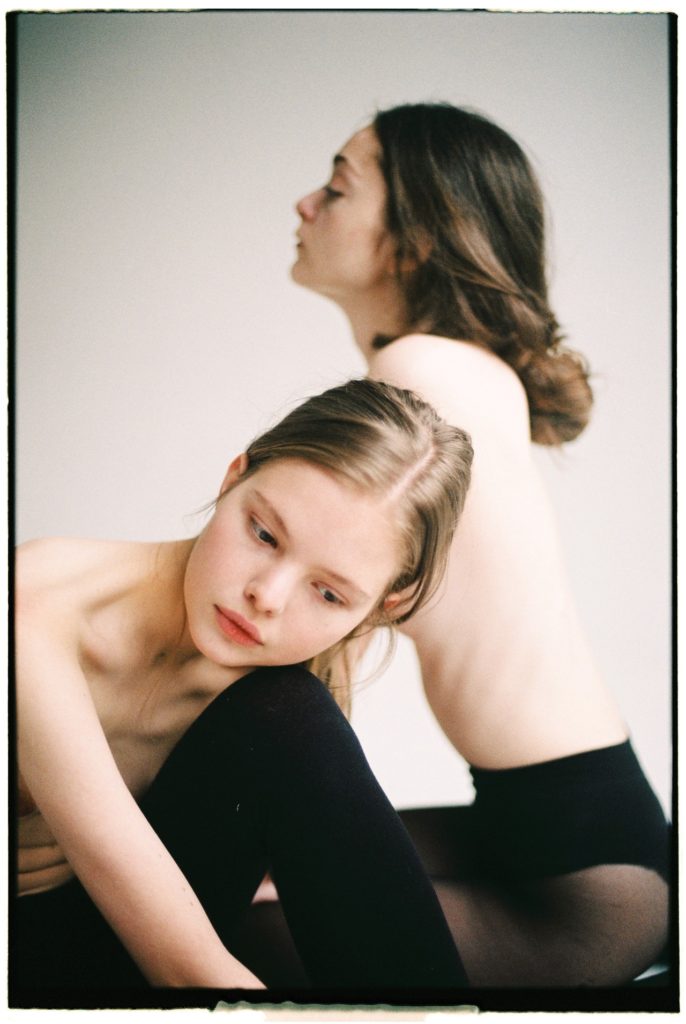
How to use the reflector
There are two ways to use reflectors: passive and active. The passive type is what we use most common. We mainly place it opposite or close to the main light source in order to reflect the lost light onto the subject. This kind of reflection usually acts as a “fill light” for the shadow part of the subject. Since the reflector is auxiliary, it can use multiple pieces for auxiliary shooting.
In portraiture and still life photography, especially with glass or metal utensils, subtle light changes are necessary. To create the atmosphere, it is necessary to use multi-faceted reflectors at different angles and textures.
In short, the reflector has the advantage of observing and predicting the effect at any time compared with the flash as a supplementary light device. The disadvantage is that the reflective intensity is relatively small, and it is not easy to carry.
How to Flexibly Adjust the Light Position
The light position is the position of the light source. It is related to the formation of different light and shadow effects such as forward light, side light, backlight or flat light, high-level light, and low-level light in photography. Therefore, the photographer always pays attention to the light position before shooting, and considers the shooting position according to the projection direction of the light, so as to obtain the ideal light and shadow effect. This is the choice of light angle we often say in photography.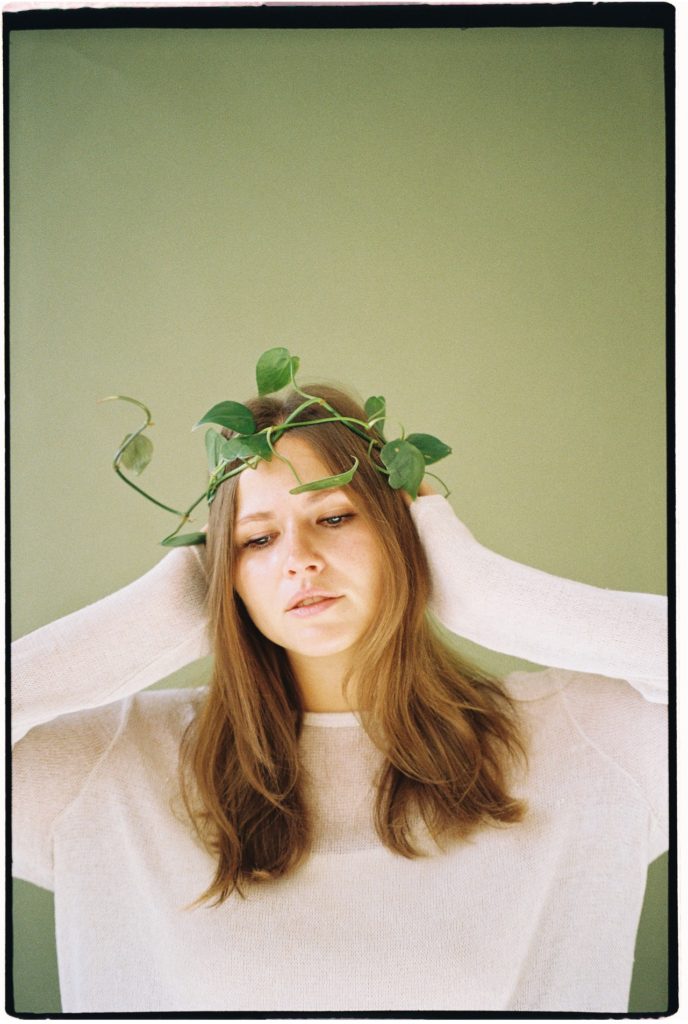
Ideal light and shadow effect
What is the ideal lighting effect? In general, it should help to express the content of the picture, especially the main body of the picture, well or even beautifully. That is, the main subject or the main part of the frame. Otherwise, people will regard it as poor light and shadow effect and improper use of light.
Therefore, photography experts, photography books or related photography articles often warn that “top light and foot light should not be used when shooting portraits”, “the light and shadow of front-light photography are too dull”, “side-lighting, semi-light and semi-darkness, and mechanical equivalent ugly again.” However, the location of the light source is sometimes immutable, such as in scene light photography, where the inherent lighting of the scene cannot be arbitrarily arranged or moved by the photographer. Especially in natural light photography, the light source – the position of the sun will not change by people’s will. What can we do to avoid top light in these situations. How to achieve good light and shadow effects with poor light angles such as smooth light?
How to get a good light and shadow effect
In fact, from the perspective of photography light, the formation of light level is directly related to the object level (where the subject or scene is located) and the camera position (where the camera is located). Therefore, even in natural light photography, in many cases, the poor light and shadow effects caused by the angle of light projection can be turned into excellent effects by cleverly using the relationship between the light level, the material level, and the camera position.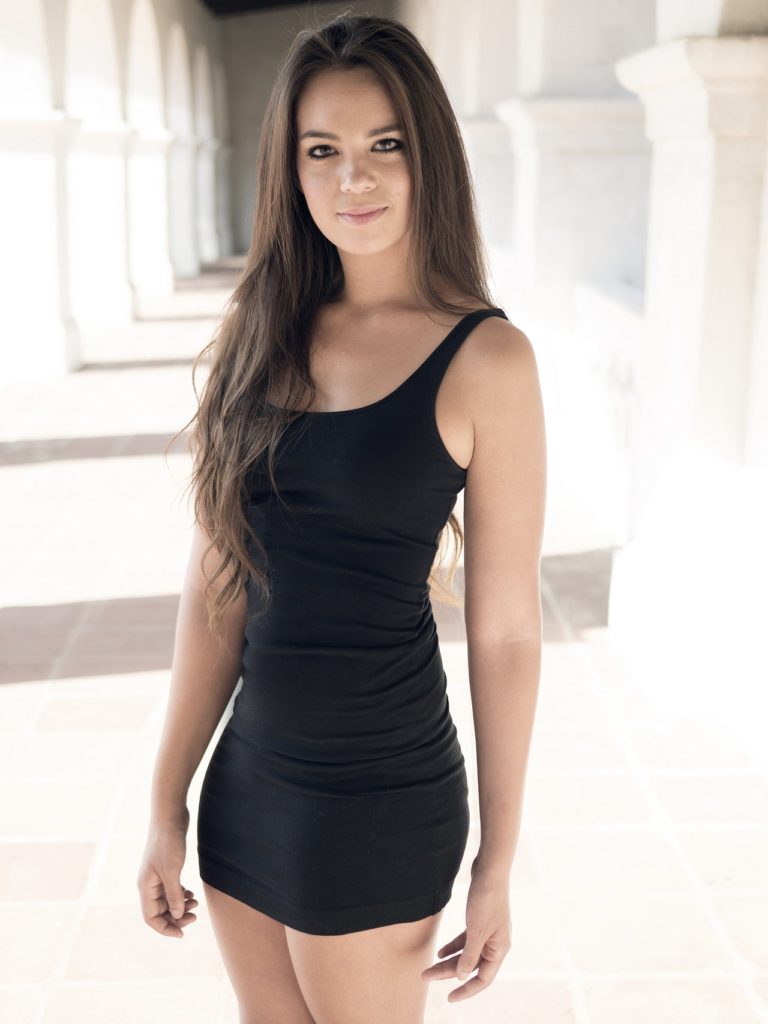
1. Forward light
Under the condition of forward light, the subject, object, and scene are exposed to light in a large area. That lacks the necessary contrast between light and shadow, so the color palette is flat. The performance of close-up characters, especially snow scenes, must be poor. If the subject is the center, and the shooting position is shifted to the left or right by 45°, a harmonious contrast of light and dark and a beautiful front side light effect can be formed. If you turn around to shoot the snow scene from the forward light angle, and form a backlight or side backlight, the tonal levels of the snow scene will appear pleasing and rich.
2. Noon Sun
When shooting portraits or close-ups in the midday sun, due to the top light, the light and shadow effects on the face are unsightly – the forehead is white and bright, the eye sockets are deep, the cheekbones are prominent, and the nose is dark. However, most midday sunlight does not hit the ground at 90°, and is always slightly skewed. Therefore, you can use the skew angle of the top light to make the subject backlight. And the face is completely on the dark side, forming a high backlight. Or no matter whether the top light hangs down or not, make the subject look up (to form the front side light) or slightly lower his head (to form the backlight) to shoot, so as to avoid bad light and shadow effects.
3. Dawn and evening
An hour or so after sunrise or before sunset, the sun angle is not high. If the subject is at a side-light angle at this time, the face must be half-bright and half-dark. And the contrast between light and shadow is large, making it an unsightly face. Therefore, it is not appropriate to shoot from the front, but from the side. Or choose a slightly condescending viewing angle. Of course, you can also change the subject slightly to face the sun or shoot obliquely.
(To Be Continued)
