Table of Contents
How to Use Both Virtual and Real in Shooting
The role of virtual and real
When the human eye sees near objects, distant objects are illusory. When viewing distant objects, near objects are illusory. This phenomenon goes unnoticed because the human eye has the ability to rapidly change focus.
Although the camera is not as sensitive as the human eye, it has the same function. It can adapt to the physiological needs of the human body when shooting. The camera determines the depth of field by adjusting the aperture size, so that objects within the depth of field are clear, and objects outside the depth of field are blurred, so as to obtain different virtual and real effects.
Practice has proved that if a photo shows all the objects together and shows them naked, the form of the photo will be less lively and more rigid. The content of the photos will also make people clear at a glance, lack of meaning. It will also form trivial details, mottled colors, and bit of fun, and the main body of the family life photos – the characters – the same situation, which is not conducive to highlighting the characters.
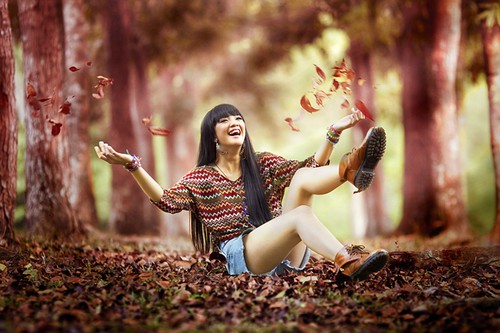
The role of foreground blur
When shooting, experienced photographers always carefully design and arrange carefully, reluctantly give up the foils other than the characters, and boldly blur them. If family life photography can start from the difficult point and use more blurred expressions, the photos will have a new and more beautiful appearance.
Family life photography uses the most blurred foreground. The blurring of the foreground adapts to the physiological function of the human eye when viewing objects near virtual and far real, and provides a natural process for appreciation.
When the viewer’s eyes are on the photo, the blurred foreground will not interfere with the line of sight, and the eyes will naturally fall on the “real” characters in the distance, forming a clear visual center, and the characters are prominent and pleasing to the eye.
The blurring of the foreground creates a feeling of close-up objects, which can easily make the appreciator connect the foreground, characters and background objects, form a comparison of the three, and strengthen the feeling of space depth. The three-dimensional impression of characters and scenery will also be distinct and clear.
Bokeh foreground also softens colors. The blurring of the foreground blurs the colors of some objects in the photo, creating a soft blend of tones, radiating a strange brilliance, giving the content of the photo a subtle and hazy connotation. It also enhances the form of the photo, adding a soft color decoration to the photo.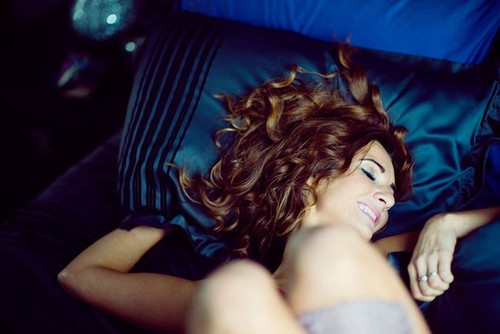
How to Use Virtual and Real Correctly
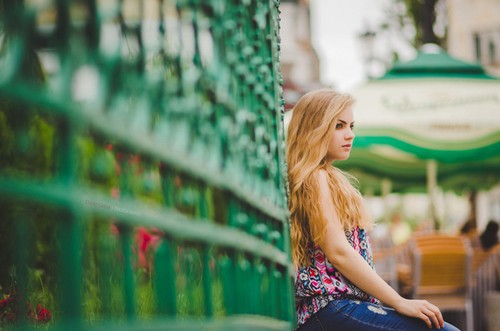
In the creation of artistic photography, large areas of objects are often blurred to create artistic conception. In general, family life photography should not have too many blurred objects. Especially when capturing a beautiful background object, the background object should not be blurred.
Close-up photography focuses on expressing the mental outlook of the characters. The blurring of the background makes the characters stand out against the clear and subtle background. The beauty of the form and the meaning of the content will be enhanced accordingly.
Therefore, in close-up family life photos, it is often essential to use a large aperture to blur the background. Close-up shots can also blur certain parts of the person’s body to highlight certain important parts.
In most cases, the faces of the characters are clear, and the accompanying objects—such as head decorations, hand movements, etc., are blurred. The blurred part is not optional, it plays the role of expressing the content of the photo from the side, implying the overall image of the character, and strengthening the sense of form of the photo.
The realization method of photo blur
A photo has both the unreal and the real, the real objects are more distinct and prominent, and the virtual parts show their beauty in the comparison of the real. The characters and the scenery are in contrast to each other, and the colors are mixed in shades and shades, which are both unified and changing, both contrasting and harmonious, so that the content of the photos is connected with each other, the virtual and the real are combined, the ordinary is turned into the magic, and the artistic meaning is very strong.
The blurring of objects in family life photos is mainly through the use of the principle of the camera – that is, the aperture is large, the depth of field is small, the blurred area is large, the aperture is small, the depth of field is large, and the blurred area is small. In this way, different virtual and real effects can be achieved. The use of a long focal length lens has its own uniqueness in shaping the blurring effect of objects.
Classification of virtual and real
In addition to the relationship between the virtual and the real in the form of the above photos, there are also the virtual and real in the content, the virtual and real in the tone, the virtual and real in the color tone, and the virtual and real in the emotional expression of the characters.
The imaginary and real in the content means that the image displayed in the photo is real, and the association and imagination generated by the image are fake.
The virtual and real on the tones generally indicate the proportional relationship between the different areas of the shadow tones.
The virtual and real colors generally refer to the warm and cold relationship of colors. In the photo, warm tones are dominant, and cool tones are solid. The cool colors are the main ones, and the warm colors are the real ones.
The relationship between the virtual and the real in the character’s modal means that the modal of the photo that flows on the surface is false, and the modal that comes from the heart is true. These are all things family life photography can learn from.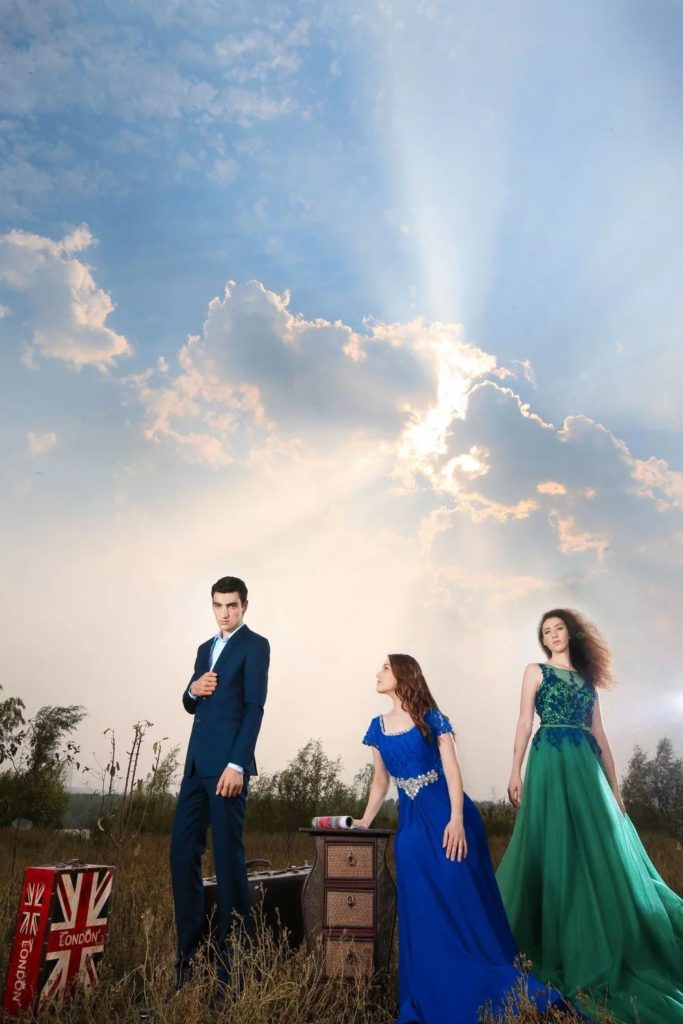
How to Blur the Scene
1. Use the shutter skillfully.
Shoot moving subjects with a shutter speed of 1/30 second or less. During the shooting process, the image of the moving body moves on the film, creating a virtual shadow, giving people a sense of movement. Shutter speed is slower than the speed of the moving body, and ghost images can be left.
2. Open a large aperture and shorten the depth of field.
When the background or foreground of the subject is cluttered and affects the prominent subject, the inverse proportional relationship between aperture and depth of field must be used to enlarge the aperture and place the background or foreground outside the range of depth of field to blur it, giving people a sense of spatial depth.
3. Follow the subject.
When taking pictures of moving objects, make the camera follow the moving objects to move in the moving direction. The result is clear moving objects and blurred background or foreground flow, adding movement, rendering atmosphere, and expressing the movement and speed of the subject. In addition to parallel following, there are also vertical following, arc-shaped following, and circular following. The effects are also unique.
4. Take advantage of natural phenomena such as clouds and fog.
In the early morning, evening or cloudy and rainy days, the sky is cloudy and foggy, and the distant scene is generally shrouded in clouds and fog, only showing the outline of the scene. Especially in landscape photography, the use of clouds and mists, distant mountains and sparse forests, near and far, pale, powerful and sentimental, and imaginary in the spirit, it seems that the mountains and rivers are both grand and deep, and ethereal and meaningful.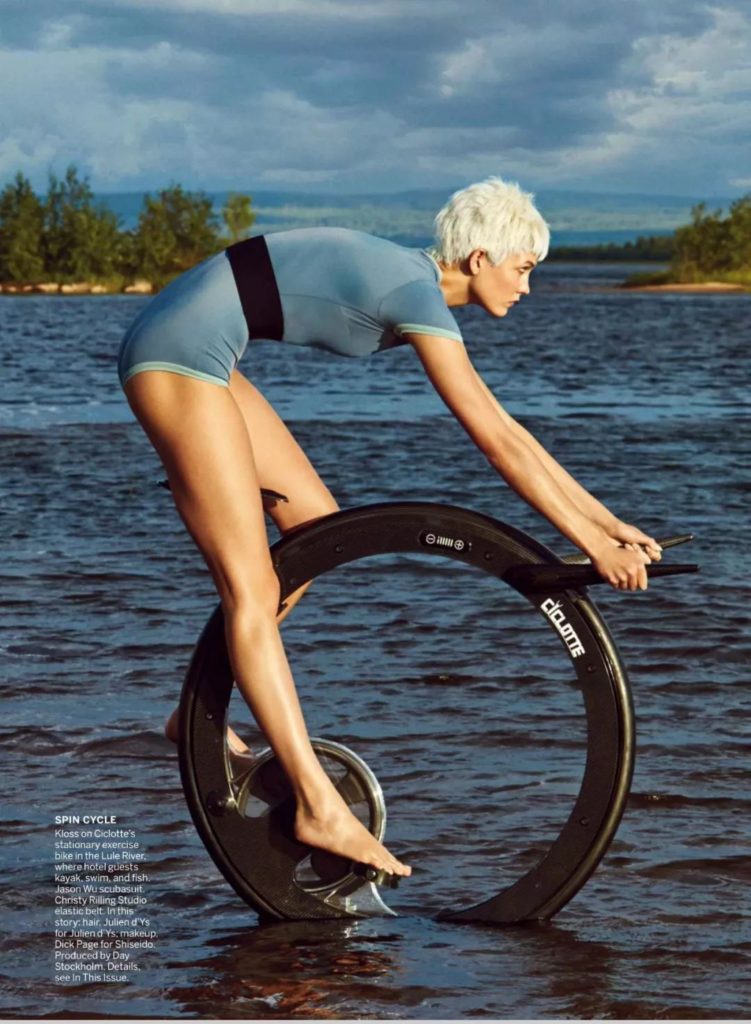
5. Apply the zoom lens.
A varifocal lens is a new type of lens that can change multiple focal lengths. People use the variability of the focal length of the lens to push and pull the lens during the exposure process, and overlapping virtual shadows can be formed on the negative to set off the subject and create an atmosphere.
6. Multiple exposures.
Multi-exposure is generally to fix the camera, change or not change the aperture and speed, and take two or more exposures to shoot the object, so that some objects on the negative have a virtual effect. This technique is mostly used for night shots.
How to Master the Perspective Law of Photos
Spatial dimension of the scene
Most of the scenery around us has three-dimensional space, but photos can only show two-dimensional space. It is one of the most important tasks of photographic composition to use the illusion of human vision to reflect the photographed scene in three-dimensional space on the photo plane in two-dimensional space.
There are three conditions for photography to make the picture in two-dimensional space show the form of three-dimensional space and outline. The first is the perspective of lines. The second is the perspective of shades. And the third is the direction of light.
The effect of light has been explained before. Here we mainly talk about the laws of perspective in photography.
In life, we can often see that the outlines of many objects will form certain lines. For example, the trees on both sides of the road are originally parallel. But when viewed from a distance, the trees become more concentrated as they are farther away. And finally gather at one point. This phenomenon is called line perspective phenomenon.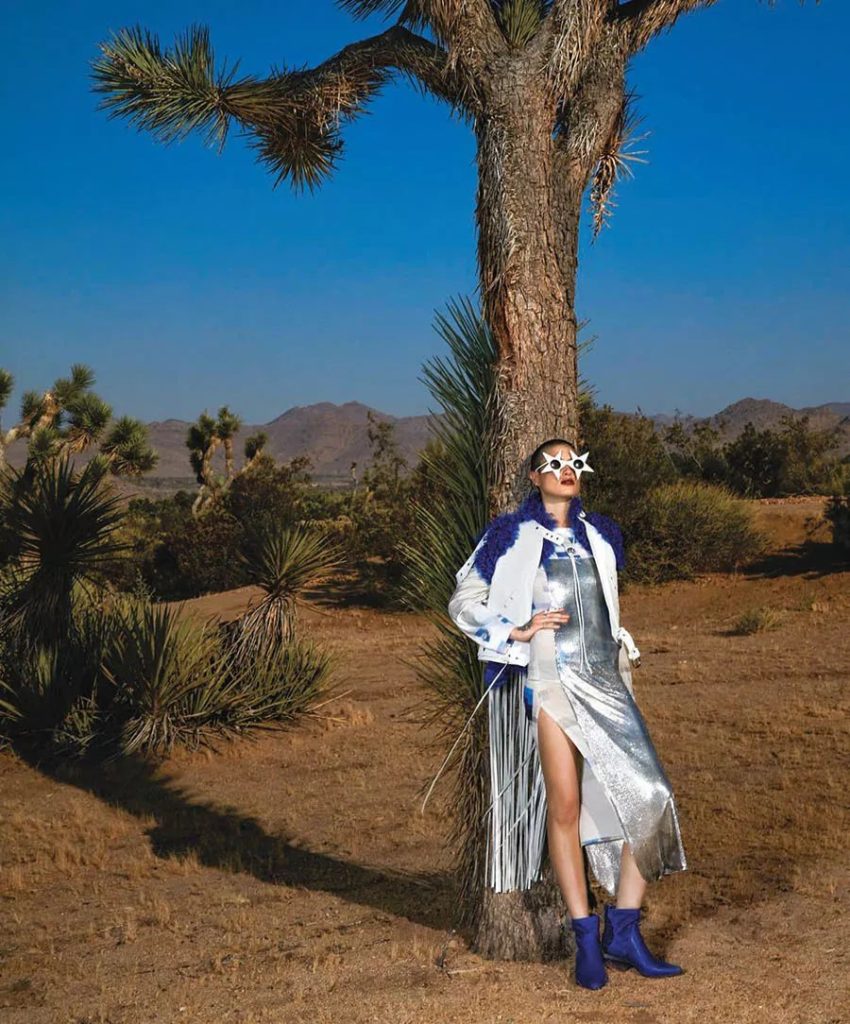
How to master the law of perspective
In photography, to emphasize or weaken line perspective, mainly by choosing different shooting points. That is, the closer the distance between the object and the camera, the more exaggerated the line perspective, and vice versa.
Wide-angle lenses include many scenes and often need to be shot close, so that the line perspective is more exaggerated. A long focal length lens includes less scenery and needs to be shot from a long distance. That reduces the effect of line perspective.
Another phenomenon can also be seen in daily life. That is, objects in the distance are brighter and the contrast is lower than those close by. The sharpness of outlines and the saturation of colors are worse than near objects. We can use these phenomena consciously in photography to enhance the spatial depth of the picture.
For example, when shooting some larger scenes (especially landscape photography), you can choose a darker foreground and a brighter background to enhance the depth of the picture. Enhancing the three-dimensional and spatial depth of the picture is an important expression skill in photography.
How to Express the Profoundness of Photographic Images
Expressing a sense of depth in a photo does not mean that the subject extends into the distance to express the sense of depth. Because any picture is a plane composed of length and width. And the sense of depth seen on the picture is caused by the illusion of the human eye.
A flat photo, coupled with the illusion of the human eye, appears in three-dimensional space. And the photo has a sense of depth, which increases the expressiveness of the picture. In order to better express the sense of depth, in addition to deliberate composition, but also to use some specific shooting methods. The methods commonly used by photographers are as follows: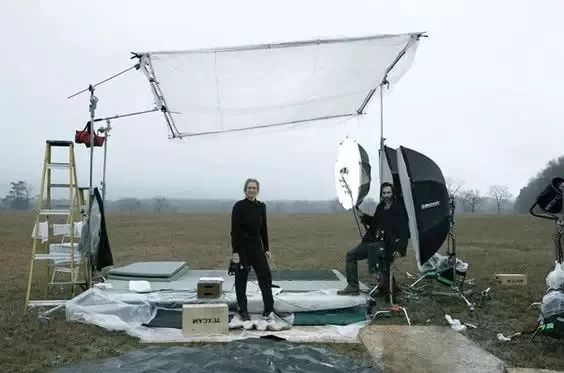
1. Shooting method with overlapping scenes:
When several scenes with similar beginnings or several objects of the same kind are placed on top of each other, from perspective, the scene appears large when it is close. And it appears small when it is far away, and the front and rear are clearly separate. Especially when shooting with a telephoto lens, using the overlapping method to express the sense of depth is the most effective method.
2. Use perspective scales:
The vision of general objects is – the closer an object is to the human eye. The larger it appears, and the farther it is, the smaller it appears. In daily life, people naturally use this habit to judge the distance of objects. The perspective ratio of the camera lens performance is more obvious. Therefore, when taking pictures, the use of this perspective principle can show the depth of the scene.
Generally, when shooting with a wide-angle lens, the distance between the front and rear scenes increases sharply. Especially when shooting close to the subject, you can consciously increase the sense of depth. And the wide-angle lens takes in a lot of scenery.
3. Use leading lines to add a sense of depth:
For example, when shooting streets, boulevards, river banks, and railways, the photographer finds a suitable position. Let some scenes that play a straight line start from the close to the lens. And gradually enter the center of the lens and extend into the distance.
For example, when photographing the aforementioned scenes such as streets or boulevards, river banks, railways, etc., you should not stand in the middle of them. But should lean on one side and squat down to shoot. So that the buildings on one side or the trees next to boulevards and railways start at the upper corner of the photo. A diagonal line comes into being, gradually extending to the center of the picture and extending into the distance. Both standard and wide-angle lenses have this effect.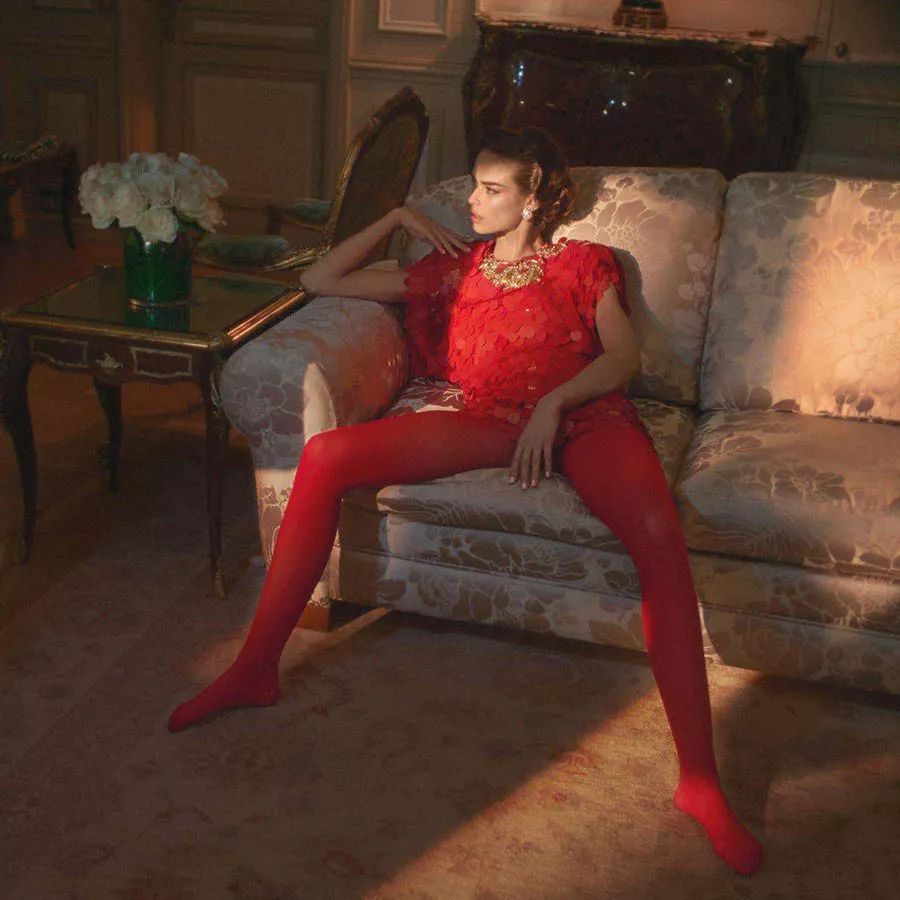
4. Use aerial perspective to create a sense of depth:
The atmosphere contains various degrees of small steam, dust, smoke and other floating objects. These are the material bases from which air perspective is created. Aerial perspective can create a sense of distance because light is diffused by fog, dust, etc. as it travels through the air. The diffusion near the camera is not obvious, and the color is close to the original color of the object. The farther away from the camera, the more obvious the diffusion phenomenon, and the lighter the color of the object.
After the diffusion effect, only the blue light in the spectrum can pass through the impurities in the air. So when looking at the distant mountains, they all appear blue or blue-purple. Combined with the fact that the film is particularly sensitive to blue light, the effect of air perspective becomes particularly evident.
(To Be Continued)
