Table of Contents
Bottom Light
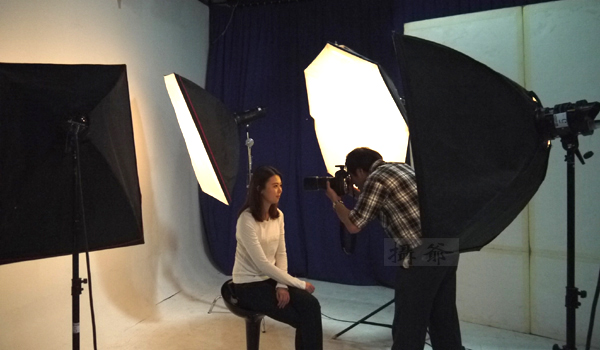
Also called basic light or base light. Its function (artificial light photography) is to make the darkest parts have a layered expression, balance the light contrast and shape the light. Its light position can be in two places, one is the camera position left and right, and the other is perpendicular to the optical axis of the lens, that is, the top light position. Generally, it depends slightly on the camera position. Since there is an auxiliary light near the camera position, it is now mostly placed in the top light, and the light is soft and the best.
Above we discussed key light, fill light and backlight, which are the three main lights for photographic styling. Due to the particularity and common use of the bottom light, we will explain it separately.
In addition, there are background lights, decorative lights, effect lights, modeling lights, catch lights, glow lights, and low lights. We illustrate this in tabular form below.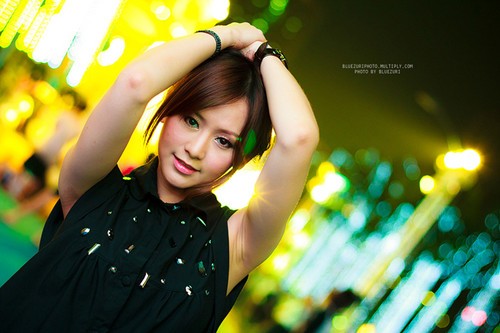
Balance of Light
The so-called light balance mainly refers to adjusting the relative brightness of each light when artificial light is used for photography, so that the light-dark relationship of each part of the model and the overall contrast of the picture are appropriate, so as to achieve a visually balanced effect of light and dark distribution.
It is generally based on the brightness of the key light. This job is easier said than done. Mastering the knowledge about light is only a preliminary step, and it can only be mastered by the organic combination of knowledge and practice and the accumulation of experience.
Under natural light conditions, it is also a light balance to fill in the light for people or block the bright spots of a small range of scenes.
Light Control
The control and selection of light are as follows:
The direction, angle, quality (color temperature), nature (soft and hard), intensity (light and dark), distribution and balance, shadow, contrast, etc. of light. Generally speaking, it involves all the light involved in photographic modeling, and its purpose is only one: to perfect the light modeling and organically combine it with other photographic modeling methods, so as to improve the artisticization of image modeling.
For the control of light, it mainly refers to the adjustment and control of all kinds of light in artificial light photography to make it meet the requirements of perfect modeling. In natural light conditions, photographers have limited means and ability to control light. The demand for light mainly depends on the choice of natural light conditions. Control can only be limited to local and small areas.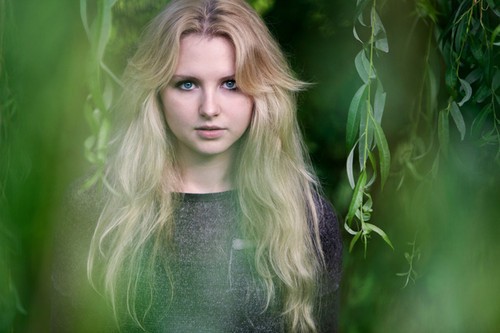
So, how to control light in photography using light? Below we briefly introduce several methods of artificial light control and natural light selection and control.
Note:
- Color temperature control and contrast control have been discussed in another article, and shadow control can be found above.
- The light used for artificial light photography is easy to understand in practical application. There is a great distance between what is written or written and what is actually used.
Artificial Light Control
With the use of artificial light in photography, the photographer has the initiative to control the light, and can adjust the light of all light sources at will. Adjustment is relatively easy, but control is not very easy. For example, in commodity photography, it takes a long time or even a few days to arrange, adjust and control the light to complete a photo when the performance requirements of the commodity are relatively high. There is also an iterative process of trial shooting, adjustment and control, re-trial shooting, re-adjustment and control.
1. Light intensity control.
Adjust the output light power of the lamp, adjust the distance between the lamp and the subject (pay attention to the irradiation range of the light).
2. Control of beam shape (ie, light irradiation range).
Use the four-in-one light blocking plate and light blocking tube (sleeve) configured by the lamp. Various light-blocking plates and black light-blocking paper (generally resistant to high temperature) can also be made to control or limit the light in a range or part.
3, the nature (ie soft and hard) control.
In order to soften the light, diffuser, soft yarn, metal gauze, sulfuric acid paper (high temperature-resistant frosted white paper), etc. can generally be used to block the light in different ranges and degrees. In addition, reflective methods can also be used, such as turning the lamp against a reflective umbrella, reflecting on a white plane, etc.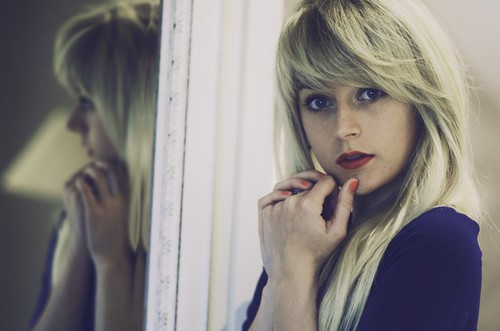
4. Local restrictions.
It refers to the above-mentioned uncontrollable local light. If you want to control the light in a certain part of the beam to cause the subject to be too bright, the light is too hard or the shadow, etc., a small and flexible light blocker should be used to block the light.
Generally, they are self-made light-blocking utensils similar to fly swatters. They come with different lengths, squares and circles, different sizes, and different light transmittances (black, milky white). The camera assistant needs to be hand-held when shooting, and the light is concentrate.
5. Template.
There are many shapes of the template, and the common ones are honeycomb, pane, annular water pattern and various patterns. Its control of light is mainly to obtain a certain pattern or light and shadow effect.
Control of Natural Light
For photography in natural light, the main thing a photographer can do is choose. Photographers can choose appropriate lighting conditions according to their expression of the subject, the performance of the subject and the desired picture effect. Through the discussion of light above, we should know how to choose natural light conditions. However, the control of natural light is very difficult and can only be local or small-scale. In the case where the shooting point cannot be changed to determine the lighting conditions, there are the following methods to control the light:
1. Blocking method.
In photography, the bright spots and color spots that cannot be selected and cannot be avoided in small areas can be controlled by the occlusion method. For example, if the clothes of the characters or the foreground are too bright, use the branches and leaves to create artificial shadows or the foreground. And reduce the area of excessive brightness.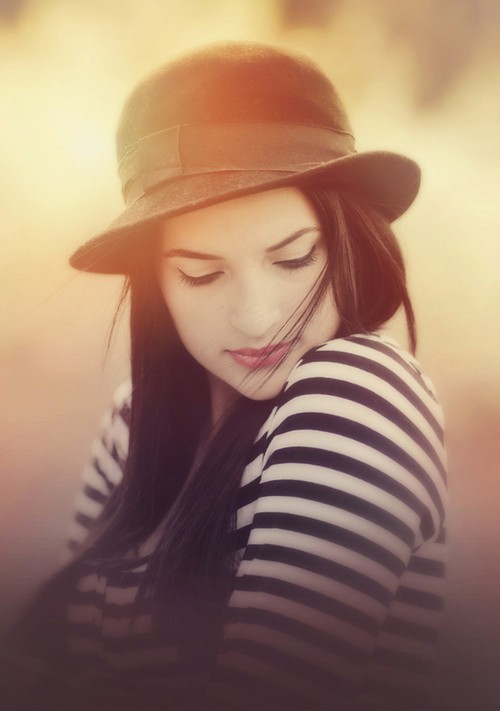
2. Concealment.
For example, the background of the subject has objects, lines or colors that are not in harmony with the subject. If it get blur, we usually use artificial foreground to hide them.
3. Local fill light.
Local fill light is to coordinate the contrast of the scene or to emphasize the color and characteristics of a specific scene. And to fill in the local dark scene nearby to reduce the contrast of the scene. For example, when the backlight or side light makes the contrast of the character’s face too large, you can use the reflector and flash to fill in the dark part.
4. Medium gray mirror.
Use a gradient gray filter to control some of the natural light. Such as controlling the contrast between the sky and the ground scene. There are also neutral gray mirrors with different gray levels for overall control of natural light. For example, when shooting buildings in prosperous urban areas, because there are too many people and cars on the ground, the pictures get cluttered. This will affect the performance of the subject. Use a gray mirror with a higher gray level to control the light intensity and prolong the time for the camera’s photosensitive medium to obtain the corresponding exposure. The moving body on the ground is blurred, the main body is highlighted, and the artistic effect is strengthened. We also use this method in film photography to shoot night scenes with backlight during the day.
The Concise Effects of Various Lights
Key Light – The main light that hits the model, casts the main shadow, and is the most attractive highlight.
Fill Light – A soft light that illuminates the shadows cast by the key light.
Backlighting – Light from behind the model, generally illuminating the outer edges of the model’s silhouette.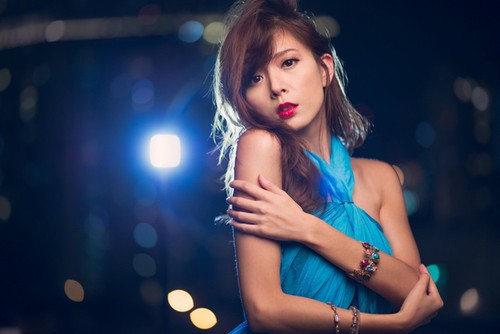
Shaping Light (Accent Light) – Broadly refers to any hard light that reveals the surface structure and morphology of the subject.
Effect Lights (Basic Lights) – Lights that emphasize a particular bright spot.
Bottom light – diffuse light that evenly illuminates the entire scene to prevent partial underexposure.
Backlight – Dedicated light that illuminates the background.
Catch light.
The reflection of the light source by the glasses (a small spot is formed on the eyeball), usually a low-power light.
Hair Lighting – Local light that expresses small parts of hair and accessories.
Apparel Light – Light used to express the style, silhouette and texture of clothing.
Low Light – Light below camera height for special effects or to blend shadows and sculpts.
Contrast Control Light.
A soft light close to the camera. It illuminats the dark side seen from the camera angle to balance the light contrast of the model.
