Table of Contents
What is Key Light
The key light, as the name suggests, is the light source that forms the main tone when we are lighting. It can also be said that it is the light source that determines the main atmosphere. The key light must be the upper light source acting on the subject, so the light source acting on the environment must not be the key light.
Some people say that the key light is a “hard” light source, but this may not be true. As I understand it, the key light determines the tone of the subject. Whether the light on the model (or specifically the face) is flat or three-dimensional, and the tone formed by the angle of the light brings a sense of atmosphere. I think this is what the key light brings.
Generally, when we arrange the light, the first thing is to adjust the angle of the main light. I believe that everyone has seen many lighting methods on the Internet (may be called not exactly the same), such as Rembrandt, Loop, Butterfly, Paramount or side light, etc. .
Other Lighting Methods
Rembrandt Light is from the famous Dutch painter Rembrandt. It is a very popular light in portrait painting, which can well express the facial structure of characters. Typically it will be a top-down ray at a 45-degree angle slightly above the model’s line of sight.
Butterfly light is a lighting method used by early Hollywood film studios to shoot actresses. Directly in front of the character, generally at a 45-degree angle from top to bottom, a shadow like a butterfly is formed on the face of the character.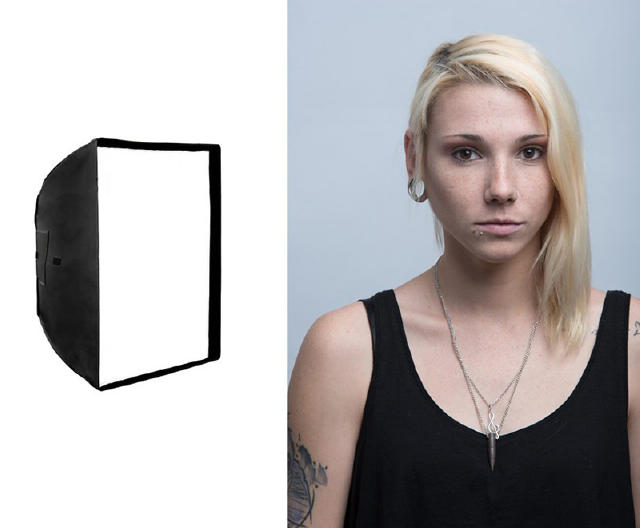
The loop light is placed at a 30-degree angle to the front of the model, creating a soft ring on the side of the nose.
Side light, as the name suggests, is 90-degree light from the side. It is easy to form a contrasting facial light, but it can also bring a deep, mysterious feeling.
As Asians are not as three-dimensional as Westerners, butterfly light and loop light are more suitable. On the contrary, Western models are more suitable for Rembrandt light and side light. Women are not as tough as men, so flat light is more suitable. Conversely, when shooting men, you can raise the height of the lights.
As for whether the main light is on the left or the right, the photographer will generally refer to the direction of the character’s hair line, and then refer to which side of the face is better for lighting.
Butterfly Light
A typical butterfly light, with a white beauty dish and no diffuser. Place it about less than 1 meter in front of the face, with the lower edge parallel to the person’s line of sight. But instead of putting the lamp head down, it is parallel to the front. In this way, the light from the edge of the radome will be more evenly illuminated on the rest of the model’s body, and the face will also stand out.
In fact, many times, we like to point the light directly at the model. Because there are different light shaping accessories, we thought it would produce very different lighting effects. Not absolutely. Many times we can use the light coming out of the edge according to our needs, and the light will become soft and natural at the same time.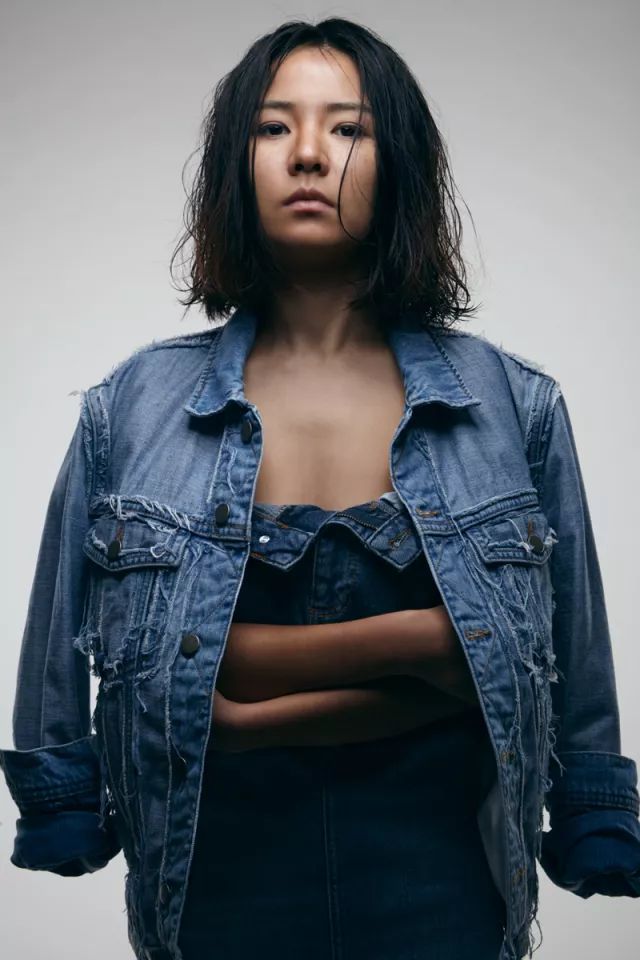
Soft Light
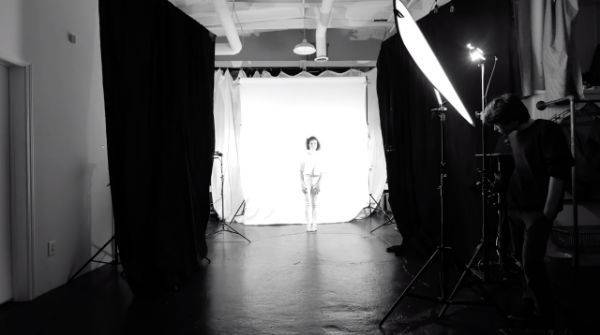
In order to allow the model to easily move in a certain area and at the same time to create a uniform and soft top light area, the photographer used two standard hooded flashes to point at the roof. The light bounces off the white roof, but it’s still uneven. So the photographer added a 3x5m soft cloth (butterfly cloth) in the middle, so as to get a large area of uniform and soft top light. It should be noted here that the height of the diffuser is lower than the height of the lamp.
Although the photographer used a standard hood to limit the direction of the light emitted by the flash, there was still some stray light from the edges. This affects the even, soft light that photographers need. The photographer must ensure that as much light as possible passes through the diffuser.
For example, in this photo, the photographer used a film spotlight, but set the light to diffuse. But if you don’t have a spotlight in the studio, you can use a diffuser instead. Then use a reflector to block out some shadows and use the chalkboard towards the person. Let the picture have some light and shadow changes to help the characters show a more mysterious feeling.
Tone
Here are two small tips that make a difference, one is the shadow edge. Here the photographer wanted a softer edge, so the photographer placed the reflector farther away from the model. If you want a clean edge, push the reflector closer to the model. The other is the color of the back of the reflector, which is the color of the side of the reflector facing the character.
Generally, the reflector has black and white sides. If the side towards the model is white, it will play some fill light effect, and the result will be a lighter shadow. If it is black towards the model, it will absorb light, resulting in a darker shadow.
One might ask is there such a big impact? This will be different from the on-site environment, and the reflector material will also have an impact. You may not be able to see it with the naked eye, but in the camera lens it will change a little bit.
Under normal circumstances, photographers will also use desk lamps and overhead flashers as light sources. Sunlight is also possible. If the occluded object needs lighting, we can use our commonly used five-in-one reflector. Cards can also be used, and even friends who take pictures together can also form different shapes of shadows that will bring different stories.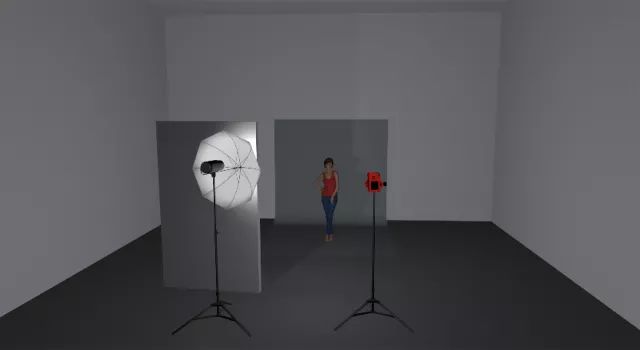
Light Position
The photographer used a large octagonal softbox for this photo. The lamp stand is about 2 meters away from the model, raised to the height of two people, and the lamp head is basically flat. The light is basically evenly sprinkled on the model from the edge of the octagon.
We are bathed in the sun all the year round, so we are used to the top-down light and feel natural and comfortable. At the same time, it is also very good to control the light ratio with a single lamp.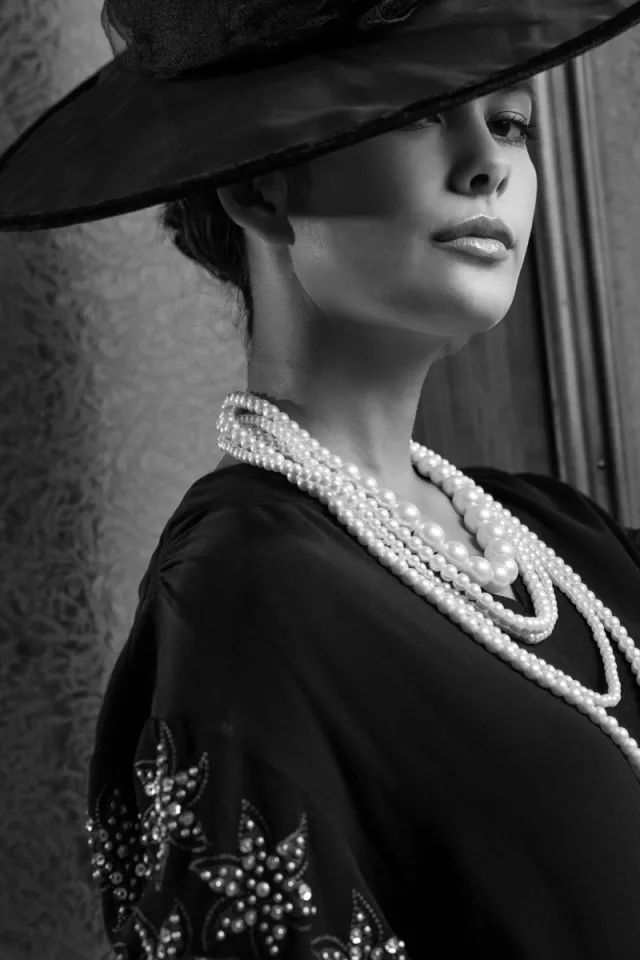
This is a less extreme side light, so it still forms a Rembrandt-like triangular highlight on the shadow side. However, because the light position is not 90 degrees, but slightly forward, it does not perfectly show the structure of the nose and cheekbones like Rembrandt.
The “Soft” and “Hard” of Light
Then some people may ask how to judge the hardness of the light. We generally look at the edges of the shadows. If it’s a clean, sharp line of light and dark, it’s hard light. Generally, it is because the light source is relatively small and the lamp position is relatively far away. Of course, whether there is a soft cloth is also one of the reasons for the influence.
If it’s a blurry dividing line, it’s soft light. It is usually a large area light source, or a reflection method or a diffuser is used.
So which light shaping accessories can cause hard light? Generally, silver radomes, silver reflectors, standard covers, snoots, bare lights, and softboxes without diffusers will produce relatively hard light. Softboxes, translucent umbrellas, and white reflective umbrellas will produce softer light.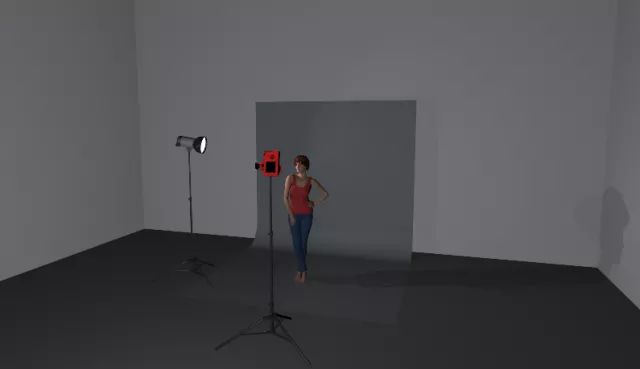
How to Use a Single Light
A light pointing directly at the model is probably the easiest way to start. But we will gradually feel that this is not very natural, and it will be more blunt.
We started experimenting with reflections and edge lighting. In this photo, the photographer first used a reflective umbrella to reflect light onto a large white wall, which would create a huge light source. Then the resulting light is uniform and soft.
Then, instead of placing the flash on the side of the model, the photographer placed it on the front left. The light reflected in this way is not a complete side light, but is projected on the model from the front left, which looks like there is a large floor-to-ceiling window in the front left.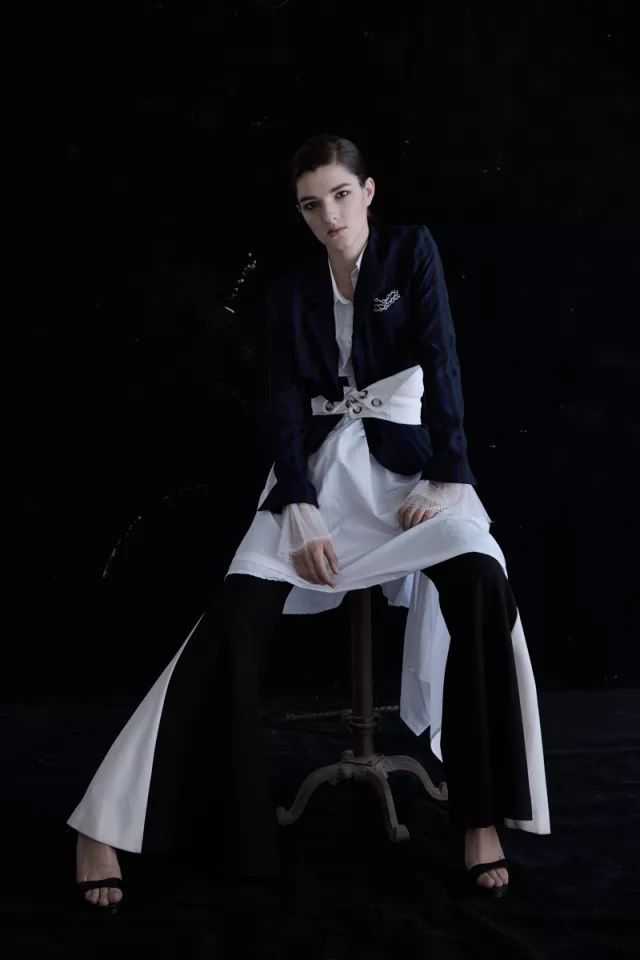
Softbox and Bare Light
The photographer used a 105cm diameter softbox, a bare light and a white background.
Many photographers may have a softbox, and a square one can also be used. If you don’t have one, you can use diffuser lamps at home, there are many options.
Bare lights can be replaced with overhead flashes, or even flashlights.
On a white background, the photographer used a projection screen at home. White cloth can also be used, white walls can also be used, and five-in-one reflectors can also be used. Of course, not pure white is also possible.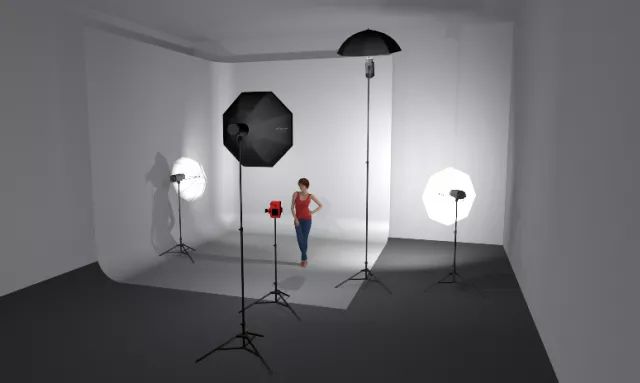
Swing the softbox forward a bit, and the light ratio is automatically adjusted.
Relatively backward, it becomes a small light source, forming a hard light. The right side makes a contour light through the reflection of the white background, and also lights up the background, which can be said to be a dual-purpose light.
