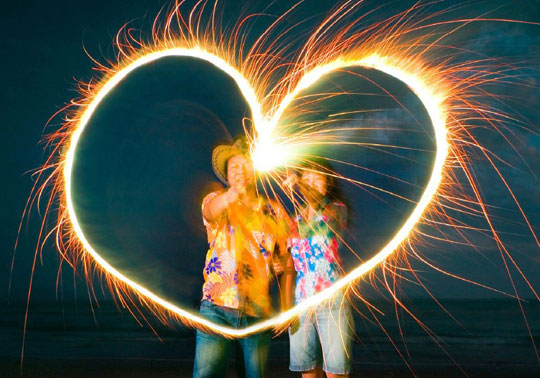
 Slow trajectory
Shooting points: ordinary shooting will emphasize keeping the camera stable. Shaking the camera intentionally from time to time can create artistic photos.
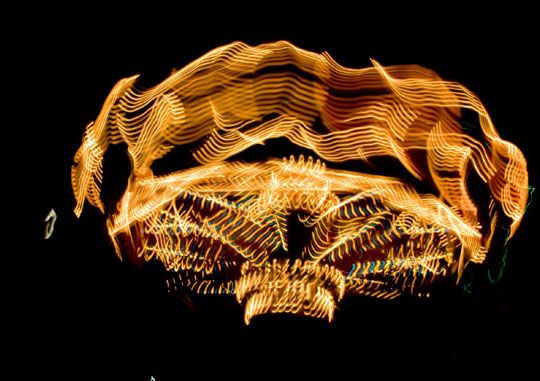
Shooting mode: Shutter priority Shutter speed: 3 seconds ISO: 200 White balance: Auto
Table of Contents
Real Shot Steps
Step 1 Set the shooting mode to shutter priority.
Step 2 Set a longer shutter speed of 1/15 second to 5 seconds.
Step 3 After pressing the shutter, the hand-held camera shakes regularly.
Set Proper Shutter Speed
When setting the shutter speed, be aware that the shutter speed should not be too slow or too fast. The shutter speed is too fast to show the effect of shaking. A too slow shutter speed will increase the difficulty of shaking shots. Before shaking shooting, it is recommended to place the camera on a tripod for stable shooting, and then determine the shutter speed required for shaking shooting according to the effect of stable shooting.
Through trial shooting, we determined the shutter speed to be 3 seconds.
The shutter speed is 1/15 second, too fast to show flowing lines
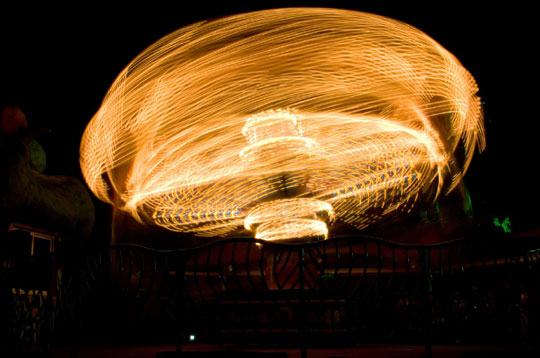
The shutter speed is 5 seconds. When the camera is placed on a tripod to shoot, the lines of the light track can be well expressed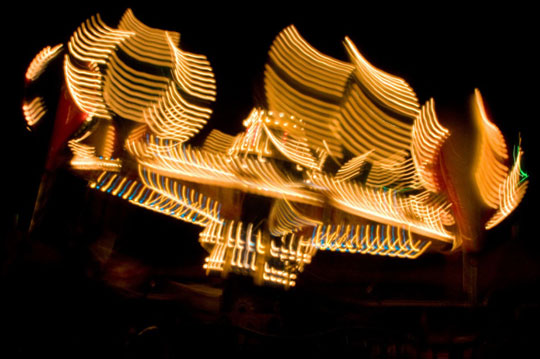
The shutter speed is 0.4 seconds. Although there are lines, the lines are incomplete and the speed is still a bit fast
Pay Attention to the Direction and Law of Camera Shaking
When you shake the camera, you can shake it up and down, left and right, or back and forth. Using different shaking methods will have different effects. However, it is best to consider the movement of the subject itself. For example, in the following group of photos, a small wave-like shaking along the direction of the main body’s rotational movement will have a better effect.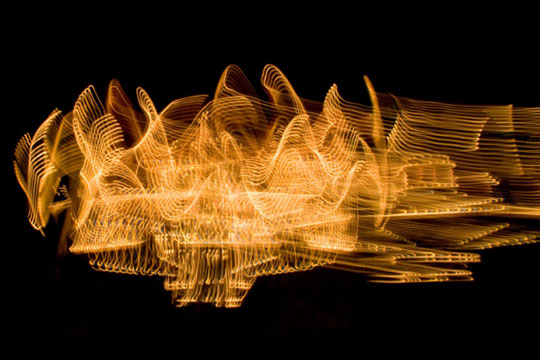
Unsatisfactory effect of large-scale shaking left and right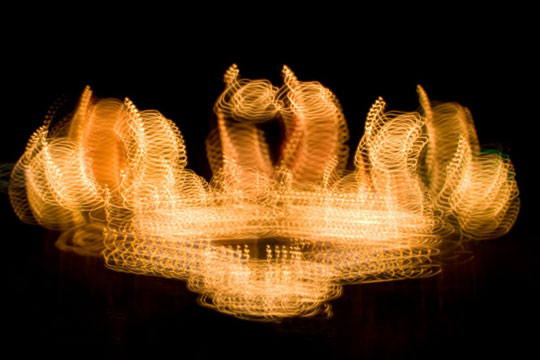
Large shaking up and down will destroy the original rotating line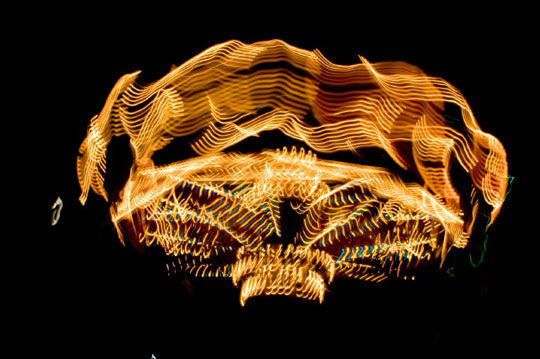
A small wave-like sway in the direction of the main body’s rotational movement will have a better effect
Try More in the Night Scene Theme
Shaking is a special technique for shooting night scenes. Especially when there is no tripod around, shaking the camera actively can often get a unique photo effect. Therefore, when shooting night scenes, in addition to keeping the camera stable in the usual way for long-term exposure shooting, you should also try shaking shots more. In this process, you will gradually master the laws of shaking and take more ideal photos.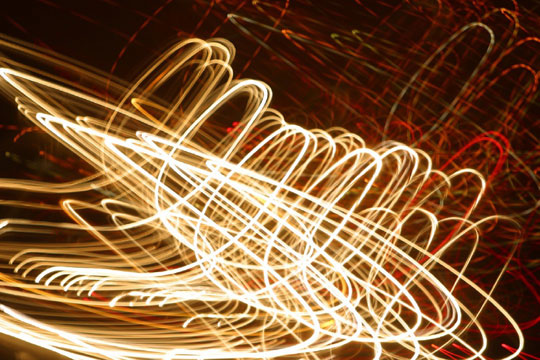
Narrow the viewing area, aim the viewing frame at the light source, and shake the shot to show graceful curved lines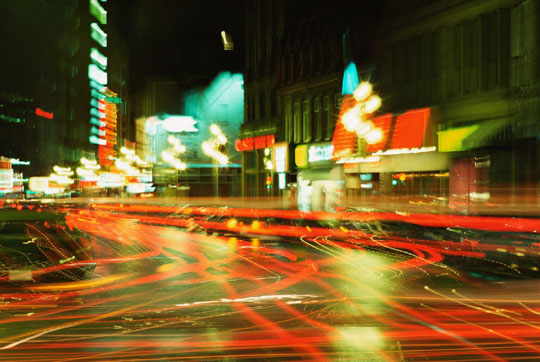
For long-term exposures, first keep the camera stable to make the part of the picture clear. Shake the camera before the shutter closes while capturing the light trails in the night
Choose a Darker Shooting Background
Light painting is a shooting technique that records the movement trajectory of the firework stick with a long time exposure, and then uses the off-camera flash to flash and freeze the subject’s movement.
It is best to choose a dark and simple background for light painting, which can better highlight the effect of the light track, make the picture layered, the main body prominent, and the effect is obvious. It should be noted that during a long time exposure, the surrounding stray light is likely to affect the shooting effect or cause overexposure.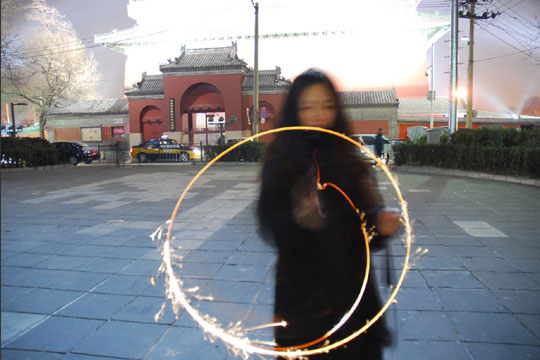
Too bright environment makes the light painting effect not obvious
Try a Variety of Luminous Objects
In this example, a firework stick is used as a light painting “pen”. In fact, as long as it is a luminous object, it can be used as a light painting “pen”. For example, glow sticks, lighters, candles, matches, and glowing mobile phone screens. Try more other luminous objects, you may get unexpected results.
Use External Light Source to Assist Focusing
In a low-light environment, it may not be possible to automatically focus on the subject. At this point, you can first illuminate the main body with a flashlight or lighter. After focusing, switch to manual focus mode to lock the focus.
The Importance of Flashing to the Main Character
Because the exposure time of light painting is long and the subject is in motion, before the light painting is completed, the off-camera flash should be used to flash the subject to freeze the action of the person. Otherwise, the problem of ghosting will occur. Here, we are using an off-camera flash that is not connected to the camera itself. It can directly trigger the flash through the trigger button on the flash, flexibly control the flash time and flash output.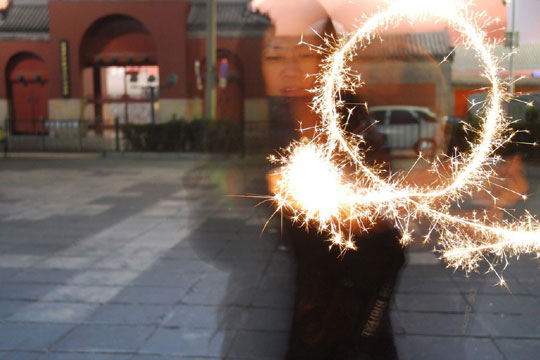
Before the light painting is completed, use the off-camera flash to freeze the action of the character, otherwise it is easy to appear ghost.