Table of Contents
Precautions for Night Shooting (I)
The Subject at Night
For many photographers (including professional photographers), they mainly shoot during the day. After the sun goes down, they will put away their cameras and wait for the start of the next day. But if you only shoot during the day, you will miss many excellent shooting opportunities and the fun of some shooting experiences.
From the hollow pumpkin lanterns in front of the neighbors, to the endless traffic on the streets, and the bright street lights on the wide highways, the night is full of interesting visual possibilities. What is needed to capture the color and light at night is a tripod, a lot of memory card space, and a willingness to experiment (of course, you need a few hours less sleep).
Shooting at night and shooting during the day, the light is too different, but the effect is almost as amazing. For example, if you have never photographed neon lights at close range, you will be surprised at how colorful they are in the photo and feel very excited, and you will also feel how easy it is to photograph them.
When shooting with existing light, night scenes are not the only place to find unusual and challenging shooting locations. Concerts, indoor sports and the interior of buildings (including your own home) will provide you with interesting technical and creative challenges.
Low-light Shooting Techniques at Night
It is easy to find night and low-light subjects, even ordinary subjects that disappear in the background during the day will become very interesting after dark. For example, the local McDonald’s restaurant may not look like the most glamorous subject during the day, but it looks like a lighthouse at night.
If you want to add some movement to the night scene, you can use a longer exposure time. Both the flight and the carnival team can turn into very extraordinary photos. In the summer, almost every city and town has an annual firework show, which provides an excellent opportunity for night shots.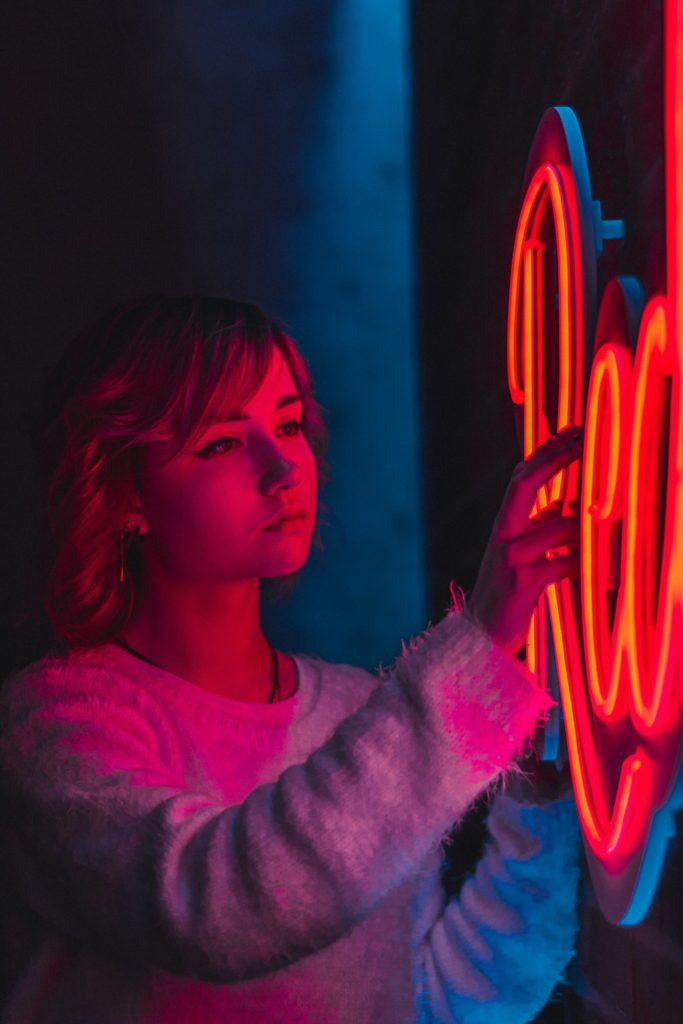
There are many opportunities to practice your night and low-light shooting skills when traveling, and some places (such as Las Vegas) seem to invite photographers who like entertainment to shoot.
Precautions for night shooting (II)
Compared with shooting during the day, night shooting requires a lot of experimentation (at least at the beginning), and the effect is not very predictable. But in fact, there are not too many challenges compared to shooting during the day. Because night shooting usually involves a relatively long exposure time, and unknown or unpredictable color temperature, it is also necessary to keep the camera stable, minimize digital noise, and choose the best white balance.
Here are the main technical considerations you will encounter and some short suggestions to help you get great night photos from the start.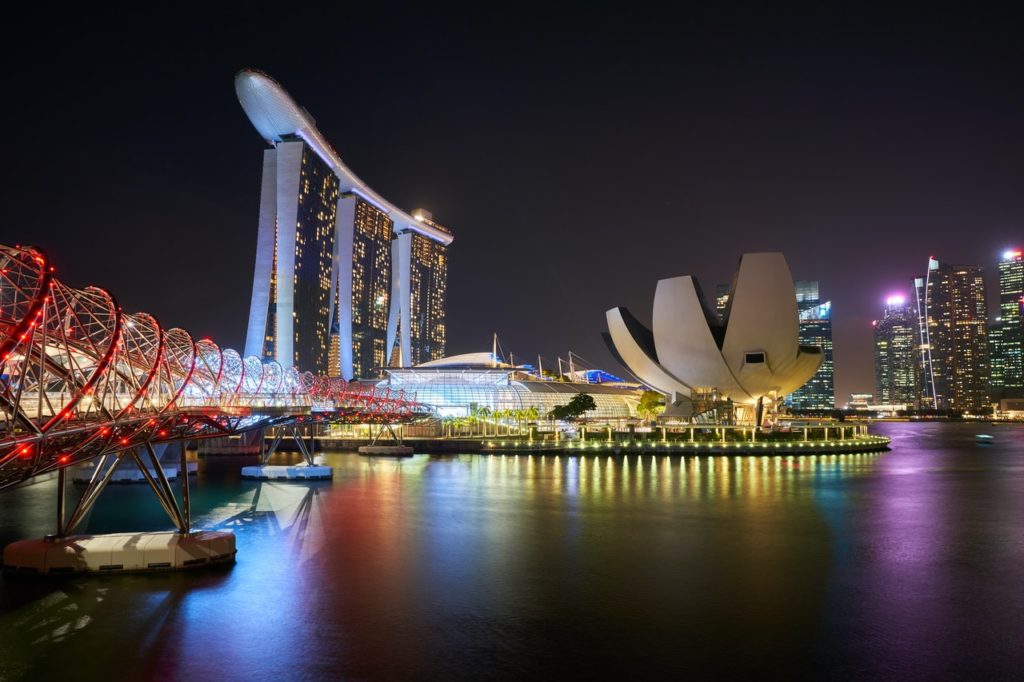
If you are out to shoot night scenes and do not have a tripod, you can also use other methods to stabilize the camera, such as rolling up a thick sweatshirt and placing it on the roof or trash can, using it as a kind of support like a “bean bag”. In fact, you can even make lightweight bean bags that you can use at will, by putting 1 pound or more of dried beans in a zipper bag, which is a great trick when traveling. I even filled a zipper bag with sand from the beach as a temporary camera support.
Longer exposure time and higher iso
Every time I shoot night or low-light scenes, I almost ask myself this question: Should I use a longer exposure time and thus use a lower ISO to get a higher photo quality, or should I increase the ISO so that you can Use a shorter exposure time?
In fact, higher ISO settings and longer exposures will cause increased image noise. I don’t care about noise in night photos, so I don’t want to think too much about this issue (if you find that noise affects the quality of your photos, there are many very good noise removal software that can help you solve this problem).
The main consideration should be the movement of the subject. Since a tripod is used most of the time, camera movement is not a problem. But the movement of the subject is always something to be aware of. If you want to take pictures that are as clear as possible, then using a higher ISO allows you to use a faster shutter speed. On the other hand, exaggerating the dynamic effects of night light (traffic, fireworks, carnival convoys) usually results in good photo effects. For this reason, using a slower ISO and a longer shutter speed is a good combination. For me, the bigger question remains the same: Is the subject moving and how to capture it?
Sometimes there is no tripod during shooting and the ISO must be increased. This can be done at this time. I had to increase the ISO to ISO 1600 to shoot the famous rose window in Notre Dame Cathedral, because I have used the fastest lens in my hand and cannot use a tripod, I have no other choice.
Fast lens and higher ISO
The issues discussed above are equally applicable here, with a faster lens usually obtaining one or two additional levels of light. But unless I really like night photography, I will never take a faster shot for extra speed.
The combination of a higher ISO and a good tripod is very effective, so you don’t have to have multiple faster lenses. One advantage of a faster lens is that it has a brighter viewfinder in a darker environment, which may be a real benefit (EVF in some cameras, the electronic viewfinder has a real advantage because it can improve the viewfinder image Brightness).
The sharpness of the photo is not as good as expected, but in situations like this, I always think that it is better to increase the ISO and get some digital noise than to stop shooting.
Tips for metering night scenes
Notes on color temperature
Modern artificial lighting can provide very complex and unpredictable color temperatures. If you don’t take a few trial shots, there is actually no way to know how a particular light source looks. We can set a custom white balance by placing a white card in the scene and then using the custom white balance feature to set the camera.
Even so, the light at night is usually formed by a mixture of multiple light sources. If you set the white balance to one of them, the light from other light sources may be recorded incorrectly. Many people like complex lighting at night and usually use automatic white balance settings unless they need to get very accurate colors.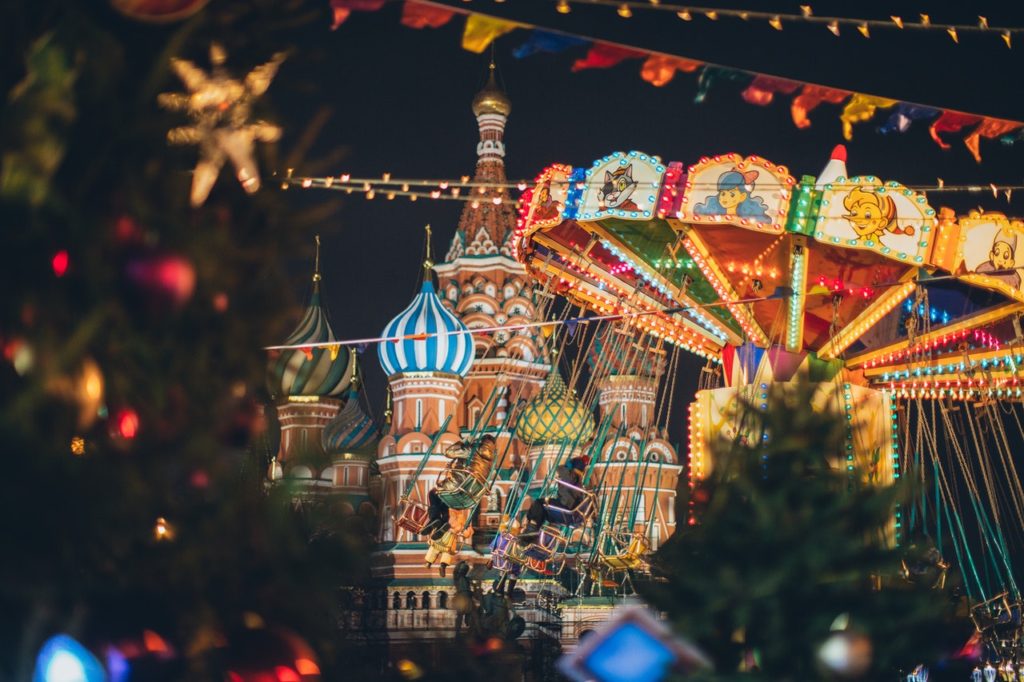
Try to use camera Raw format
If the camera in hand supports the Raw format and has software that can open and edit such photos, then this is useful for night shooting, because you can adjust the color temperature and overall tone (including white balance) of the photo after shooting, or choose other White balance preset value.
I usually take photos in Raw and high-quality JPEG format during the day, but at night I almost always take photos in Raw format for this reason.
Another advantage of the Raw format is that you can adjust the multi-level exposure when shooting night scenes (actually changing the ISO speed). This is very useful because metering at night is the most difficult task of the day. In the AdobePhotoshop Raw interface, you can also adjust the shadow and brightness control items separately, which makes the control of contrast easier, and the night itself has high contrast characteristics.
Use flash boldly
If you are shooting a wide night scene like a city or Las Vegas area, then the flash may be useless. Since most built-in flash devices have a working distance of no more than 15 feet (the people who use pop-up flashes to shoot night baseball games are really pitiful), there is no point in using flashes in larger outdoor night scenes.
But sometimes the subjects we are photographing have poor ambient lighting, and the only available light source is a flash. I really wanted to shoot the sign of a bar in Texas, but I was very tired from shooting for a day, so I didn’t take a tripod, so I used a lazy method, that is, shooting with a flash. If the effect is good, you can use the flash.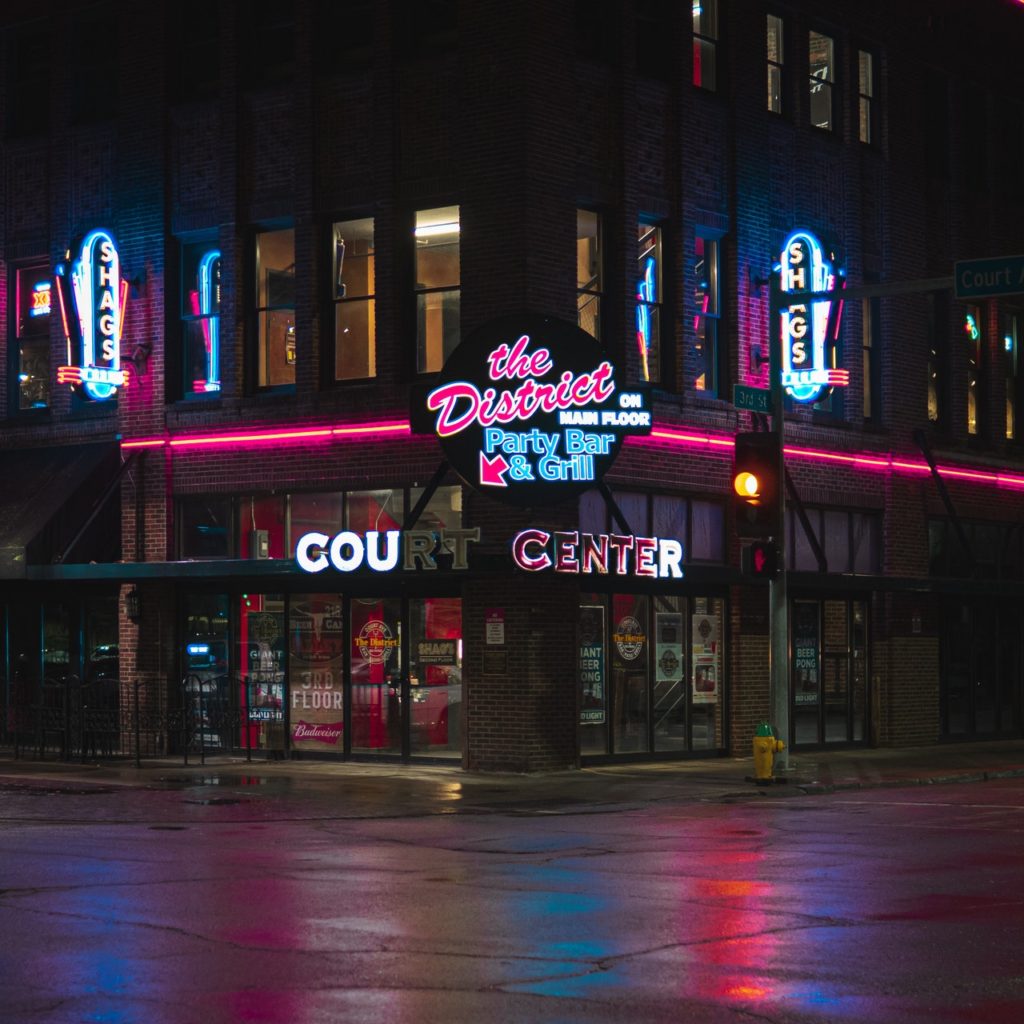
Meter the night scene
Metering outdoor night scenes can be tricky, because there are usually large dark areas and small bright areas in front of you. For example, if you photograph Times Square, you will find that you have to face a lot of car lights, neon lights, illuminated buildings and large dark areas.
I usually do matrix metering first, including medium-brightness light, such as neon signs, but not any direct light, such as car headlights or exposed streetlight bulbs. Then take a few test shots to see if the meter reading is correct. Sometimes it is impossible to judge the effect obtained on the LCD, but in many night scenes, the picture displayed on the LCD is your best guide.
The histogram is very useful to show whether there are excessive highlights in the photo. But in the presence of car headlights and street lights, no matter how good the overall exposure of the photo is, you may get some whitish highlights.
For night traffic and brighter scenes, the biggest exposure hazard is to let too much light into the camera (this is very strange), because this will overexpose the brighter areas without revealing any details. It is in these bright areas that the most interesting colors can be found.
The good thing about metering and exposing these scenes is that you don’t actually have to use metering readings to take a shot with complete accuracy. The exposure we need is to be able to capture a variety of colors well without making the highlight areas whitish. Usually you don’t need to pay attention to the darker areas, you can remove these areas during shooting or later during editing.