Table of Contents
Use the camera’s light meter
After the exposure of other photos, any price of SLR, can you make the correct exposure? Let us think about it. For any scene, this recommended value may be the correct exposure (do you remember it? “Correct exposure” refers to the exposure that can get the imaging results we want), or it may not. In order to be able to control the process of photography, we must consider what we are doing.
All cameras built-in light meters are “reflected light meters”. They can measure the amount of reflected light from the object pointed by the light meter and give recommended exposure parameters.
Most cameras now provide several metering modes to choose from. The more typical ones are: spot metering, center-weighted metering, multi-zone matrix metering or evaluative metering. The names of these metering methods basically indicate how much area in the viewfinder is actually measured by the TTL meter. There are some subtle differences between these metering modes.
“Spot metering”
As the name says, only a small part of the viewfinder frame is metered, and other parts of the lens are ignored. Spot metering is very useful when you only want to meter one area. Many high-end models allow you to select the location of the metering “point” on the viewfinder. Of course, if your camera does not have this function, you can also perform metering first, and then re-compose the view after getting the exposure reading. The framing during metering can of course be different from the actual framing.
“Central-weighted metering”
Focus on metering the central part of the viewfinder screen. For example, in this mode, the central area (the circular area marked in the center of the focusing screen) of the Nikon camera accounts for 60% of the metering, and the remaining 40% is determined by the edge.
“Matrix Evaluation Metering”
The viewfinder is subdivided into many small partitions, and the light metering results are calculated through software. For example, some Canon cameras have 45 divisions, while some Nikon cameras have 1,005 different divisions.
How to choose the metering mode
It needs to be explained immediately that the choice of metering mode has nothing to do with whether you use auto exposure or auto focus under any circumstances. You can use spot metering when using manual exposure and autofocus. You can also use zone metering when using auto focus or manual focus.
You have three completely independent options:
- What kind of metering mode is used,
- Whether to use manual focus or auto focus body and lens,
- Whether to control the exposure manually or use the automatic exposure function.
You can mix and match them according to the subject matter you are shooting.
All TTL light meters give a recommended exposure value by measuring the amount of light reflected from the object being measured. The basis for this exposure value is to make the image of the object under test on the film a medium tone, which is consistent with the medium tone when calibrating the light meter.
In other words, if the light meter has been calibrated to a medium tone, then after exposure with the recommended exposure value given by this meter, the final image on the slide will be medium tone. It doesn’t matter if the object you meter is medium-toned or not. And it has nothing to do with whether you set the aperture and shutter yourself or set it automatically by the camera.
How to evaluate the metering mode
Please check your camera manual to confirm whether the “matrix metering” or “multi-zone metering” mode of your camera is an evaluative metering method.
The matrix metering of some older cameras simply divides the viewing frame into several small areas, compares the metering readings of each area, and discards which abnormal readings.
The evaluative metering uses a program software to calculate the hue or color of the measured object. Then this program software gives the exposure results of the scene without “asking” you.
In addition, all reflected light meters only do one thing: they tell you the exposure value you should use when shooting. When a metering mode is selected and a specific area is metered, the camera’s light meter is designed to only do one thing: make the image of this specific area a medium tone.
If the area of the subject being measured is originally medium-toned, and you also want the image on the negative to be medium-toned, then you have everything ready. Simply meter the light in the mid-tone area and shoot with the recommended exposure parameters. Of course, you can choose the shutter aperture combination you think is appropriate, and you will eventually get a properly exposed photo.
Metering of substitutes
However, if you are shooting something that is not in mid-tone, then there are some intermediate steps that need to be done before shooting. As an alternative, you can first meter some objects that you think are medium-toned. Note that the selected substitute should be under the same lighting conditions as the subject.
If the subject is front-lit, do not choose a side-lit substitute for metering. Similarly, if the subject is in the shade of a tree, do not choose a substitute under the sun for metering. Once you have finished metering the substitute, point the camera at the real subject, recompose the picture, and take the shot using the exposure reading from the substitute metering. Because the amount of light falling on the subject and the substitute is the same, this is an easy way to get the correct exposure.
18% gray card
What if there is no medium-toned object nearby for metering? To prevent this, you can bring a medium-toned alternative with you. Photographic equipment stores sell something called 18% gray card, which can reflect light of medium tones.
When you are shooting, you can measure the light by placing the gray card in front of the lens under the same illumination as the subject. However, it can be easily foreseen that this method will be problematic in some cases. When shooting, any substitute used for metering should have the same lighting conditions as the actual subject.
But what should you do when you are standing in the shadow of the foot of a mountain and want to shoot the scenery in the sun across the valley? It is best that we have a very long arm that can reach across the valley, otherwise the gray card for metering will be in the wrong lighting environment.
Have you considered how to take close-ups of rattlesnakes? Is it really necessary to stretch the hand holding the gray card to the rattlesnake to measure the light? And what about when we want to shoot the sunset? I had to give up using the gray card because there are too many situations where I cannot use it for metering. You might consider buying a gray card as a visual reference, but don’t use it for metering.
The best solution for metering
The best solution is to meter a part of the actual subject, and then adjust the reading of the light meter appropriately. You can meter anything, as long as it is medium-toned, or you see it as medium-toned, sometimes the latter is more important than the former.
For metering, this is a very important concept. Don’t forget at any time, you can make anything appear in any tone on the negative. The choice is always in your hands. The final photo is not just a simple record of the subject. It can be an accurate reproduction of what you see, or it can be a darker or lighter shade of different atmospheres. Your photos do not have to be a reproduction of reality, but to reflect your own visual experience.
Each color slide can tolerate a range of 5 shades of tones, from pure white to pure black. Current digital cameras cannot reach this range. Our eyes can distinguish more levels, about 12 or 13 stops. Therefore, learning to “see” things like a camera is definitely the basis for taking good pictures. No camera can record reality realistically, only human eyes can.
5 grades color method
If your camera can record a 5-stop tonal range (assumed), then the mid-tone is in the middle of this range, halfway from the two extremes.
There are 2.5 stops at each end of the medium tone. Therefore, you can meter any part of the frame when shooting, and increase the exposure to make the tone lighter than the midtones, or reduce the exposure to make the tone darker than the midtones.
Starting from the mid-tone metering reading, you can turn the color tone “light” by opening one block higher, and make the color tone “very light” by opening two blocks higher. Similarly, starting from the mid-tone reading, reducing one stop can make the object hue more “dark”, and reducing the reading by two stops can produce a “very dark” hue. The adjustment of half-stops can produce tones in between.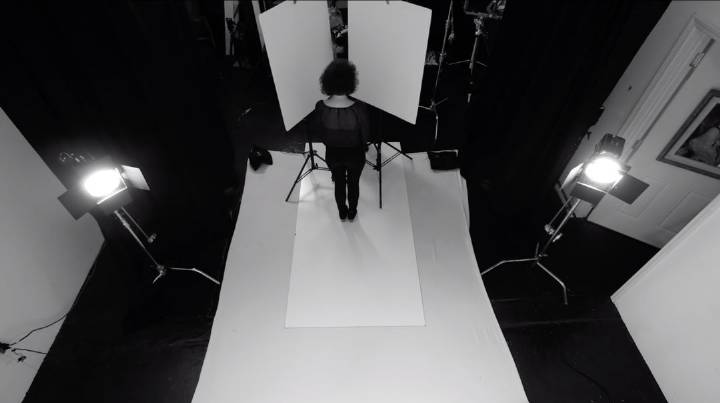
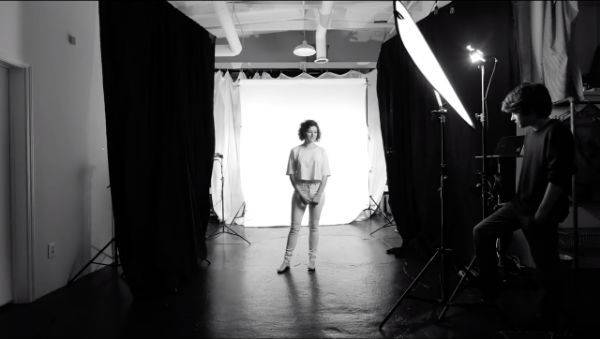
Of course, you can change the shutter speed or aperture size to achieve the actual increase or decrease of the tone scale. Or keep one of the shutter and aperture unchanged according to the environment, and change the other setting, so as to increase the light to lighten the hue of the measured object, or reduce the light to darken the hue.
Need to remember these 5 stops. For ease of use, just add the corresponding color name to the corresponding gear.
+2.5 stop: pure white
+2 stop: extremely shallow
+1.5 stop: very shallow
+1 stop: shallow
+1/2 stop: slightly shallow
0 stop: medium
-0.5 stop: slightly deep
-1 stop: deep
-1.5 stop: very deep
-2 stop: extremely deep
-2.5 stop: pure black
