Table of Contents
Shooting Skills in Snow
Snow, like a beach, can deceive the light meter. The bright white color leads to underexposure, because, don’t forget that the light meter is reading from 18% gray.
The easiest way to compensate is to read from the gray card or the scene you know is the middle tones. Make sure it is in the same light as your subject and that the light meter is not reading from a bright background. If it is an important shot, use bracketing.
If you take many photos of the same scene, and you have determined how much your light meter is underexposed, you can set the exposure compensation dial to automatic compensation.
If your camera does not have such a dial, you can change the ISO value to “cheat” the light meter. For example, if you use an ISO 200 film light meter to read F/16 at 1/250 second, you will get F/11 at 1/250 second from the gray card. You only need to change the ISO value to 100 to compensate. (Remember, halving the ISO value doubles the amount of light required to reach the film.) Don’t forget to switch back to the original setting after shooting.
If it is sunny, it is best to come out in the early morning or dusk. The low-angle sunlight makes the snow show more details and texture than during the day. Avoid shooting when the sun shines directly behind you. The light reflected directly into your lens from the snow will usually give you the effect of a vast expanse of whiteness.
If you are shooting sports, such as skiers or sleigh riders, check the details of the sports chapter to learn how to freeze sports or capture them.
In very cold conditions, try to keep the temperature of the camera battery to work effectively. I usually put the camera in my jacket, take it out when shooting, and then put it back when I move to the next place. Also remember that the skin will stick to extremely cold metal, so tape any contact surfaces in advance.
Don’t forget the condensation phenomenon when you return indoors on a very cold day. Seal the camera in a plastic bag when you are still in a cold environment, and then warm up the camera when you return to a room with heating before opening the plastic bag.
Look for the details that really explain the “coldness”: a bird curled up in its feathers, just a child with eyes exposed from a bright down coat, the breath of two people talking in the air, and the ice on the beard.
Shooting skills in haze weather
The ship hanging in the fog, the haze floating on the lily pond-water vapor can produce a very resonant picture.
Like snow, fog can trick your light meter and flash. Some fog may be a perfect mid-gray tone or its thinness is irrelevant, while others may be almost white.
To ensure correct exposure, take exposure readings from the subject. Or, if you can get close, get it from a gray card. In a dense fog environment, your flash light may be reflected by water particles and cannot reach your subject, just like the situation when car headlights sometimes only illuminate the fog and cannot illuminate the road.
If the fog is too thick, simply wrap your camera in a clean plastic bag. Pay attention to the fog that condenses on the lens.
Don’t be scared away by the dim light when it is foggy outside. Diffuse light is ideal for certain mood types.
Shooting skills in stormy weather conditions
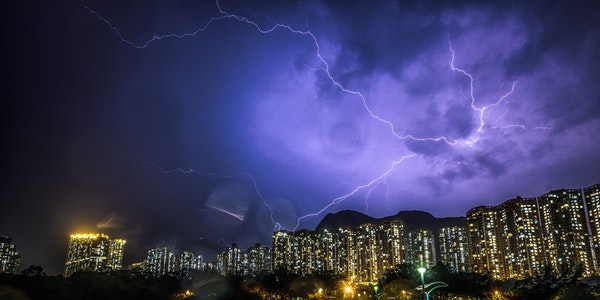
When I saw a dramatic stormy sky, I ran around trying to spot some points of interest in its foreground. The dramatic sky creates feelings that you cannot get from other scenes, as classical painters have shown.
If you are shooting a few sunlight penetrating clouds, be careful not to get the light meter reading from the beam of light, because you want it to be bright. The same applies to the white spray foam that bursts when hitting the reef. Remember, if the sky is too dark, the light meter will be overexposed.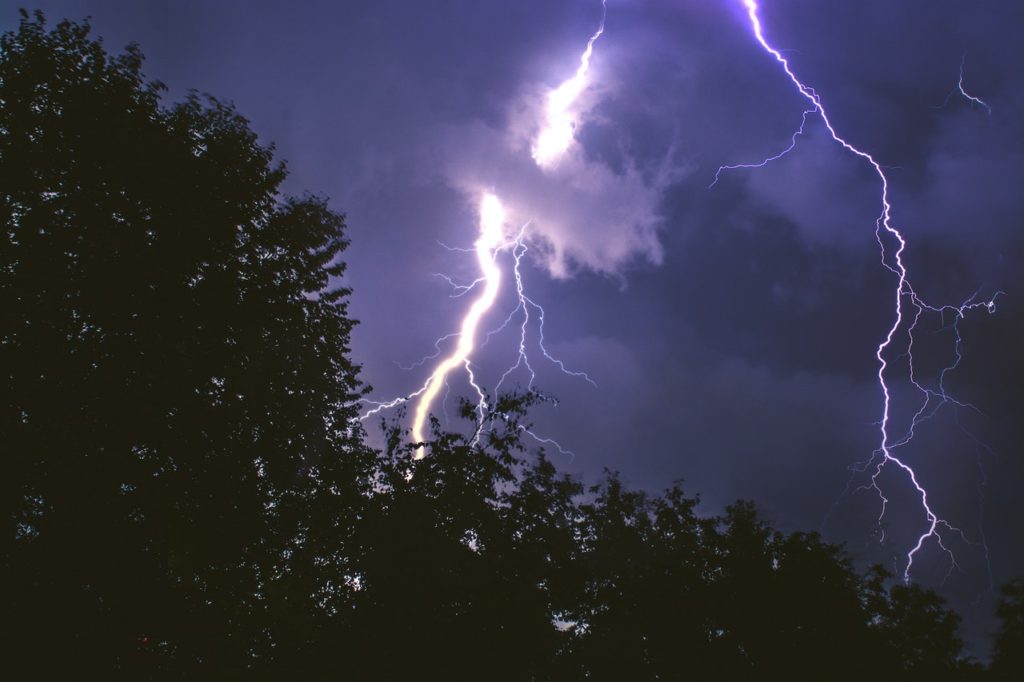
What are the misunderstandings of photography?
The beauty of photography is that it contains many elements. You can think of it as an art, but also as a science. To create with a camera is to a certain extent the same as a painter’s creation with paint brushes, but photographers who attach great importance to equipment must understand the characteristics of cameras and lenses.
However, because photography is so broad and profound and involves so many elements, many people will have a lot of misunderstandings and fallacies about it, and many friends who are beginners in photography are even more misled unknowingly. Therefore, we specially share with you some photography issues that are often misunderstood.
Misunderstanding 1: The higher the lens contrast, the higher the resolution
Some photographers, when shooting with a certain lens, will find that the shot images have a high contrast, which is generally called hard. Once you look at a photo with weak contrast (which is often referred to as a softer time), the lens is considered to have poor resolution. This statement seems a bit arbitrary.
In fact, resolution and contrast are two different things and should not be generalized. Of course there are some related things. What is the resolution? Resolution is actually data obtained through some standard tests. It uses a black and white line chart to shoot with the lens at different apertures. However, the most standard data should be read by a machine, but some magazines or experiments use film imaging for human judgment.
This seems to have some objective factors, such as the processing of the film or the limitations of the human eye, but it is generally acceptable. Because at least the resolution performance of the same lens under different conditions (different apertures or focal lengths) can be found, no need to compare with other lenses. Generally speaking, the more the number of lines can be analyzed in the same range, the more resolving it is, that is, a sharper lens.
What is contrast? Contrast (Contrast) does not represent the resolution, but it is also related. But it cannot be said that high contrast means high resolution. Contrast actually refers to the ability of the lens to express the dark levels. An image must have two contrasts of light and darkness. High contrast means that there is a clear separation between light and darkness, and there may not be too much gradation in the middle. The low contrast means that the light and dark are not obvious enough or not sharp enough, but there are more levels, which may seem to make people feel more rigid.
For color or black and white images, the definition of contrast is the same. Most people misunderstand that high contrast is good. That’s right, high contrast is more vivid and brisk, but there are no rich layers. The high resolution just now loses its meaning and hinders the overall careful performance.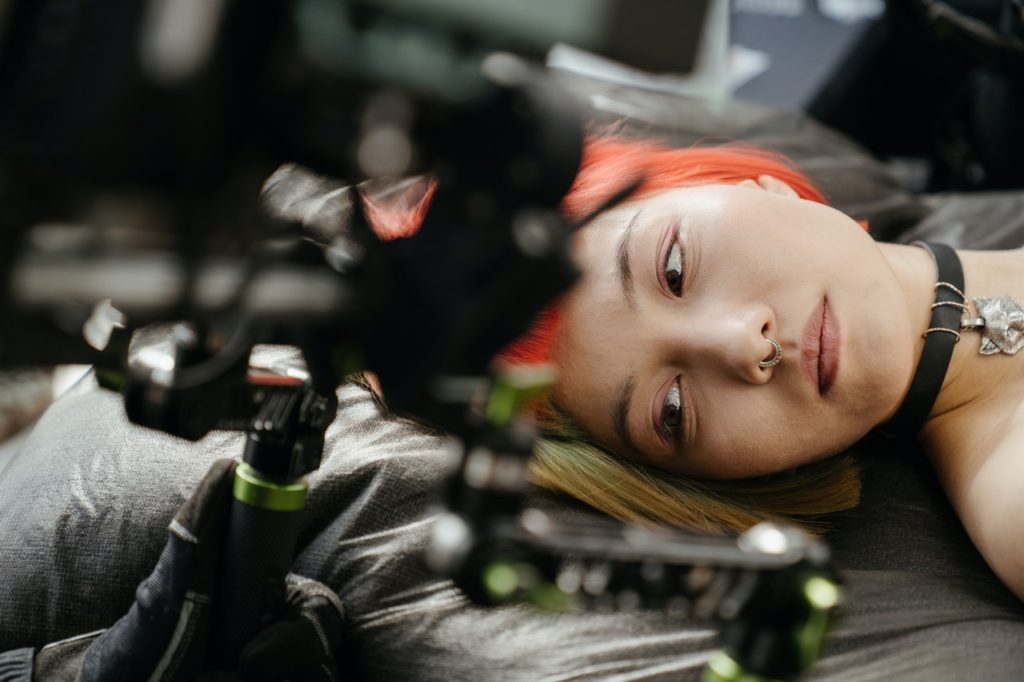
However, contrast is indeed a very subjective thing, and there may not necessarily be a standard. But specifically, a more comprehensive lens will be more popular. What’s more, today’s film also has a good contrast and hierarchy, and there are also different choices. For example, there are films specially designed for portrait shooting, and there are films specially designed for restoring accurate colors. Photographers do not need to pursue too blindly.
Misunderstanding 2: Adding 1B skylight lens is better than UV filter
Whenever you buy a new lens, you will consider buying a filter to protect the lens. Generally, 1B SKYLIGHT and UV are two kinds, the former is more expensive than the latter. Some people say that UV is just a piece of glass, and 1B will be more beautiful when shooting portraits or the colors will be more accurate, so they will choose 1B, but this statement does not seem appropriate.
1B skylight filter is officially a colored color filter. It is one of the standardized color correction filters, which can cut off light waves of 360nm or below (belonging to the bluer light to UV), and at the same time can be mild Absorb light waves of about 550nm (ie green light).
All in all, it is used to reduce the blueish phenomenon and the green reflection of leaves when shooting in the mountains or the sea. It may be useful for shooting portraits on the green grass. However, when shooting in direct sunlight, this 1B filter is completely wasteful, in other words, it is just a piece of glass.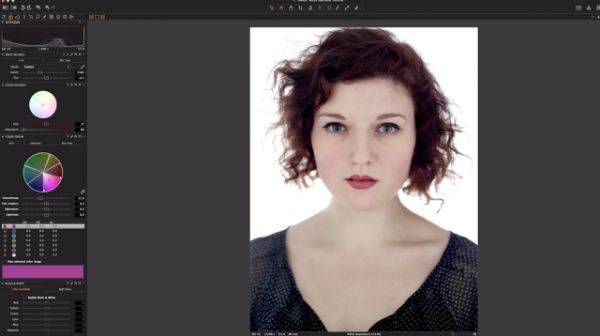
The UV filter is used to cut off the ultraviolet light that is invisible to the naked eye, so it has no effect on the color (generally color film emulsion can not show the color of UV at all). But according to the factory’s suggestion, its biggest role is to improve the blurring of shooting infinity.
But to be honest, the weather is the final deciding factor. If there are many dust particles or high humidity in the air, it is useless to add more UV. In this case, is it best not to add any filters? Yes, it is absolutely good optically, because adding a piece of glass may be self-defeating, but it may not be detectable by the naked eye.
After careful measurement, buying a piece of glass to protect the front lens seems to be more important than the slightest optical loss. But 1B is still UV, so just do whatever you want. But it is enough to spend money to buy a multi-layered UV, which can protect the lens and reduce optical loss, which is more worthwhile.
