Composition is derived from painting and refers to the layout and composition of the picture. Photography also involves composition, which refers to the whole process from framing the shooting to the tailoring of the photo. The composition of character photography mainly expresses the form of the character in the photographic picture, and uses all the styling factors to shape the image of the character to form a perfect picture as much as possible.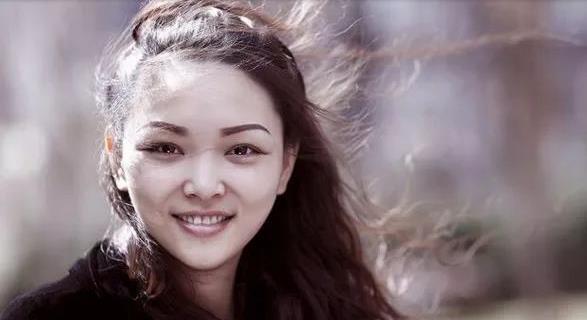
There are many similarities between photography and painting. Both are graphic art, so they must talk about composition. However, the composition of photography is very different from the composition of painting. The composition of painting is based on subjective design, while photography is based on objective selection. You can choose the material arbitrarily in the painting, and compose the picture according to your own ideas. Photography is to select materials on the spot, directly use the viewfinder to choose between, and compose the picture on the spot. Photographic composition is to transform the real life image into a plane image with frame restrictions.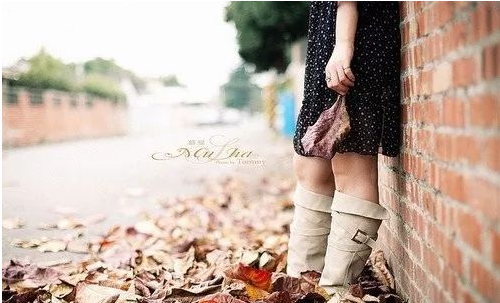
Table of Contents
Choice of direction and height
The choice of direction
“Looking horizontally as a ridge and a peak on the side, the distance is different.” From different angles, the scenery has different shapes. It’s the same when shooting scenery, and it’s the same when shooting people. Characters from different angles will have different looks. To determine the shooting angle, the first is to choose a different direction.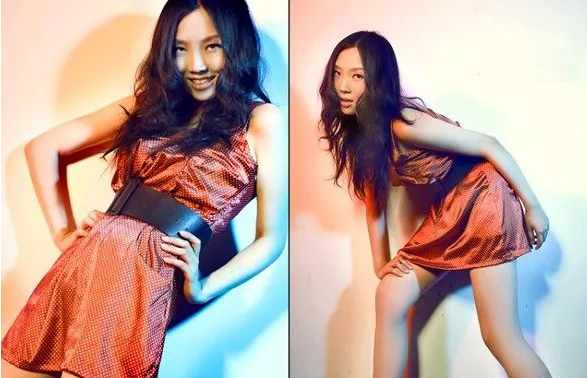
1. Frontal shooting
The camera is facing the subject and photographs the person from the front. The characters have complete features, distinct features, natural expressions, and solemn expressions. A frontal image generally requires that the person’s ears can be seen. If the photographer can only see one ear of the subject, even if most faces can be seen, this is not a frontal image. The frontal image is symmetrical to the facial features, making people feel more real, so photographers often use this as a standard image.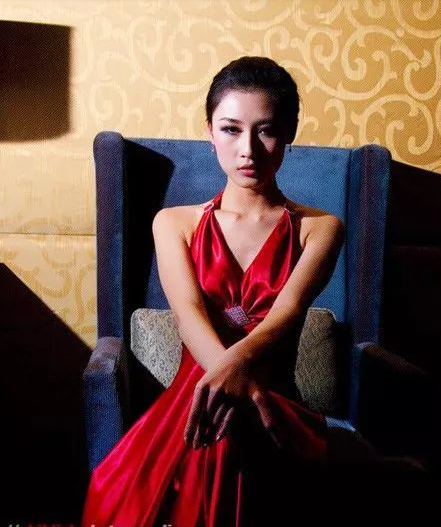
2. Half side
The camera and the subject form an angle of 25°-50°, and the face of the person faces the lens from the oblique side, which breaks the lack of symmetry and stability of the frontal image, making it more lively. The angle of the half side can be adjusted flexibly, and the face can be exposed a little more or less, which is a commonly used angle in portrait photography.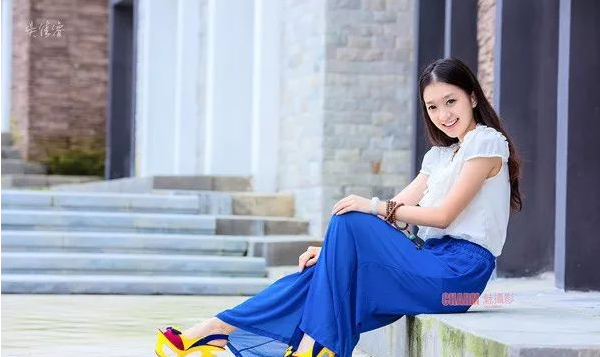
3. Side shot
The camera and the subject are at a 90° angle. When a person is facing the camera, the photographer can only see half of the face, half hidden and half exposed, which is more subtle.
Viewed from the side, the characters’ faces are well-defined, leaving a deep impression.
However, the lack of perspective changes on the side is not as lively as the half, so photographers generally don’t use this angle often.

4. Back shot
The camera is facing the back of the subject, at a 180° angle to the person’s line of sight. Since the photographer cannot see the faces of the characters, nor can they express the expressions of the characters, the photographers can only indirectly express the thoughts and feelings of the characters mainly through the form and movement.
Photographing the characters from the back can leave a rich imagination space for the readers to realize the theme of the work through the relationship between the main character and the environment, or through the plot formed by the front and back characters in the picture.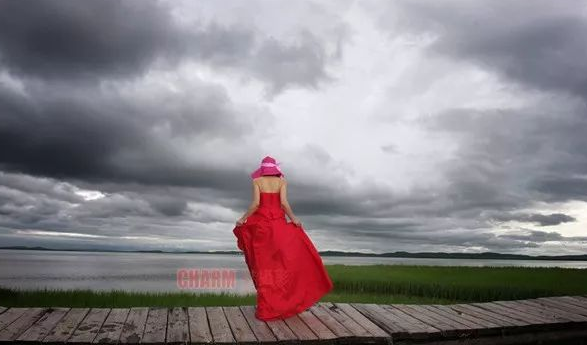
Height choice
Choose the shooting angle, in addition to the choice of aspects, but also the choice of height. Changes in height will also have a great impact on the composition of the photography.
1. Head up
Head-up refers to the height of the camera and the subject’s head, and the optical axis of the lens is parallel to the person’s line of sight. The photos taken by head-ups conform to people’s usual visual habits, and give people a sense of psychological intimacy and equality.
Head-up shooting, the character’s face is not easily deformed, the composition is stable, and it is conducive to the performance of the foreground. However, in scenes with a large number of people, people in the front and rear rows are prone to overlap and obscuration.
2. Top view shooting
Elevating the position of the camera and shooting from top to bottom can form a larger spatial layout, and the front and back figures do not block each other, which is conducive to shooting scenes with a large number of people. Photographing children by the government is like an adult watching a child, and it is more in line with people’s visual habits. However, shooting a person from above can easily cause a certain degree of distortion. If you use a wide-angle lens to shoot at close range, the person will appear big and small.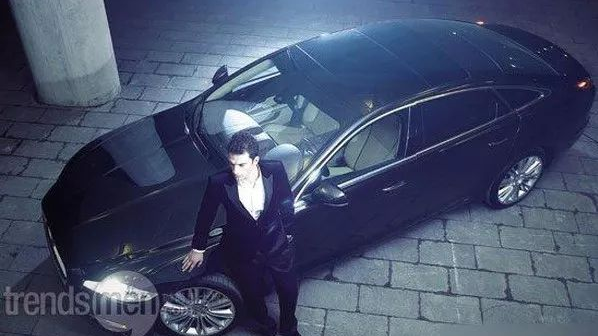
3. Elevation shooting
Lower the position of the camera and shoot from bottom to top, the figures appear tall and majestic. If you use a wide-angle lens to take a close up shot, the figures are big and small, standing tall and straight, which will produce an exaggerated visual impact.
Looking up can lower the horizon and let the sky become the background, which can make the picture more concise. However, looking up at a scene with a large number of people, the people on both sides of the screen look like they are leaning toward the middle, and the people behind will also be blocked by the front row.