Table of Contents
Character Backlight Photography Skills
Backlight shooting is a means of light in photography. Should include two kinds of full backlight and side backlight. Its basic feature is: from the light position, the full backlight is facing the camera, also known as “backlight”.
The side backlight is the light that hits the subject from the rear side of the camera at 135° to the left and right. The light-receiving surface of the subject occupies 1/3, and the backlight surface occupies 2/3. From the light ratio, the subject and the background are in a dark place or 2/3 of the area is in a dark place, so the light ratio between light and dark is large, and the contrast is strong. From the perspective of light effect, backlighting produces contour light for opaque objects, transmission light for transparent or semi-transparent objects, and flicker light for liquids or water surfaces.
In a backlit scene, the hair of the character will be more obvious and beautiful, the edge of the body will also be presented, and the whole character will become more three-dimensional. This is an important reason why many people like to shoot against the light in the field of photography.
Taking portrait photography as an example, the sun (or light) is behind the portrait, and the light distribution of the entire scene, the face and front of the portrait, will appear relatively dark. This is the so-called “backlight shooting.”
Most cameras use the entire viewfinder screen as the basis for metering by default. Due to the backlight environment, the back light of the portrait is relatively strong. After the average calculation, the camera will think that the front of the portrait is normal. This is the reason why the “big black face” will be photographed in the backlight environment. 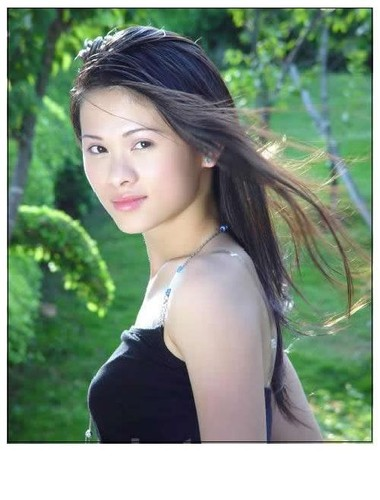
Solution
- We can use the concept of “exposure compensation” to deal with “backlit photography”, that is, increase the exposure to make the face brighter, but this method will increase the brightness of the entire photo, so not only the face If it becomes brighter, the background will also become brighter, resulting in the loss of background details.
- A better way is to use a reflector to reflect light on the face of the person. For example, in the picture below, since light enters from the back of the model, we use a reflector in front of the model to reflect the light on the face of the person. Then you can easily reach the light of the face, which is a normal exposure situation.
Choice of reflector
In the bright sun, you can use a white reflector to make the light soft, and in a cloudy day, you can use a silver or golden reflector to reflect more light.
In fact, you can also make your own reflector, using styrofoam board, silver paper, and cut into your own reflector.
Backlight photography is a commonly used technique. Appropriate application of reflectors or other light-filling equipment will make the shooting results have unexpected effects!
Basic Light Quality in Portrait Photography
Detailed Explanation of Basic Light Quality
Different types of light play different roles in photography. From the characteristics of light, there are three types of light: direct light, scattered light and reflected light. The direct light and scattered light in natural light correspond to the hard light and soft light in studio photography, respectively. Next, we will introduce the characteristics and functions of direct light, scattered light and reflected light.
1. Direct light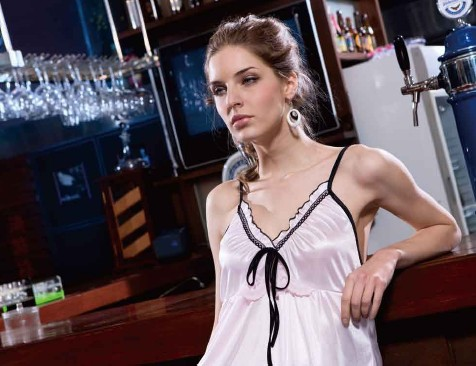
In sunny weather, sunlight directly hits the subject without any occlusion, the light-receiving side of the subject will produce a bright shade, and the side that is not directly light-receiving will form obvious shadows. This kind of light is called It is direct light.
Under direct light, there will be a very obvious brightness contrast between the light-receiving surface and the non-glossy surface, so it is easy to produce a three-dimensional effect. Under normal circumstances, when shooting under natural direct light or hard light conditions in a studio, photographers often use reflectors to fill in the shadow of the subject to a certain extent, so that the picture effect will look more natural .
For beginners, if you don’t have a reflector and other photography accessories, you can use a whiteboard, white paper, or white clothes with strong reflections to reflect a certain amount of light.
2. Scattered light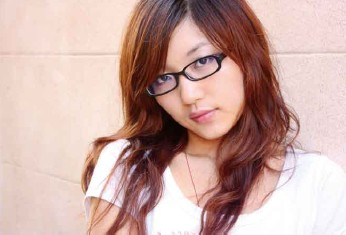
When sunlight is blocked by clouds or other objects and cannot directly illuminate the subject, but can only illuminate the subject through an intermediate medium, the light will have a scattering effect. This type of light is called scattered light.
Because the light-receiving surface and shadow surface formed by scattered light are not obvious, and the contrast between light and dark is weak, the resulting picture effect is relatively flat and soft. For digital SLR cameras, when shooting objects in a scattered light environment, beginners can get very ideal results as long as they use the camera’s evaluative metering.
3. Reflected light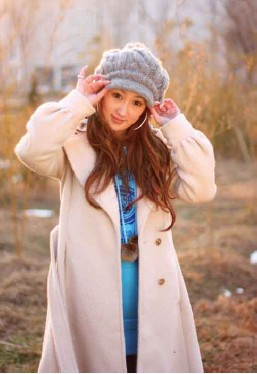
Reflected light refers to the light emitted by the light source, which does not directly illuminate the subject, but first illuminates the object with a certain reflective ability, and then illuminates the subject by the reflected light of the reflector.
The lighting properties of the reflected light are affected by the surface texture of the reflector. The light reflected by a smooth mirror-reflective object has the property of direct light, while the light reflected by a rough reflective object has the property of scattered light. In ordinary photography, the most commonly used reflective tools are reflectors and umbrellas. Especially in studio photography, photographers often use reflected light to make certain creations.
The Direction and Use of Photographic Light
In the process of shooting, the illuminating direction of the light is different, and the picture effect produced by it is also different. According to the different shooting directions, light can be roughly divided into: forward light, oblique side light, side light, back light, side back light and top light.
1. Forward light
Forward light is the most common lighting condition, and the lighting direction of the forward light is consistent with the shooting direction of the camera. Therefore, in actual shooting, the utilization rate of forward light is relatively high. Due to the direct projection of light, the light is evenly illuminated and the shadow surface is less, and the unevenness of the surface of the subject can be concealed, making the image of the subject more clear. However, forward light is difficult to express the sensitive level and line structure of the subject, which easily leads to a flat picture.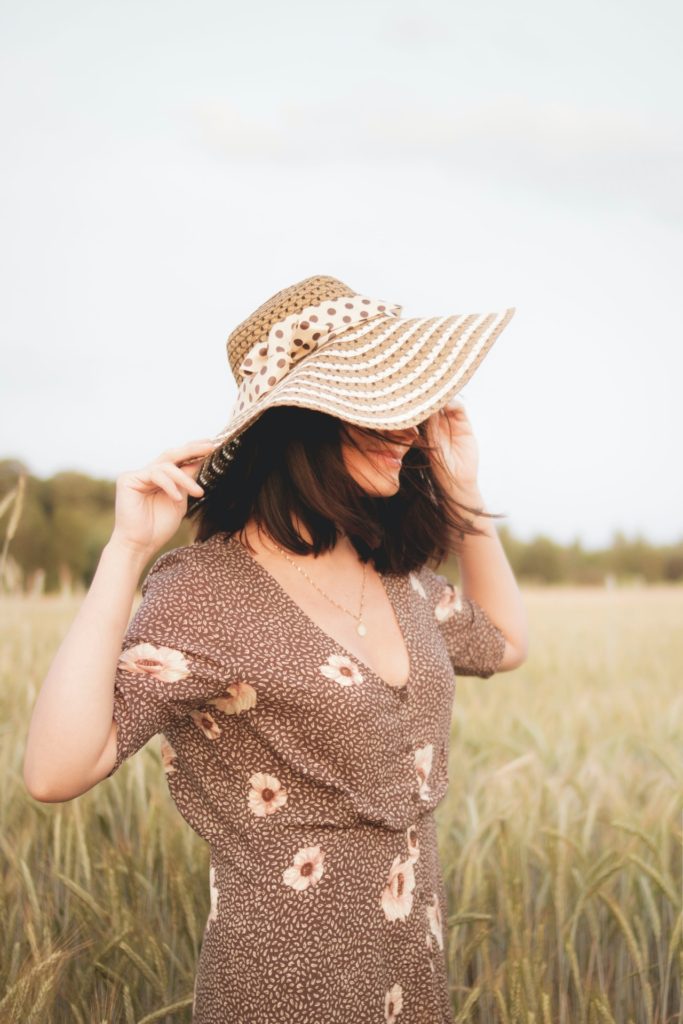
2. Oblique side light
Oblique side light means that there is an angle difference of about 45° between the photographer’s shooting angle and the irradiating direction of the light. Oblique side light has been widely used in landscape photography and architectural photography. When shooting with oblique side light, the shadow of the object will appear in the photo, which is helpful to increase the three-dimensional effect of the picture. But on the whole, the subject and most of the scenes in the picture are still within the range of normal light exposure, and the picture still maintains a bright tone. In this way, the control of exposure is relatively simple.
3. Side light
Sidelight means that the angle of light irradiation and the shooting direction of the photographer are basically at an angle of 90°. Sidelights are mainly used in photography creation where a strong contrast between light and dark or the contour of an object needs to be displayed in shooting scenes.
When using side light to shoot human subjects, it often produces the effect of yin and yang face. At this time, you can consider using reflective objects such as reflectors to fill up the dark areas of the face to reduce the contrast of light and dark on the face. When expressing individual characters or expressing the masculinity of men, photographers often use side light.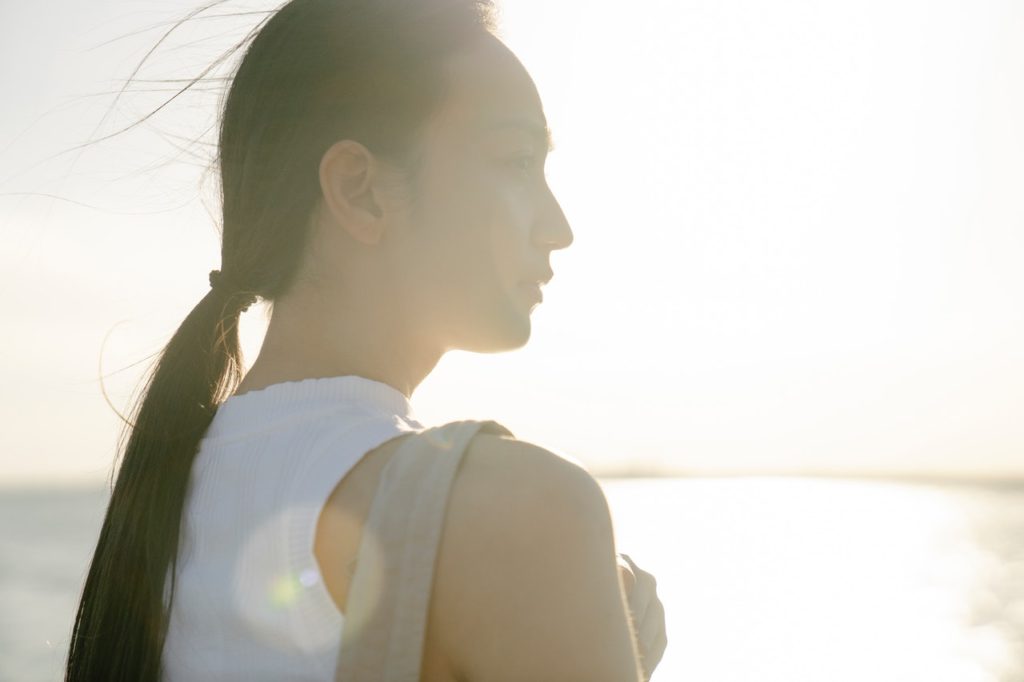
4. Backlight
Under backlight conditions, the photographer’s shooting direction is completely opposite to the light irradiating direction. The effect of photos taken under backlight conditions is completely opposite to that under forward light conditions. When backlit, there will be a great contrast between the subject and the background.
Since the light source is behind the subject, the light source will draw a bright outline on the edge of the subject. Some subjects, such as petals, leaves, etc., will be penetrated by light when backlit, making them more beautiful. However, photographers should pay attention to that, when shooting against the light, it is best to use a hood to avoid glare.
At the same time, if the subject is not filled with light, the effect of silhouette is likely to appear. At this time, the photographer needs to use the camera’s spot metering method to meter the subject, which is often easy to get a dark background. Of course, for beginners, if you are not sure how to expose in this environment, you can use the bracketing function of the digital SLR camera to get a more accurate exposure.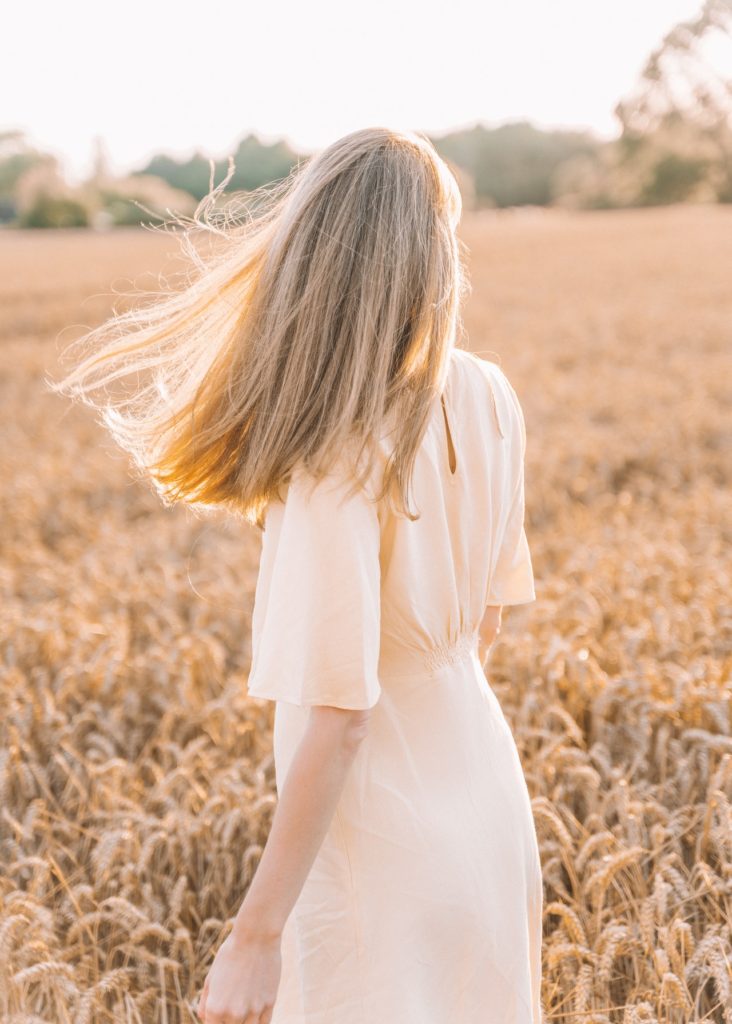
5. Side backlight
There is a 45° deviation between the side backlight and the light direction of the backlight. Compared with the backlight, the side backlight can bring a more obvious three-dimensional object and a more easily controlled shooting angle and method. Since the side backlight does not need to look directly at the light source, the photographer can more easily avoid the appearance of glare. At the same time, exposure control under side backlighting is easier than backlighting.
6. Top light
Top light refers to the light that forms a 90° angle with the camera from the top of the head. For photographers, it is very difficult for the top light to show the perfect light and shadow effect in the photo. When shooting landscape themes, the top light is more suitable to express the relatively flat surface of the scene. If the top light is used properly, it can also bring saturated colors, uniform light and shadow distribution and rich picture details to the picture. At the same time, for beginners, the metering of top-light scenes is relatively easy to master.
