When it comes to shooting portraits, there seem to be a variety of styles, but the truth is true. No matter what kind of occupation they are in, everyone wants to have a portrait photo of themselves, and also hope that this photo can show their style well.
Generally this kind of portrait shots are mainly head shots, and many portrait photographers will “disdain” this because they think this kind of portraits are too monotonous and lack creativity, but this is not the case! Today, I specially summarized a few small points for everyone, and teach you how to elegantly shoot portrait head close-ups!
- The model poses appropriately
When shooting close-ups of the head, the pose is particularly limited. Why do I still say that I have to pose as a model? This is because all parts of the body are coordinated and connected, and the overall continuity can have a huge impact on the head and shoulders. You can also use the method of shooting a photo to relax the model, try to guide it, and then appropriately grab the scene from the head to the half-waist position to capture the natural expression. To say something more, head close-ups are not strictly necessary to only shoot the head, and it is also ok to appropriately widen the viewfinder to the waist.
In terms of facial expressions, smiles and natural expressions are very suitable, so try both. Even if the models say which specific expressions they want, you actually guide them actively, and you may be able to capture more natural expressions without spending a minute. In this way, at the end of the final shooting, it can also give the model more room for choice.
- Appropriate lighting
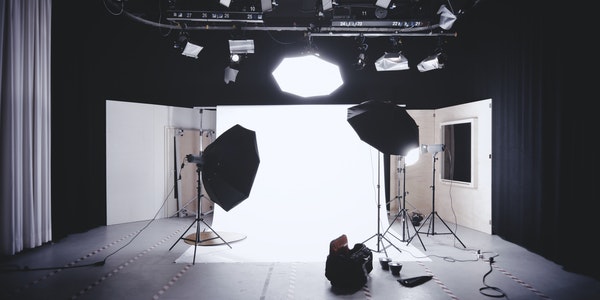
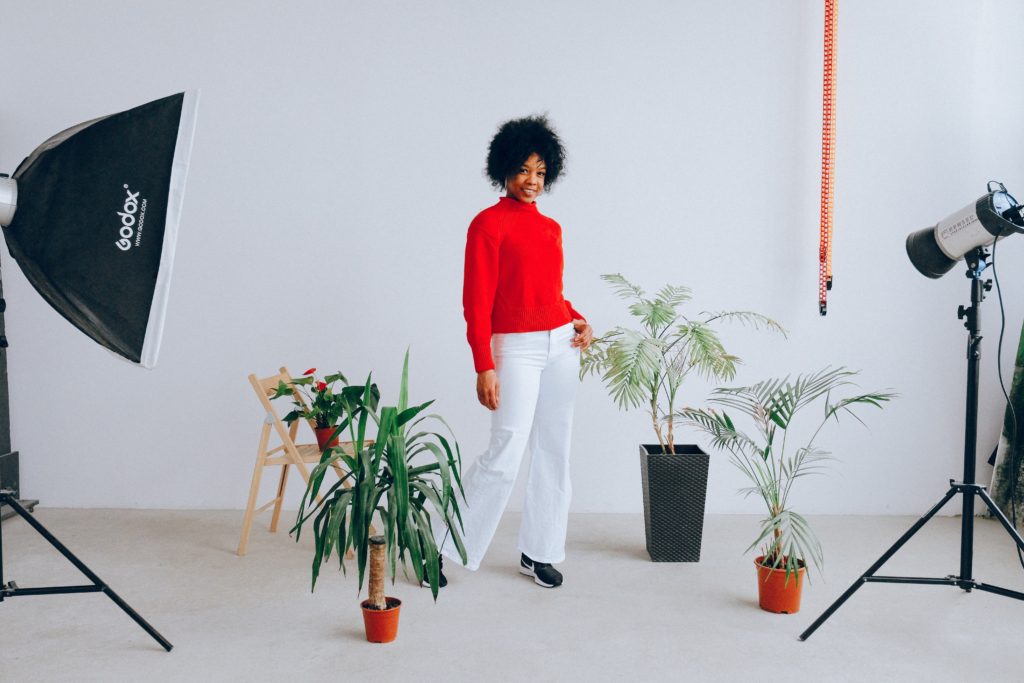
The most common way to shoot in the studio is to use 1-2 main lights and a soft box to provide the main light source. The function of the soft box is particularly critical. It allows you to get a more uniform diffused light when taking pictures, and it is best to cooperate Use reflectors together to reduce shadows.
The lighting can also be as simple as possible. In the case of only one light source, the soft box can be placed slightly higher than the model’s head and tilted down 45°. This method is quite effective because it can not only Provide uniform light for shooting and show the shadows under the nose. At this time, if you add a reflector under the chin to soften the shadows, it will be perfect!
If you still want to get a more three-dimensional portrait, you might as well try Rembrandt’s lighting method, which is also relatively simple, but the effect will be different. It relies on strong side lighting to make one side of the model’s face present a triangular shadow, which can make the model’s face split into two but looks different. The specific operation is to place the softbox on the model’s side. It is about 45° above the head. Of course, it would be better to have reflectors to soften the shadows.
- Pay attention to camera settings
For portrait shooting in the studio, camera settings are also very important. Since many conditions in the studio are not as good as outdoors, it is necessary to shoot in M gear (manual mode), and control all conditions in your own hands! The automatic or semi-automatic mode of the camera will often provide incorrect exposure. Don’t underestimate the factor of exposure. It is often that these details are not paid attention to, and the rejection rate is high!
Under normal circumstances, shooting in the studio, at ISO 100, the best picture quality can be obtained, and the shutter speed should be set to synchronize with the flash (or as close as possible), which is about 1/200 second. In this case Keep the aperture at F8 to get a clear image. If there is a shooting need, the aperture can be adjusted to a value around F11, and there is no problem. Finally, don’t forget to focus. Set the focus mode to single-point focus and manually select the focus before shooting.
- Metering and setting the lamp frequency
Metering must be done before shooting, because you cannot accurately determine the parameters of the lamp frequency, and different studios and flashes have different power, so it is impossible to accurately set the power setting of the lamp by feeling. The most stable way is to set the camera’s exposure parameters after metering, and then make fine adjustments.
After setting these up at the beginning, the subsequent shooting will be more effective! If the photo taken is too bright, just reduce the output power; on the contrary, if it is too dark, increase the output power. If the output power is already at the lowest level and the image is still overexposed, you can choose to adjust the lens aperture to F11 or move the light source to a slightly farther place, depending on the situation!
- How to get a shallow depth of field effect
When you use a studio light source to shoot, it is quite difficult to achieve the model’s main body with sufficient and uniform light, and at the same time to obtain the effect of shallow depth of field with a large aperture. Generally speaking, it is impossible. To get the effect of shallow depth of field, there is a simple and rude way, which is to set up your lighting equipment and set everything as you expect. At this time, the aperture should be set to F8. Perhaps you can also use a filter to assist in shooting, and then increase the aperture to obtain depth of field.
In this process, one thing to note is that the camera’s autofocus may not work well when the light changes, so it is recommended to switch to manual mode. During this period, remember to be patient during the focusing and focusing process.
- Recognize the white background
You may think that most people use white backgrounds for portraits, which is too similar. Maybe you want to change to a gray, but there is no existing gray background in the studio. What should you do? At this time, the white background can help you. In the lens, it changes to gray or even black. It all depends on the distance between the portrait and the background, as well as the angle of light.
If you want to get a medium gray background, you only need to keep the model and the background at a distance of 1-1.5 meters, because the drop of light will underexpose the background, and the original bright white background will magically turn gray! By the way, if you don’t have a white background, it is perfectly fine to find an ordinary white wall!
Head close-ups may not sound like the most exciting portraits, but their shooting can also be given creativity. From postures to lighting, props and even background selection, once you pay attention to it, think and explore, you will find that it can also be very interesting!
