By analyzing the light consumption of different weather, we understand the softness and hardness of light. For the analysis of the horizontal angle and vertical height of the sun, we have gained the concept of light position. The interpretation of light ratio and tone sums up the shape of the picture with light. And how much do you know about outdoor lighting?
I think at least I understand what lighting is like in terms of behavior. Photography is largely an art discipline. Like many art disciplines, there is no lack of rational and abstract conceptual definitions. The early and mid-term studies of photography can be proved and logical. I think this is an advantage. Logical and proof-based learning is at least much easier than nuclear physics.
When running out of light outdoors, we discussed that cloudy weather is a good time for portrait photography. Under a certain angle of light position, the ratio of sunlight and sky light (scattered light from clouds) is not too big, and it won’t be as absent as it is on a cloudy day. In this way, considerable picture details can be obtained, and sufficient three-dimensional levels can be retained.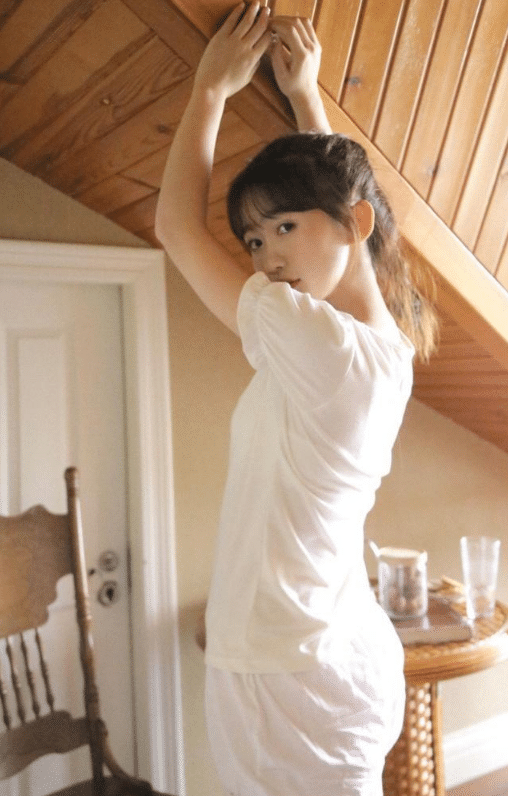
As far as the photographer’s efficiency is concerned, the manpower and material resources of supplementary light are also saved to a large extent. I have said that choosing outdoor lighting is also lighting. In the above example, the skylight and ambient reflected light are similar to reflectors in sunny weather. There is an abstract concept of light from different sources with the same effect-auxiliary light.
In modeling lighting, light is divided into the main light, auxiliary light, background light, contour light, and decorative light according to the status abstract.
The main light is the light source that plays the main role in lighting. It is used to display the basic form of the subject, express the three-dimensional space of the picture and the surface structure of the object. Its main function is to express the direction and nature of the light source, produce obvious shadows and contrasts, and shape the image of characters and scenery. In some literatures, it is called shaping light. Generally speaking, it needs to form a certain contrast between light and dark to highlight the three-dimensional sense and texture, and make the surface of the subject produce light spots and flashes through hard light. But not absolute, soft light can also be used as the main light, it can produce rich midtones, but it is lacking in dramatic modeling.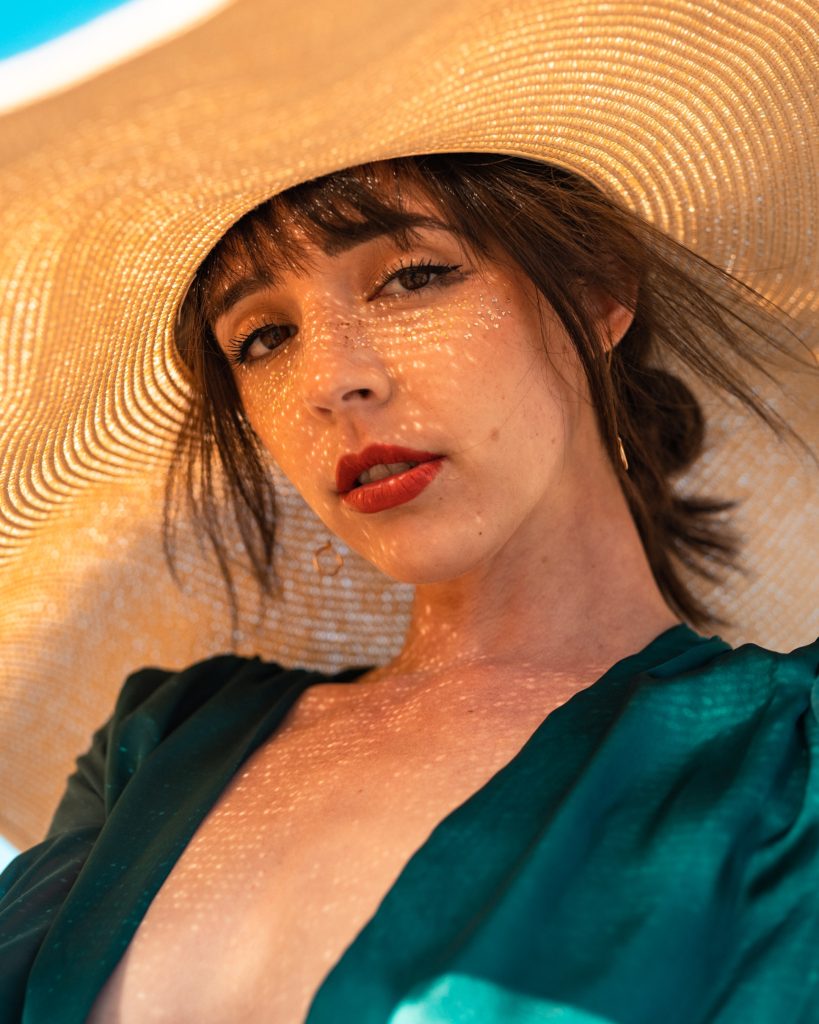
In most cases, the main light is the brightest light source in the overall lighting scheme, but it is not absolute. For example, when shooting against the light, if you don’t shape the silhouette picture, you need to fill in the light from the front. At this time, the fill light plays a major role in shaping the subject. Fill light can achieve the on-camera tone distribution through different angles. In this type of situation, the brightest light plays the role of contour light, and the position of supplementary light is the main light.
The main light can be collected from nature (the sun, environmental reflections), or it can be artificially created. This is not the focus of the discussion. The problem is how to choose the soft and hard, horizontal angle and vertical height of the main light. The most common and familiar lighting effect people face is outdoor sunlight. In terms of aesthetic experience, the sun is above the side and has obvious directionality (this point has been discussed in detail when analyzing the noon top light). The aesthetic requirements of TV photography are generally not too high. Photographers usually set the main light in front of the upper side of the subject, that is, the position of the camera’s optical axis 30°~45°, to achieve a picture that conforms to the public’s aesthetic taste.
Of course, it is not fixed. According to what we pointed out in the vertical and horizontal angle analysis, changing the conventional main lighting method can obtain a variety of picture shapes. The rule is as follows: the higher the main light, the brighter the upper and lower darker; the greater the angle between the main light and the lens optical axis, the less the bright area, and the stronger the three-dimensional sense of space; the environment has a strong sense of space when backlit, and the subject is trapped in a simple dark area, forming an extreme With a dramatic effect.
The lighting (i.e. lighting) of the screen follows strict steps (except for empiricists). After determining the shape of the main light, it is necessary to evaluate the performance of the bright and dark areas in the screen from the perspective of photography. I have mentioned several times that the dynamic range of the human eye and the camera is very different. The upcoming photographic effect can be observed in the LCD viewfinder of the camera, and the displayed contrast is far greater than the visual recognition of the human eye, and the details of the dark area that the human eye can distinguish will most likely be lost.
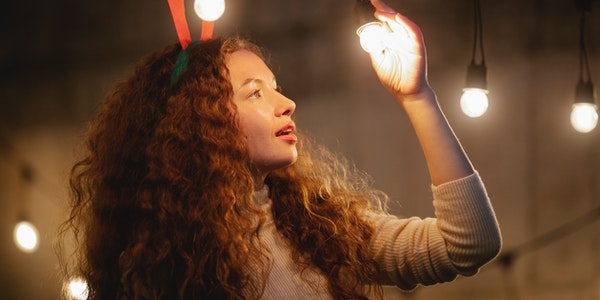
In addition, the picture shaped by a single key light is often not perfect. For example, high-level light will directly cause the projection of the bridge of the nose and under the chin. The contrast between the bright and the dark of the projection surpasses the human eye, and sometimes feels stiff. Especially in studio photography, sometimes the light source will leave the subject projection in the screen, and the projection should not be emphasized at all times. In accordance with the lighting sequence, the photographer will intervene with auxiliary light.
Auxiliary light is used to weaken the obvious shadows caused by the main light to increase the level and detail of the picture where the main light is not available, and to reduce the density of the shadows. Hard light should not be used as auxiliary light, which will form high light points at multiple angles of the screen. This does not conform to the law of vision. Instead, use soft scattered light or reflected light with no obvious direction.
Normally, the auxiliary light is located on the other side of the main light corresponding to the camera axis. However, symmetrical treatment is generally not recommended. Especially when the side light is the main light, the use of auxiliary light on the other side will cause the above-mentioned many high light spots and the lighting will be chaotic. The ideal light and dark distribution of the picture should start from the highlight (the closest to the main light) and gradually transition to the darkest area, using the auxiliary light on the other side close to the light position to help achieve it.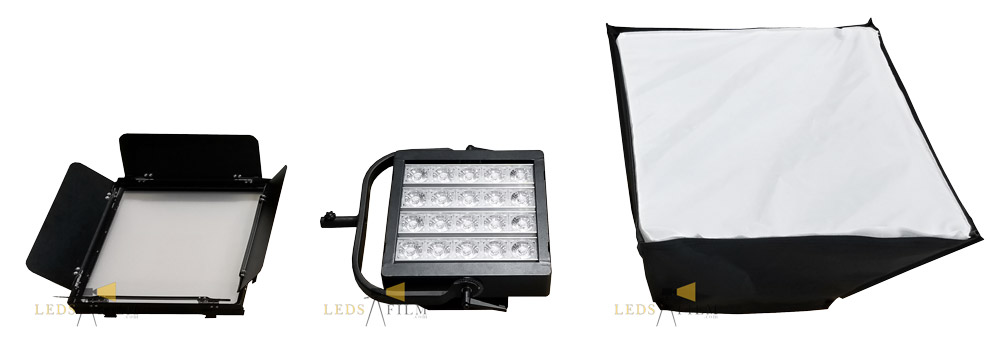
If you like the highlights on both sides, the shape of the middle shadow is sandwiched, and it is not harmful to break the conventional lighting.
What needs to be considered more than the position is the luminous intensity of the auxiliary light, which is absolutely not allowed to be stronger than the main light. The brightness of the auxiliary light determines the contrast of the picture. The larger the ratio of the main light, the larger the picture contrast, and vice versa. The picture that does not use auxiliary light at all forms a very hard tone. The light ratio that has been sent before, the final 1:16 picture is subjected to extreme processing, not only does not provide auxiliary light, but also uses black cloth to hang on the main light. On one side, the environmental reflections are completely eliminated, forming a very strong dramatic style.
You can also do the same outdoors. When the subject is a character, keep it close to the dark environment, as mentioned in the previous chapter.
Even in the outdoors, the brightness of the auxiliary light is not so difficult to control. The output power of the lamp body as the auxiliary light can be adjusted in the studio. The outdoor reflector is often used as the auxiliary light. The main and auxiliary light ratio can be adjusted by adjusting the distance between the reflector and the subject.
The main and auxiliary lighting method is the most commonly used lighting scheme in photography. When the picture still needs to consider the relationship between the background and the subject, it is necessary to intervene in the background light. This can only be achieved under artificial lighting.
The types of background light are divided into high, medium, and low-key according to the tone. The high profile uses a light source that is stronger than the main light to illuminate the background, making it overexposed. Low-key does not use the background light and prevents the main and auxiliary light from reaching the background, resulting in serious underexposure. The mid-tone background is to use light for the background routinely, and use a certain angle of soft light to illuminate the background to make it appear obvious light and dark gradients. Under special circumstances, you can also use a light-condenser to create a stage effect on the background.
In order to better highlight the subject, when the indoor shooting background is dark tones, the photographer will creatively shoot a hard and strong light from the back of the subject, outline the contour of the subject, and make the highlights overflow. The light with a very clear irradiation range is called contour light. Outdoors, it is the use of backlighting. At this time, it is used for bright background processing. The intensity of the main light should be darker than the contour light to be prominent. When using contour light, the photographer must pay attention to whether the lens will produce annoying halos due to the light entering. When halos appear, you need to change the shooting angle or use a lens hood.
