Table of Contents
Aperture F
The larger the aperture, the smaller the depth of field. The smaller the aperture, the greater the depth of field
Common aperture values are:
1—1.4—2—2.8—4—5.6—8—11—16—22—32
The difference between each level of aperture is 1 times the brightness. The smaller the number, the greater the brightness.
F1 aperture (F1 is the largest aperture) means that the brightness seen by the human eye through the lens is the same as the brightness of the scene seen by the naked eye in daily life, and this is used as the benchmark for the aperture.
Beginners should know that although it is a lens, the image quality of different apertures is different. According to the optical characteristics of the lens, when the maximum and minimum aperture of the lens are used, the imaging quality of the photo will be reduced to varying degrees.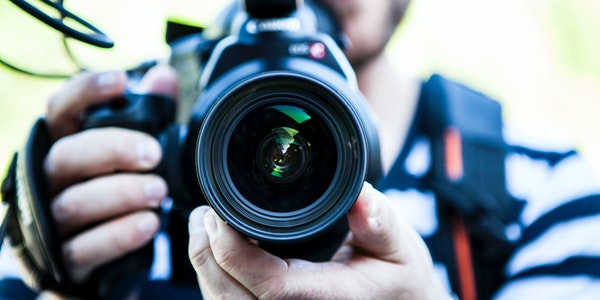
Generally speaking, the imaging quality of the maximum aperture of the lens is often not ideal, and a smaller aperture will improve the imaging quality a lot. The best aperture of the lens is generally the maximum aperture contraction of 2 levels. Therefore, the larger the aperture of the lens, the more the number of apertures that can be selected for high imaging quality, and the more expensive it is.
The best imaging quality aperture of the lens is F8 or F11, and the aperture is larger or smaller than them, and the imaging quality gradually decreases.
In landscape photography, in many cases, a smaller aperture is used to obtain a greater depth of field and richer details. Therefore, at this time, the difference between the ordinary lens and the “bull head” is very small.
Shutter
Safety shutter=1/focal length of lens
Between each level of the shutter speed, it also basically increases by 1 times:
8 seconds, 4 seconds, 2 seconds, 1 second, 1/2 second,…1/8000 second
We can get the same exposure value (Exposure value, abbreviated EV) through many different combinations of aperture and shutter. For example, the shutter combination of aperture 5.6 & 1/250 second, and the combination of aperture 4 & shutter 1/500 second, will get the same exposure.
In other words: exposure value = aperture + shutter.
Safe shutter speed:
When the shutter speed is too slow, your hands will easily shake off, resulting in blurry pictures. In the era of film photography, there is a “safe shutter” concept: that is, when the shutter speed is the reciprocal of the focal length, it can ensure the stability of the camera when holding it. That is the formula: safety shutter = 1/focal length of the lens.
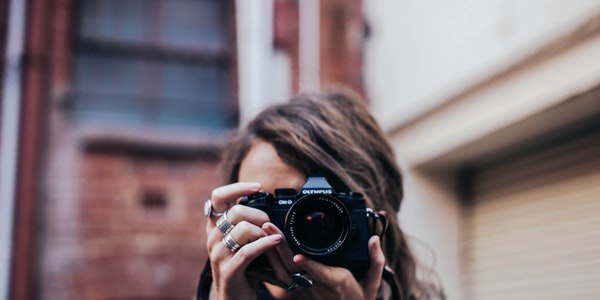
For example, if you use a lens with a focal length of 50mm, the shutter speed cannot be lower than 1/50 second. This is a reference quantity. In the digital age, this reference is often still higher. Because in the film age, few people would zoom in to see the clarity. Now, even if you only use the 100% zoom ratio to view the photos on the computer, you will find that even under the safe shutter, the sharpness of the photos is still not guaranteed. Therefore, the shutter speed needs to be increased.![]()
![]()
Depth of Field
The longer the focal length, the smaller the depth of field; the shorter the focal length, the greater the depth of field.
As mentioned above, the shutter combination with aperture of 5.6 & 1/250 second, and the combination of aperture 4 & shutter 1/500 second, get the same exposure. But although they get the same amount of exposure, the imaging effect of their photos is different-the clear range of the front and back of the main body of the picture is different, which leads to the concept of “depth of field”.
The larger the aperture, the smaller the depth of field (the background can be blurred, such as when shooting people). The smaller the aperture, the greater the depth of field (far and near are equally clear, such as when shooting landscapes).
4 factors that affect the depth of field:
①The size of the aperture:
The larger the aperture, the smaller the depth of field (the background can be blurred); the smaller the aperture, the greater the depth of field (the same clear before and after).
②The focal length of the lens:
The longer the focal length of the lens, the smaller the depth of field. The shorter the focal length of the lens, the greater the depth of field. For the same zoom lens, the depth of field at the wide-angle end is much larger than that at the telephoto end. Some zoom lenses, even if the aperture is reduced by 1-2 stops at the telephoto end, the depth of field obtained by opening the aperture at the wide-angle end is shallower.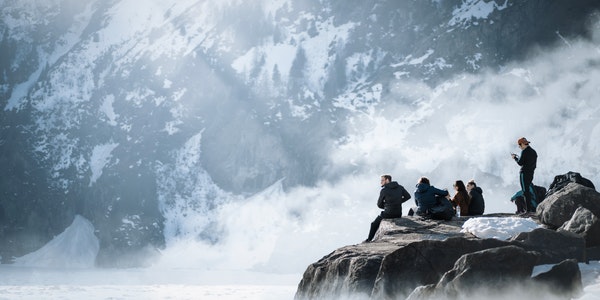
The telephoto lens has a strong ability to blur the background, and the large aperture also has a strong ability to blur the background. But what cannot be ignored is that when using a telephoto lens, the distance between the lens and the subject is usually relatively far. In this case, if you don’t pay attention to the distance between the subject and the background, you may not get a good blur effect. Therefore, finding the right angle to extend the distance between the subject and the background is still the first consideration.
③The distance between the subject and the lens:
When taking pictures, the closer the lens is to the subject, the smaller the depth of field. The further away the lens is from the subject, the greater the depth of field.
④The distance between the subject and the background:
The further away the subject is from the background, the more blurred the background. The closer the subject is to the background, the clearer the background.
Therefore, if you want to blur the background, you can use the above four methods.
Metering Method
The current digital SLR has at least three metering methods, such as evaluative metering, spot metering, center-weighted average metering, and partial metering.
No matter which kind of light metering method, the principle is the same, that is, “18 degrees gray”. “18-degree gray” is a gray that reflects 18% of light. This kind of gray card paper is also sold in equipment stores, also known as “18-degree gray card.” This reflectivity is roughly equivalent to the reflectivity of the back of the yellow hand. When the camera finds that the brightness of the scene in the viewfinder is brighter than “18 degrees gray”, it will think that the light is relatively strong, and the metering indicator will reduce the aperture or increase the shutter speed. Conversely, if the camera finds that the brightness of the scene is darker than “18 degrees gray”, it will expand the aperture or reduce the shutter speed.
However, depending on the machine to measure light, the error in actual work is very large. This is related to the following factors: ① the position and size ratio of the subject in the screen, ② the brightness difference between the subject and the environment, and ③ the color and brightness of the subject.
Due to the size ratio:
For example, when we shoot a person backlit in the sun, the smaller the proportion of the person in the picture, the larger the proportion of the high-brightness background. In this way, the camera will think that the whole picture is very bright and give a smaller proportion. The metering data of aperture or increased shutter speed will mislead you, resulting in underexposure of the subject in the photo.
Due to the color of the subject itself:
For example, coal is black and snow is white. When the camera is pointed at the black coal, it cannot distinguish whether the black is caused by light or the object itself is black. Then even in the daytime, the camera will think that this black is much lower than the brightness of “18 degrees gray”, thereby increasing the exposure, then the coal will eventually be photographed as gray. Similarly, for white snow, the camera will mistakenly believe that the light is very strong, will reduce the exposure, and shoot the snow in gray.
In normal photography, we often encounter shooting the moon, but the moon can easily be overexposed. The moon itself is very bright. If you want to make the moon photographed clearly, then the objects on the ground will often be seriously underexposed. It can be seen that it is almost impossible to express the level of the moon and the level of ground objects together. You may have seen perfect photos of the moon and ground objects, but most of them were done later.
In order to solve the above problems, there are several light metering methods:
“Zone metering”
That is, multiple areas are divided within the metering range, and then each area is metered separately, and the weight of each area is calculated according to the location of the subject person to obtain a metering value that takes into account the subject and the environment. To reduce the degree of metering error.
“Spot Metering”
It is to directly meter the subject without considering the ambient light.
When the main elements that need to be expressed in the picture are all concentrated, in order to make the subject exposure correct, the “spot metering” mode should be selected.
“Partial Metering”
It can be seen as the expansion of the metering area of ”spot metering”.
Center-weighted metering
This mode is very suitable for taking group photos.
These metering methods can greatly reduce the exposure error, but still can not completely solve this problem. Obviously, the camera can only give a reference metering value, you can’t completely believe it. We also need some means of artificially predicting light-this is “manual exposure” and “exposure compensation”.
Spot metering, center-weighted average metering, partial metering, etc., for each metering method, there are errors. Among them, the “center-weighted average metering” has the largest error. So since the error is so large, why should it remain in modern cameras? Because an old photographer, if he keeps shooting with this metering method, he will know very well what kind of “exposure compensation” needs to be done under what environment and how much compensation. And if you switch to “zone metering”, then this compensation value needs to be changed. In other words, his previous experience may not be used.
Some friends often change the light metering method. For a while, they feel that the subject needs “spot metering”, then they feel that the environment needs “zone metering”, and then they feel that the subject needs “local metering”. It is impossible to develop a good experience for a certain type of light metering in a short period of time by changing the metering method frequently. In other words, as a novice, using a fixed metering method can get more metering experience in a short period of time. Based on this point, we recommend using “zone metering” as a common metering method.
