- The wider the light source, the softer the light. Conversely, the narrower the light source, the harder the light.
A wide light source can weaken shadows, reduce contrast, and suppress texture, while a narrower light source has the opposite effect. This is because the wider the light source, the more the direction of the light on the object, which will increase the lighting in the scene and reduce the shadows.
Tips: If the main body of the portrait is arranged by a large and bright window that is not exposed to direct sunlight, the window can act as a soft box and no special equipment for the studio is needed.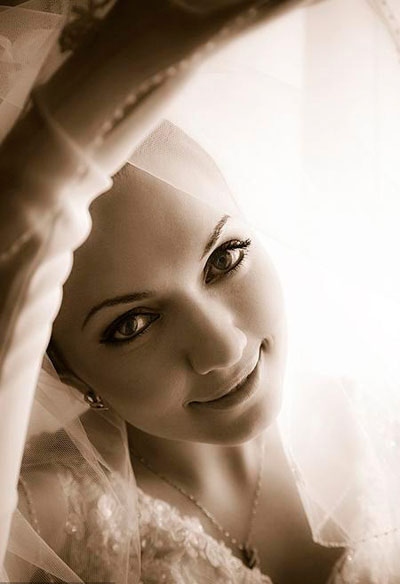
- The closer the light source, the softer the light
Conversely, the farther the light source is, the harder the light. This is because when the light source is closer to the subject, the relative larger, that is, the wider. And when the light source is farther away from the subject, the relative smaller, that is, narrower.
Take the sun as an example. The diameter of the sun is 109 times that of the earth. It is a very wide light source! But the sun is 93 million miles (about 150 million kilometers) away from the earth, which is only a very small part of the earth’s sky, so the light is hard when the sun shines directly on the object.
Tips: When shooting portraits with existing lights indoors, you can change the distance between the light source and the subject to make the light more moving.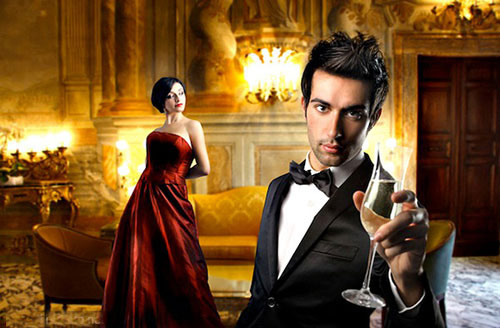
- Diffuse scattering can disperse light, widen the light source and soften the light
The essence of using diffuse scattering to disperse light is to widen the light source, so as to achieve the purpose of softening the light. When the cloud covers the sunlight, the shadow on the object will be significantly reduced. If there is fog, the shadow will disappear. Clouds, gloomy sky, and heavy fog will diffuse light, and diffusion will spread light in all directions. On cloudy and foggy days, the entire sky will become a very wide light source, a natural soft box.
Tips: Materials such as translucent plastic or white fabric can be used to diffuse strong light. You can add a diffuser in front of an artificial light source, such as a studio flash. If you are in bright sunlight, you can also use a soft light awning or soft light box to soften the light.
- Diffuse light in reflection
Shoot a narrow beam of light on a larger frosted surface, such as a wall, roof or frosted reflector, and the light will be diffused to a wider area during the reflection process.
But if you use a glossy reflector, the light will still be narrow after being reflected. A mirror is an extreme glossy reflector, the light it reflects is almost as narrow as the incident light.
Tips: Knead a large piece of aluminum foil into a ball, unfold the bright side outwards, and wrap it on a piece of cardboard, and a soft light reflector is ready. Although the diffusion effect of this homemade reflector is not as good as the white frosted reflector, it can add sparkling light spots in the photo.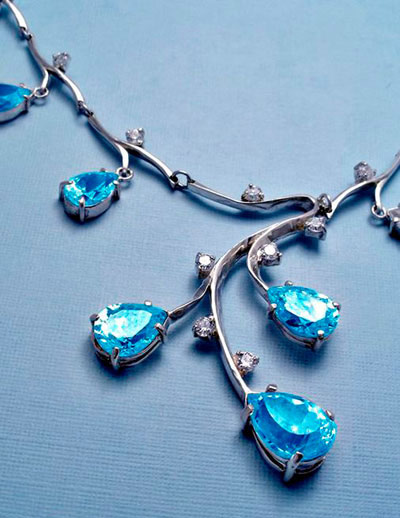
- The farther the light source, the faster the attenuation of the light and the darker the subject
This rule states that the illuminance of the subject is inversely proportional to the square of the distance. This sounds a bit complicated, but it’s actually very simple. For example: if you double the distance from the light source to the subject, then the light falling on the subject will only be a quarter of the distance before the increase.
In other words, the light will quickly attenuate as the light source moves away. We should keep this rule in mind that if you are going to move the light source or subject, you must change the quality of the light.
Also note that the distance traveled by the reflected light will increase, even if a glossy reflector is used.
Tips: When shooting portraits outdoors in poor weather conditions, you should use flash (hot shoe or pop-up type), so that the shadow on the face can be eliminated, and the exposure of the background will not be affected, because the light from the flash reaches The background is already negligible.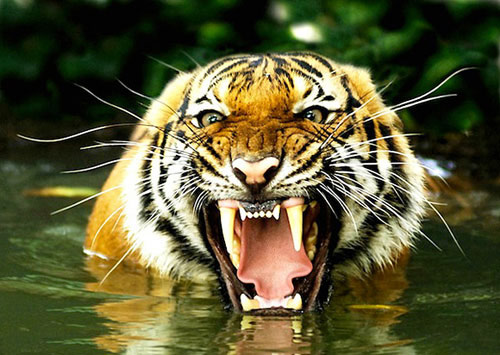
- Light attenuation can be used to change the relationship between the subject and the background
If the light is close to the subject, the illuminance between the subject and the background will be more obvious; if the light is far away from the subject, the background will brighten accordingly.
The same principle applies to side light: when the side light source is close to the subject, the light attenuation of the whole picture will be more obvious than when the light source is far away from the subject.
Tips: If the front light of the subject is the light coming in from the window, then bringing the subject close to the window can darken the indoor background. If you want to make the indoor background brighter, you should keep the subject away from the window and close to the background.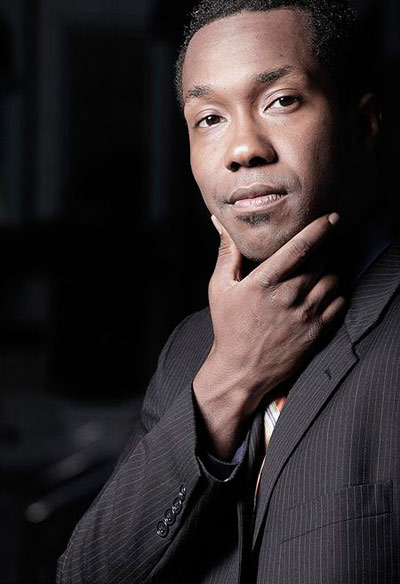
- The front light will weaken the texture of the subject, while the side light, top light and bottom light can strengthen the texture of the subject
Portrait photographers usually keep the light source near the axis of the lens to weaken the wrinkles on the subject’s face, while landscape photographers prefer to use side light to emphasize the texture of rocks, sand and leaves. Generally speaking, the greater the light direction and the angle of the subject, the more obvious the texture of the subject.
Tip: When you want to highlight the fluffy hair of your pet, it is best to place the light source on the side instead of using a front light source.
- Shadows create three-dimensionality
Shadow is a way for photographers to describe the three-dimensionality of an object. It can make the object present a sense of space in the photo, not just the projection of the object on the plane.
Similarly, the side light, top light and bottom light can cast deep and long shadows on the object to create a three-dimensional effect. Therefore, still life, commercial products, and landscape photographers like to use angled light.
Tip: You can try to use the “Hollywood Lighting Method” to shoot dramatic portraits. Place the top light at a slightly lower position directly above the subject, and adjust the light angle so that the shadow of the character’s nose falls on a slightly lower position in the person.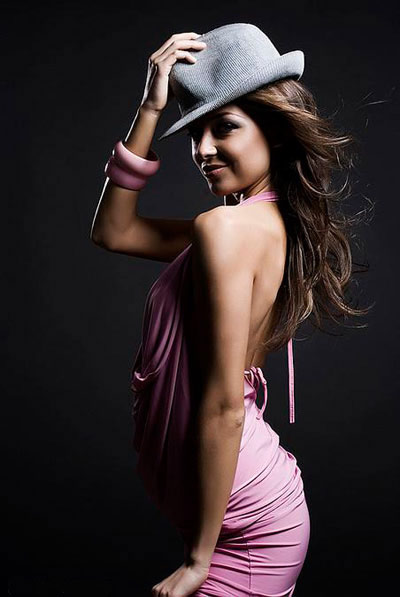
- The backlight can be used as a highly diffuse light source
There are very few objects that are only illuminated by backlighting, that is to say, there are almost no pure silhouettes without any frontal illumination. If a person stands in front of a bright window, the opposite wall will reflect part of the light falling on the person. If a person is outdoors, even if the background is bright sunlight, there will be light from the sky on the front. In either case, if you want to record the light falling on the subject, you must increase the exposure, and these lights will reduce the details of the face and weaken the three-dimensional sense of the subject.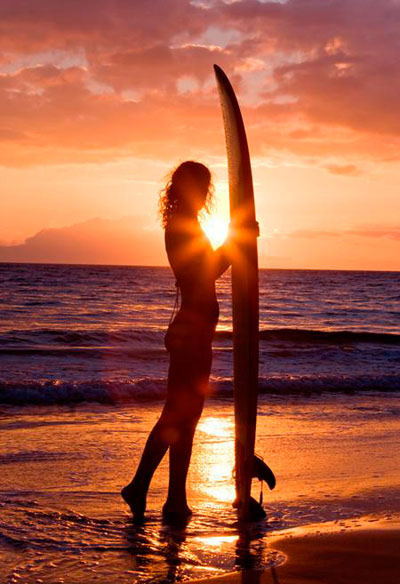
Tips: When shooting backlit portraits or silhouettes, try to incorporate the light source into the composition, but this will cause inaccurate light meter readings, so you can try to use bracketing.
- Light is colorful
Although sometimes the light looks like “colorless”, it is actually colored, and we call it color temperature. It’s just that the “computer” composed of our eyes and brain can adjust perception and adapt to changes, so it’s hard for us to notice it. But digital sensors and film will record colors that we can’t see.
The sun in the morning and evening has warm tones, and the shadows cast by the sun at noon turn blue. The tungsten filament light is obviously yellowish, and the surface reflecting this light will also show the corresponding color.
For digital cameras, you can use the white balance function to eliminate or emphasize the color of light. For example, you can add warm colors in landscape or portrait photos. For film film shooting, you must select the appropriate film according to the shooting environment, or use filter compensation.
Tips: Scenery shots on sunny days, especially the shadows, will be very blue. At this time, setting the camera’s white balance to cloudy can add golden yellow to the photos, which is equivalent to adding a warm color filter in front of the lens.

